1.Install & Connect Square with WooSquare
-
- Open WordPress dashboard. Now you can see the Plugins at Dashboard menus.
- Click on Add New then search for WooSquare.
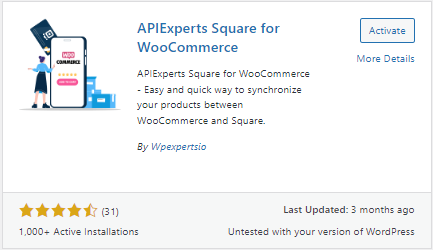
- Once you see WooSquare plugin click on Install Now button
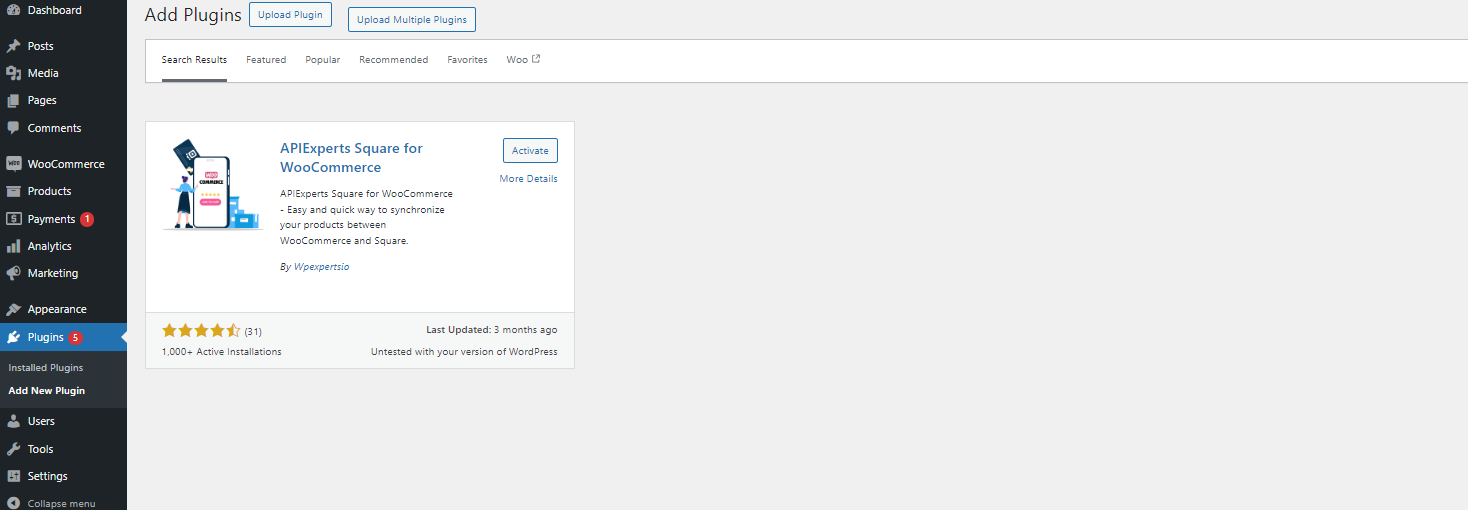
- After installing click on Activate button as shown below
Please follow the video to connect Square Account with WooSquare
HOW TO CONNECT WOOSQUARE WITH SQUARE ACCOUNT
To start using WooSquare, first you need to connect your site to Square by following the steps below:
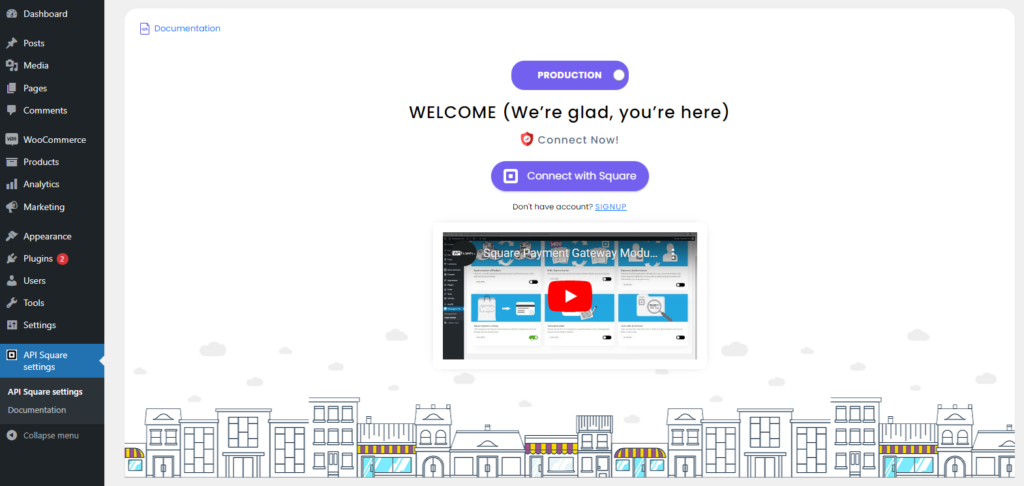
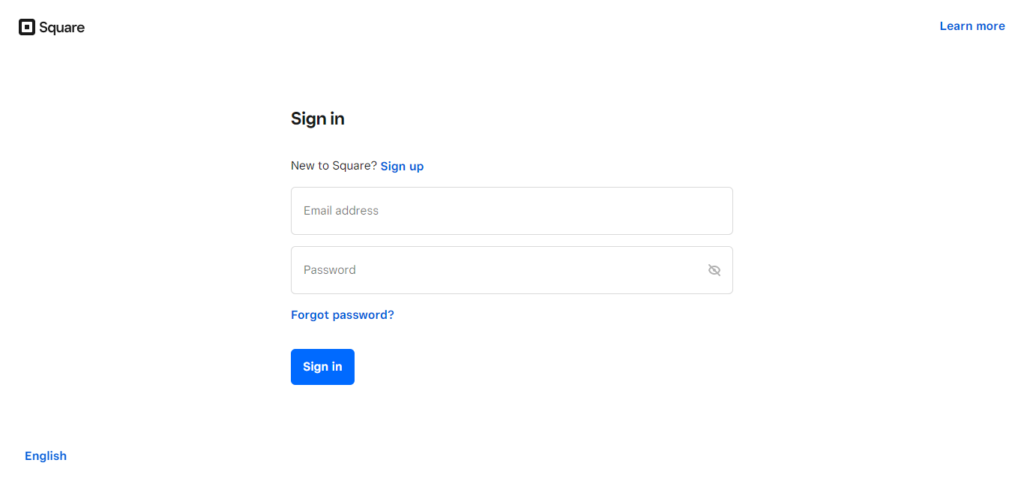
Step 1: Select API Square settings & Click on Connect with Square button. Sign in page will be open.
Step 2: Login to your Square account. Insert your Square Account credentials.
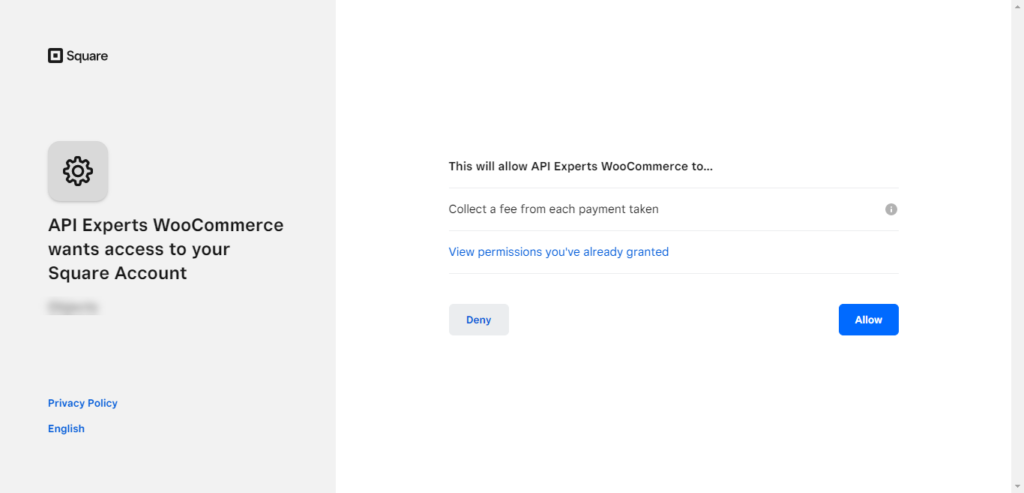
Step 3: Once you login then the permission page will appear. Kindly click on the “Allow” button to proceed further.
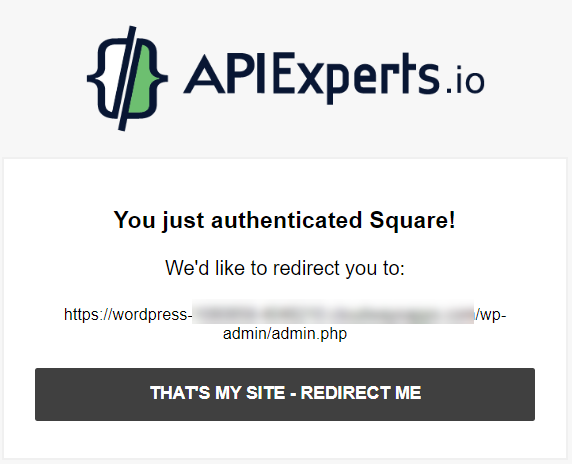
Step 4: You have authenticated a Square account and will land on the API Experts page. Select “That’s My Site – Redirect Me” to redirect to your site.

Step 5: Finally, Once you click on the Redirect me button which will bring you back to your website.
2.Square Payment Gateway
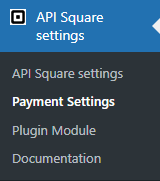
- To activate the module, go to the API Square settings tab.
- Navigate to the Plugin Module tab.
- To Enable Square Payment Gateway click on the toggle button.

- Once the module is enabled, a sub-tab for Payment Settings will be displayed inside the API Square settings tab, click this menu to access the square payment settings.
- As the settings are displayed there are multiple options that have different functionalities if enabled.
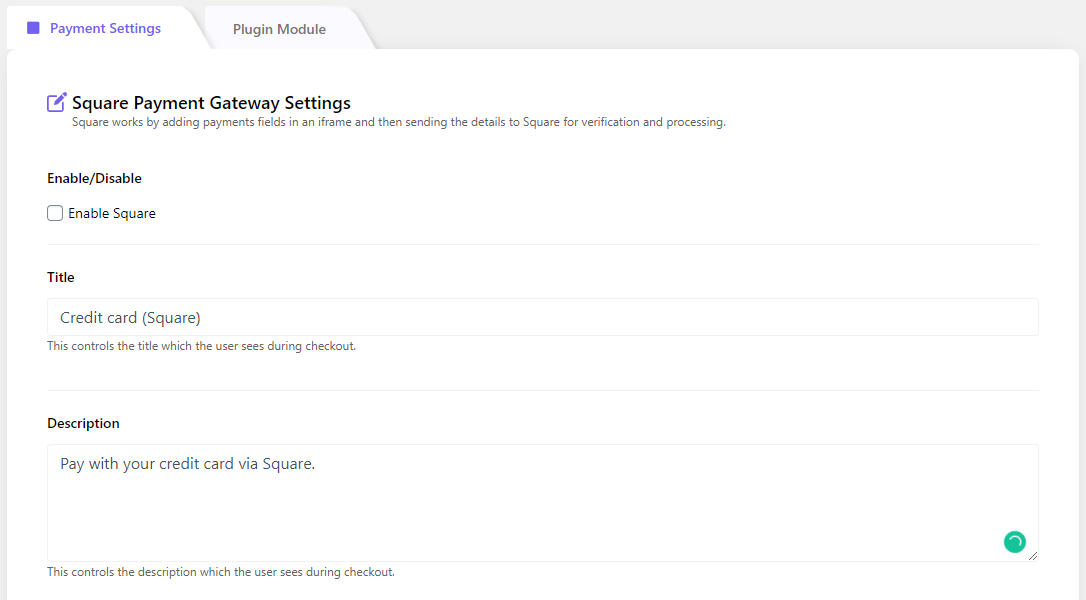
ENABLE/DISABLE
To enable the payment gateway on WooCommerce checkout, click this checkmark.
TITLE
Set the title of the card, which will display as title outside the credit card field.
DESCRIPTION
The description will display before the credit card fields, any specific instructions can be given through this option.

DELAY CAPTURE
Delay capture can be used when a customer makes an in-store purchase from a merchant, the merchant may want to authorise funds at the time of purchase, and capture funds when the item ships from the warehouse, this can be done through delay capture of all card payments in a transaction.
CREATE CUSTOMER
By enabling this option, the plugin will create a customer profile in Square, this profile will hold all the data of the specific customer like orders, transactions, etc.
LOGGING
If selected this setting will record debug messages in the WooCommerce System Status log.

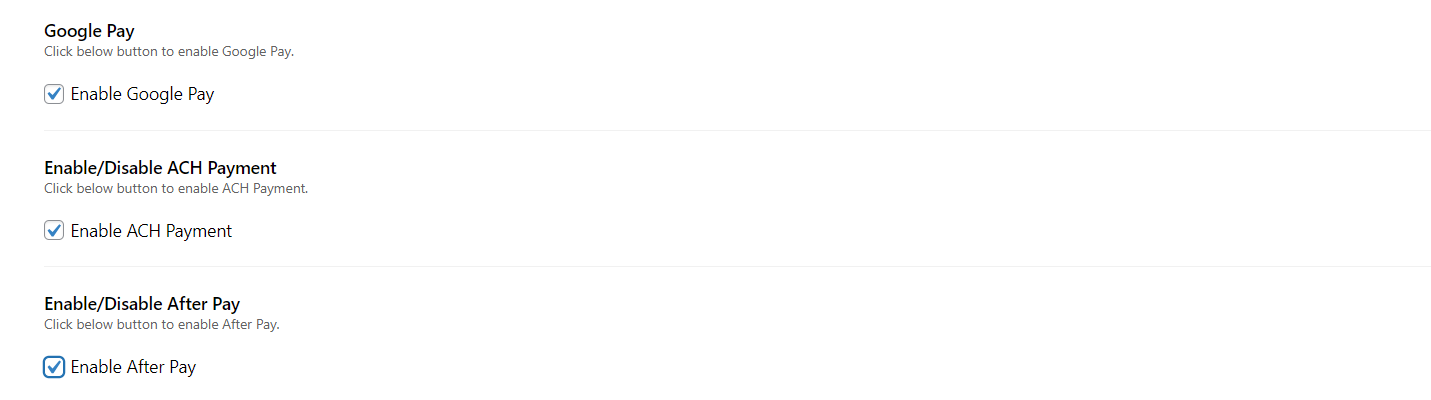
ENABLE/DISABLE GOOGLE PAY
Enable your customers to make payments through Google Pay.
ENABLE/DISABLE ACH PAYMENT
ACH Payment allows the user to pay with their Bank Account on the checkout page.
ENABLE/DISABLE AFTER PAY
Enable your customers to make payments through After Pay.
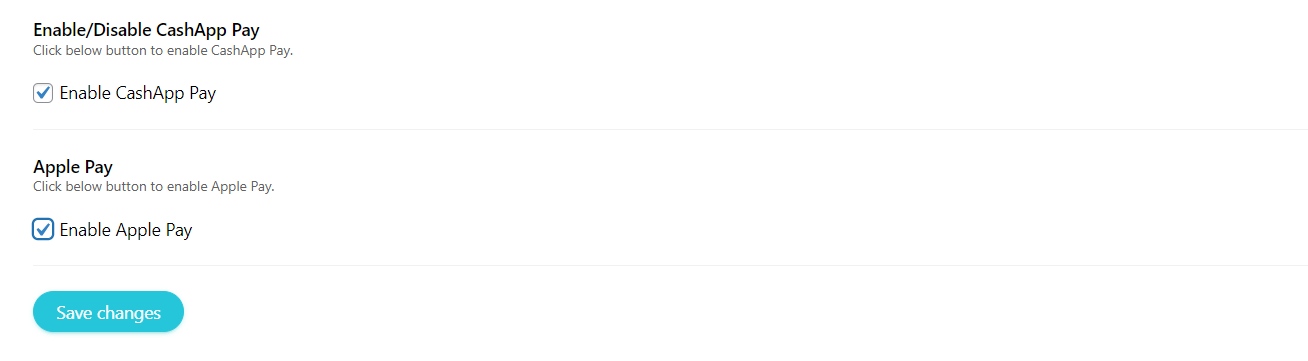
ENABLE/DISABLE CASHAPP PAY
Enable your customers to make payments through CashApp Pay.
ENABLE/DISABLE APPLE PAY
Enable your customers to make payments through Apple Pay.
Once you select your required Payment gateways then click on the Save Changes button.
3.Sandbox Settings
- You can also connect to Square sandbox for making test payments. In sandbox mode no live transactions are made.
- Go to API Square settings tab.
- Just click the toggle button on top, it will take you to Sandbox mode.
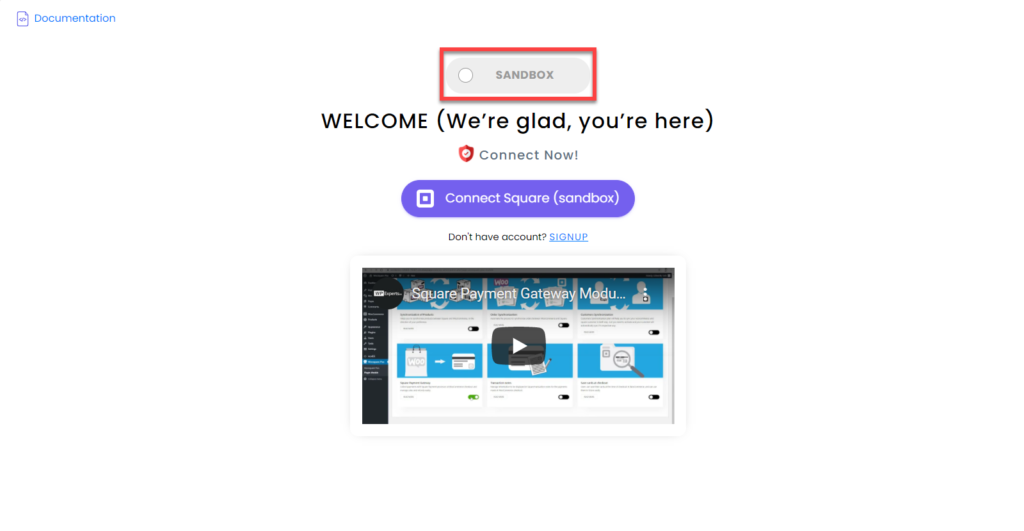
Note: Make sure the Square Sandbox Dashboard is opened in another tab of your browser.
- Click on the ‘Connect Square (sandbox)’ button.
- Once done, click on the THAT’S MY SITE – REDIRECT ME button to complete the connection.
- Select Location and click on the Save Changes button.

4.Google Pay
Back-End Configuration
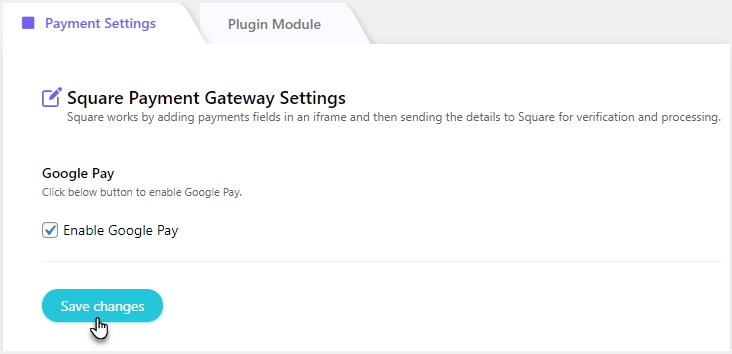
- Go to Admin Dashboard → API Square settings → Payment Settings.
- Click on the Payment Settings.
- Click on the checkbox to enable and allow customers to use this gateway at checkout.
- Then click on the Save Changes button.
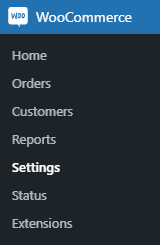
- Now navigate to the Admin Dashboard → WooCommerce → Settings

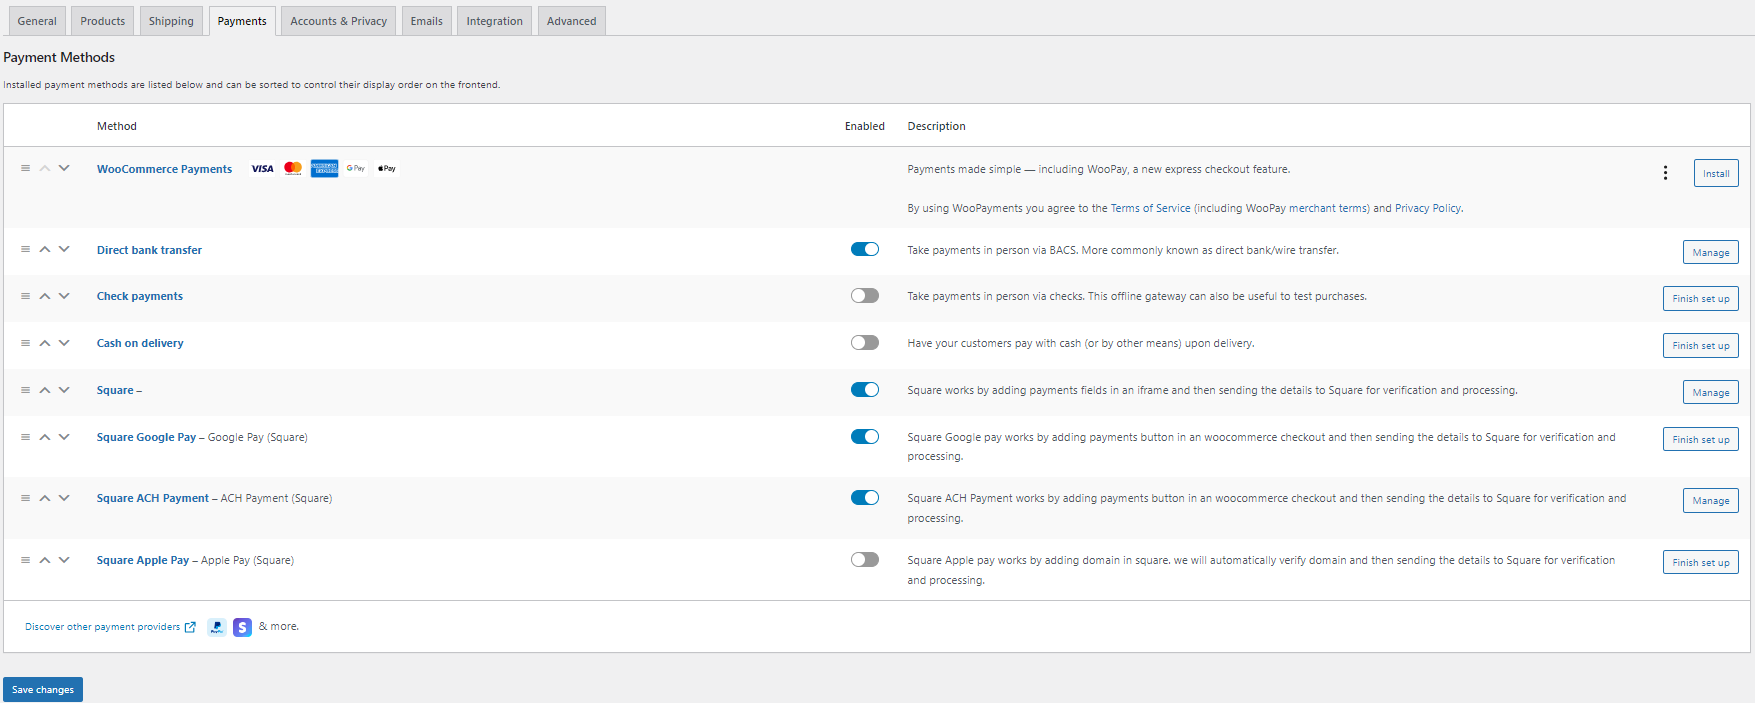
- Go to the Payments tab.
- All the Payment methods are present in this tab.
- Click on the Square Google Pay toggle button or click on the Manage button (Present at the right side of every respective payment option) for adding the payment button in an WooCommerce checkout to sending the details to square for verification and processing.
- Once clicked on the Manage button, Now you’ll be on the Square Google Pay settings page.
- Enter the Title.
- Enter the Description.
- You can also enable the Delay Capture and Logging option according to your requirement.
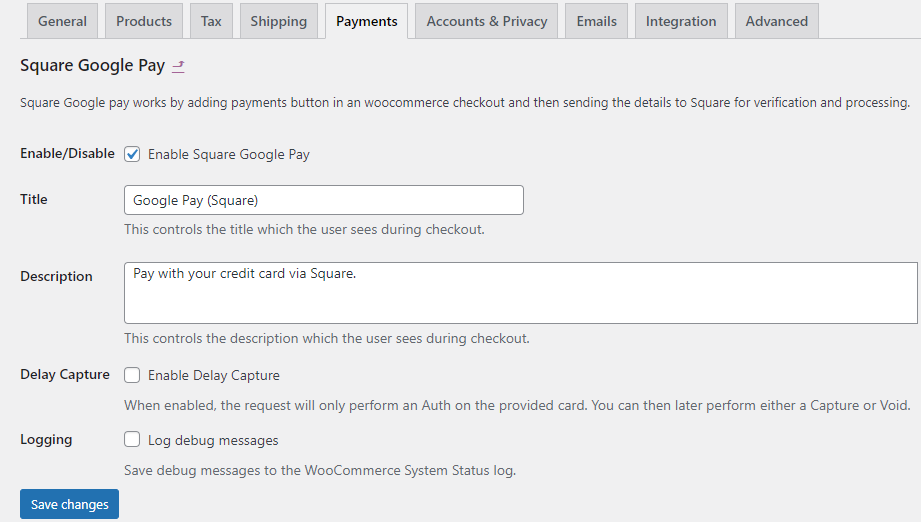
- Once done, click on the Save Changes button.
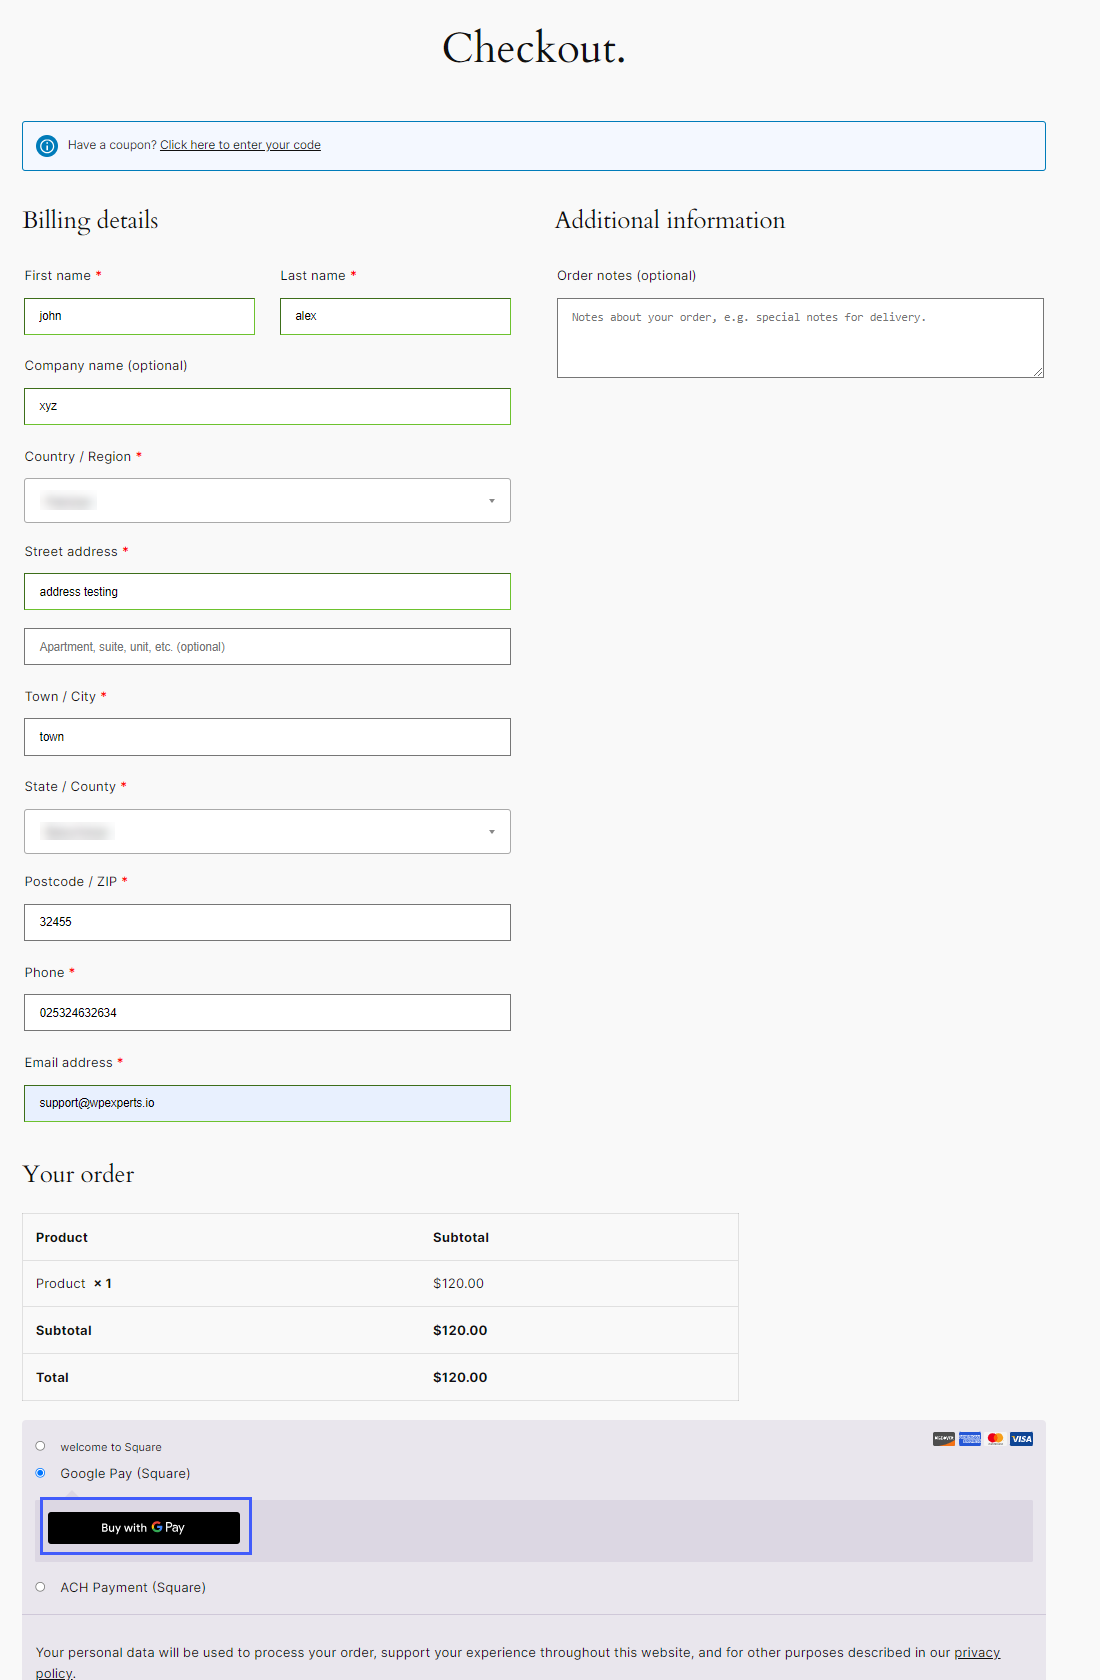
Front-End Impact
- Go to your Store
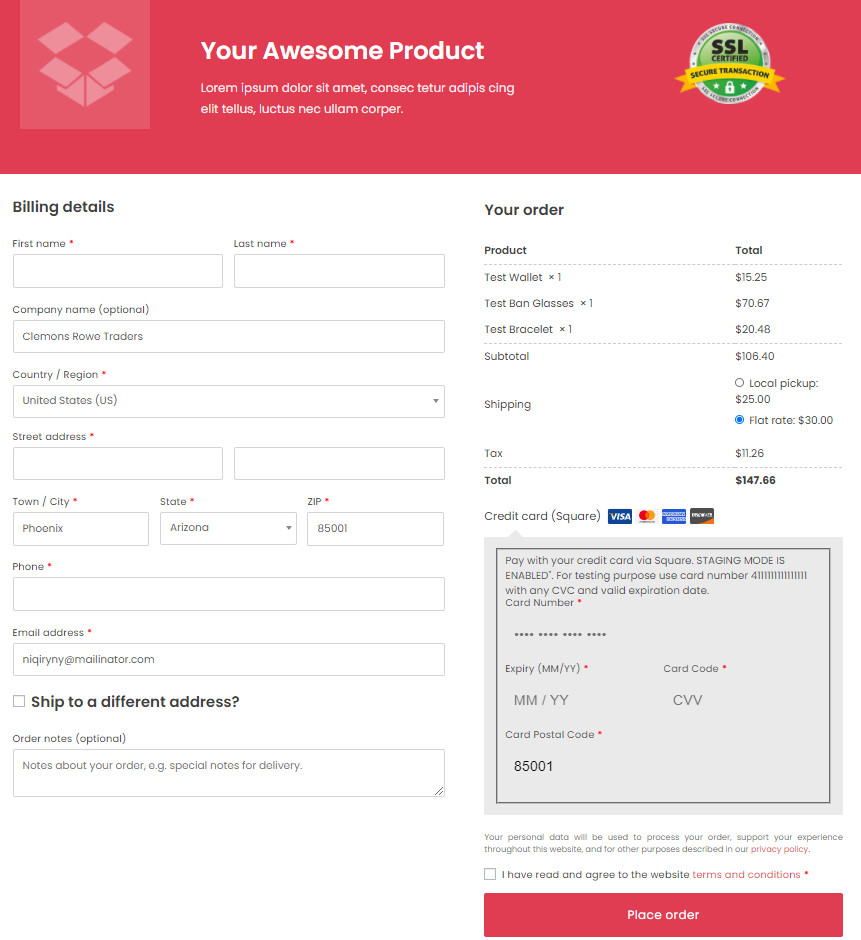
- Select an item and complete the process to move towards the Checkout page
- Select the Google Pay payment method
- Click on the Buy with G Pay button.
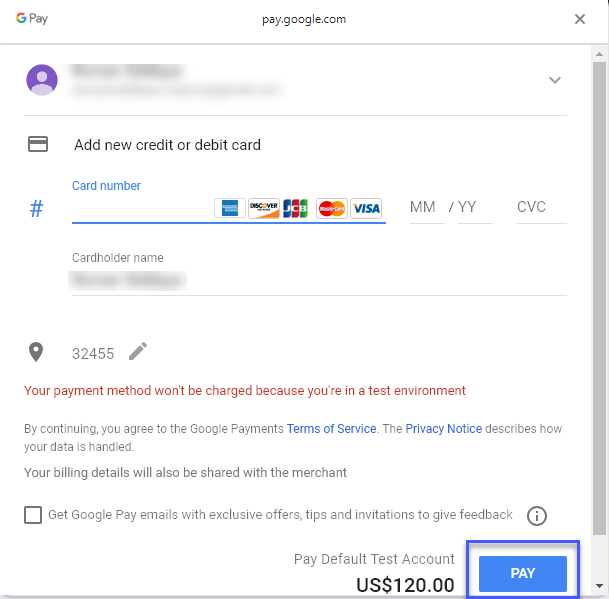
- Once done, a popup will appear.
- Enter all the required credentials and click on the PAY button to complete the process
5.ACH Payment
WooSquare ACH Payment is a new feature allows the user to pay with their Bank Account on the checkout page. The user has to select their desired bank and login credentials after selecting the bank. This will work by adding a payment button in the WooCommerce checkout page and then sends the details to Square for verification and processing.
- Navigate to the Dashboard API Square settings → Payment Settings.
- Click on the Payment Settings.
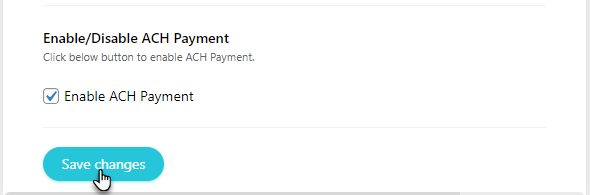
- Click on the Enable ACH Payment checkbox to enable and allow customers to use this gateway at checkout.
- Then click on the Save Changes button

- Click on the Save Changes button.
WooCommerce Settings
- After saving the changes, navigate to the WordPress Admin Dashboard → WooCommerce → Settings.
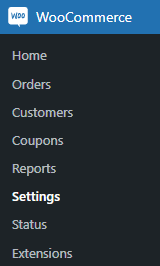
- In the Settings, go to the Payments tab.
- In the Payments tab, Square ACH Payment the payment methods are available.
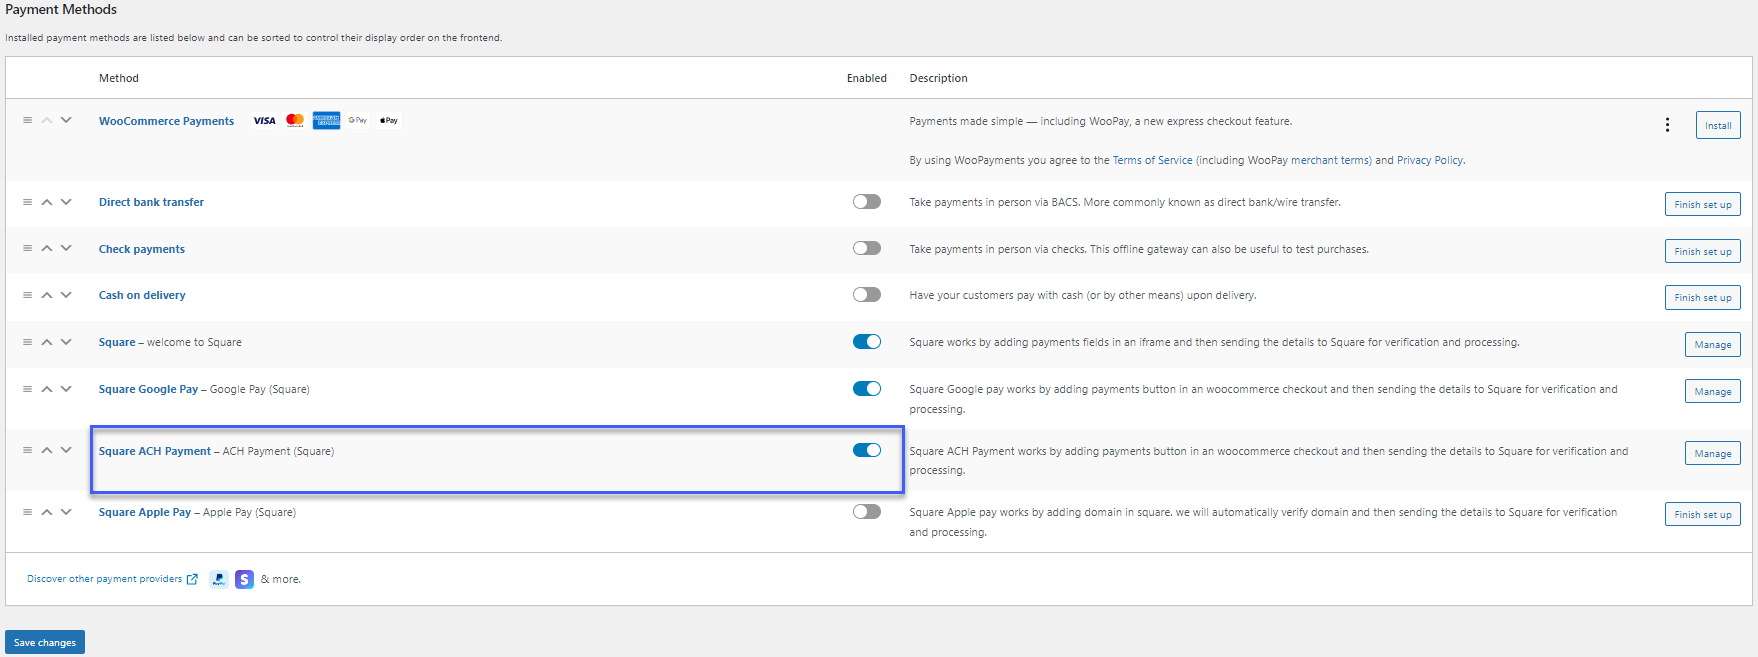
- Navigate to the Square ACH Payment and click on the toggle button to enable the Payment Method.
- Now, click on the Square ACH Payment option or click on the Manage/ Setup button located on the right side of every respective payment option.
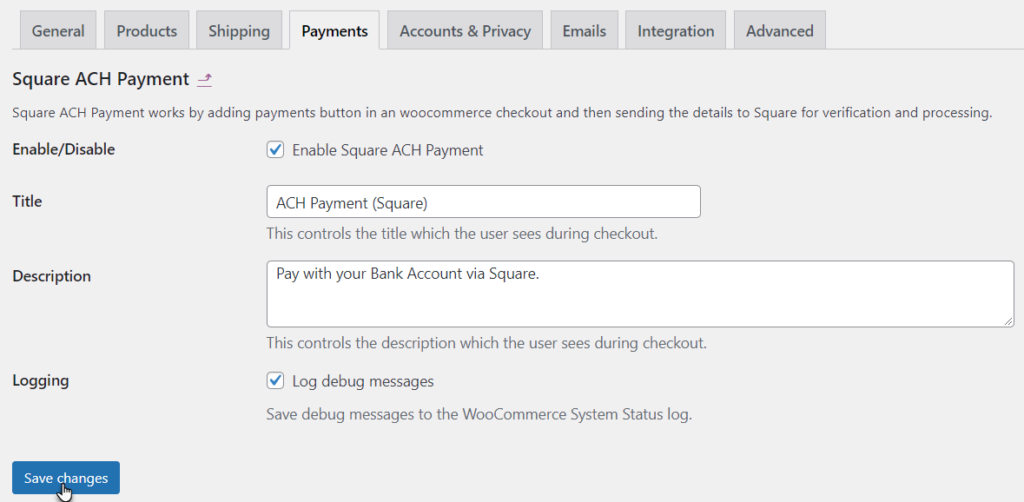
- In the Square ACH Payment section, there are various options.

- To Enable the Square ACH Payment click on the Checkmark then the payment button will be displayed on the checkout page.
- Change the Title of the payment method which will be displayed on the checkout page.
- Enter the Description of the payment method which will be displayed on the checkout page.
- Click on the Save Changes button.
Frontend Impact
- Go to your Store page.
- Select products that you would like to purchase.
- Add the products to the Cart.
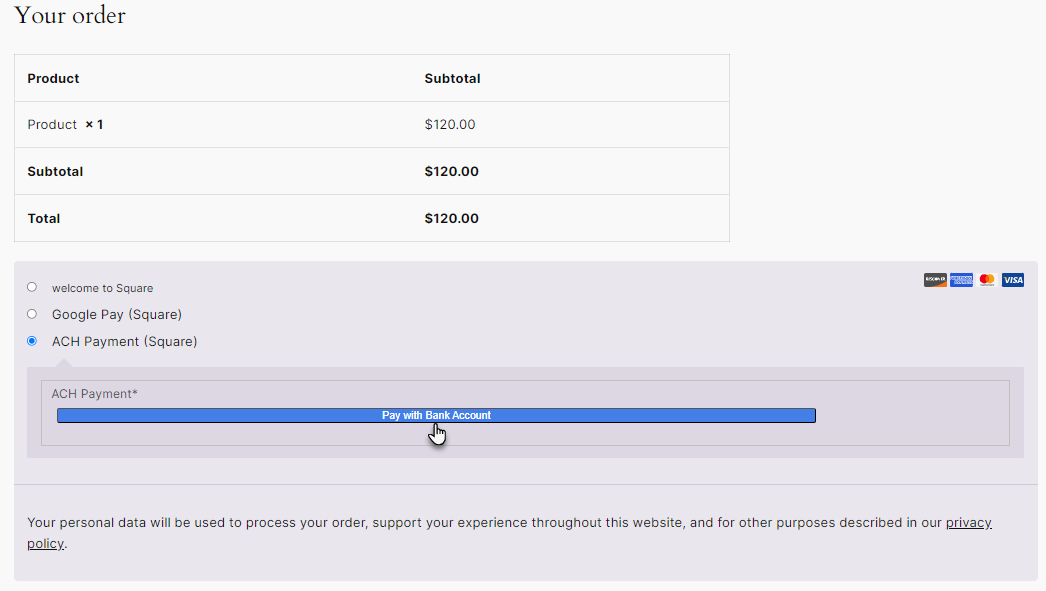
- Proceed to the checkout page.
- Click on the ACH Payment(Square) option.
- Click on the Pay with Bank Account button.
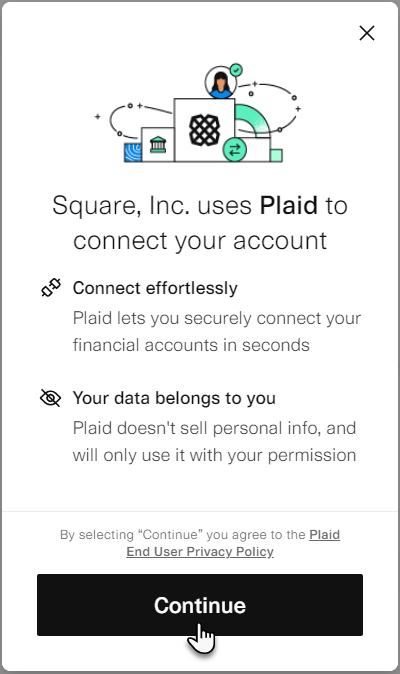
- After clicking on the Pay with Bank Account button, a popup will appear.
- Click on the Continue button to proceed.
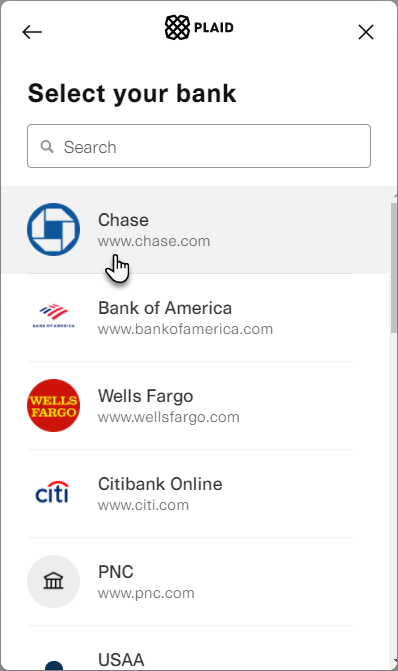
- Now, select your bank from the given list of banks.
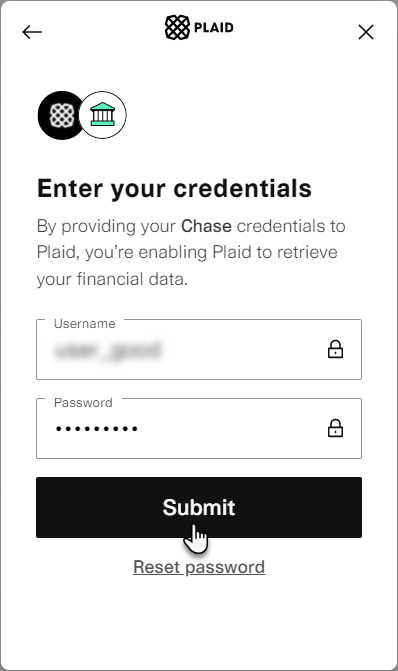
- Next it will ask for your Bank Credentials.
- Provide your Username and Password.
- Click on the Submit button to proceed.
- After submitting your credentials, it will start verifying your account.
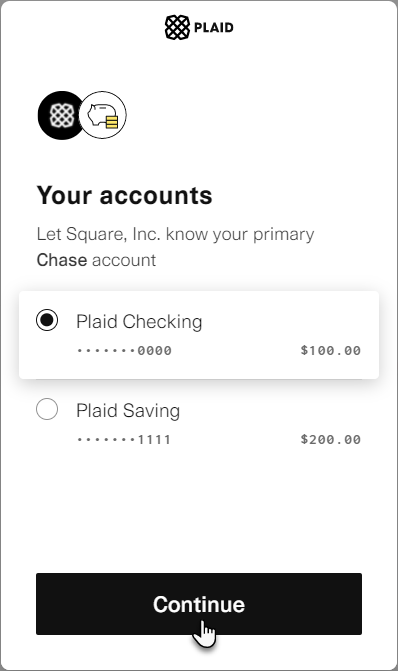
- If you have multiple accounts, it will ask you to select your primary account.
- Select your primary account and click on the Continue button to proceed.
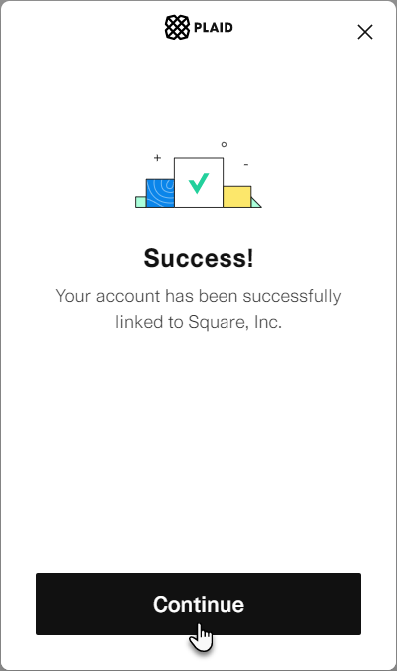
- Your account will be successfully linked with Square.
- Click on the Continue button to proceed.
- You will be redirected to your store.
6.Apple Pay
Back-End Configuration
- Go to Admin Dashboard → API Square settings → Payment Settings.
- Now you’re on the Square Payment Gateway Settings page.
- Go to the Apple Pay option.
- Checkmark the Enable Apple Pay checkbox to activate this functionality over the checkout page.
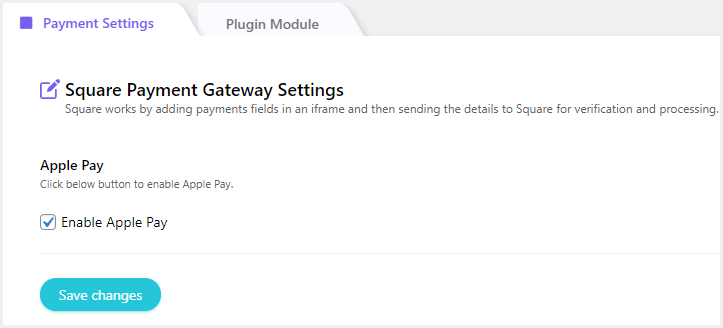
- Click on the Save Changes button.
- Now navigate to the Go to Admin Dashboard → WooCommerce → Settings.
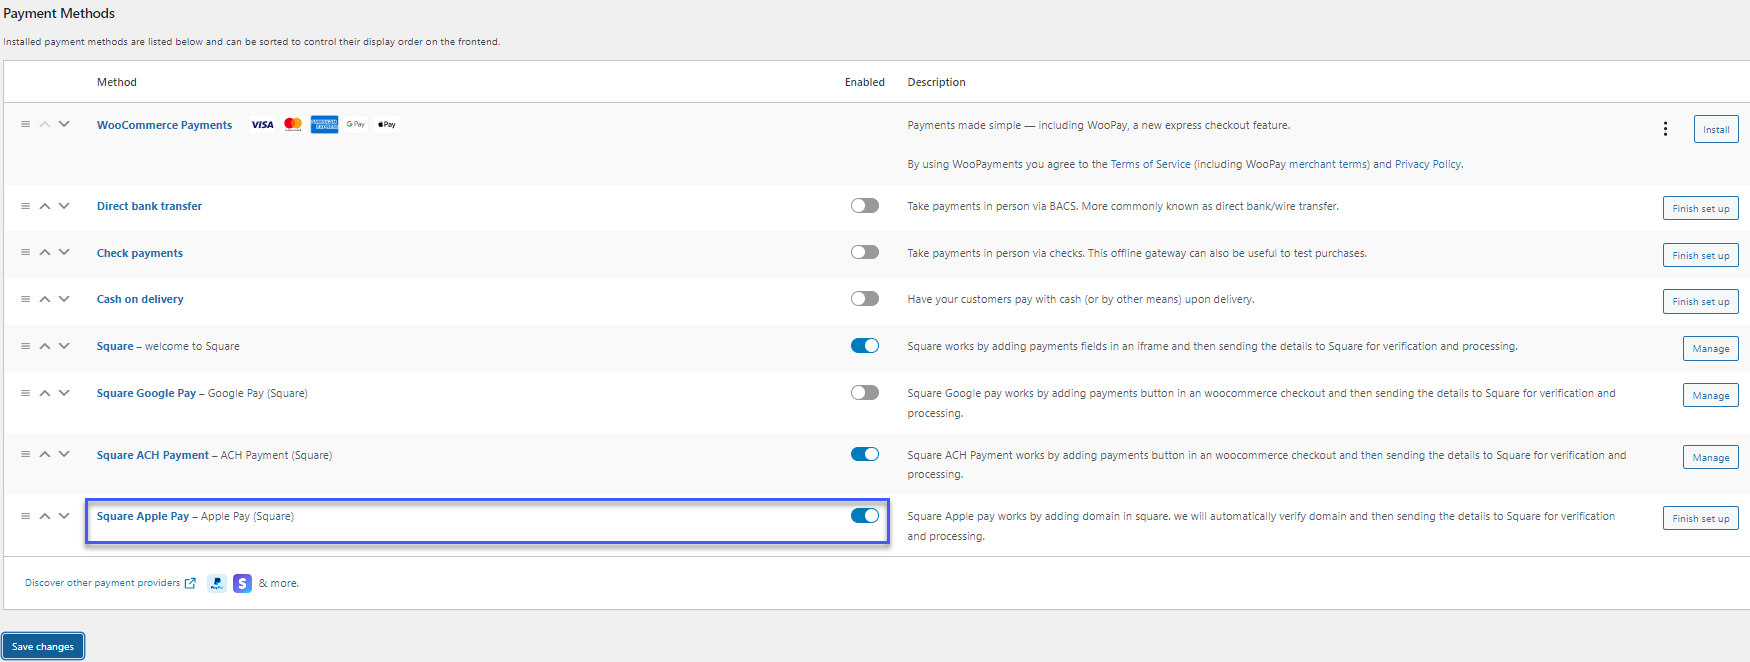
- Go to the Payments tab.
- All the Payment methods are present in this tab.
- Click on the Square Apple Pay toggle option to enable the Square Apple pay on Checkout page or click on the Manage/ Setup button. (Present at the right side of every respective payment option).
- Enter the Title.
- Enter the Description.
- Enable the Domain Verified checkbox.
- You can also enable the Delay Capture and Logging option according to your requirement.

- Click on the Save Changes button.
NOTE: Square Apple Pay will only function on the Safari browser for live/test payments.
7.After Pay
Back-End Configuration
- On the Payment Settings page, navigate to the After Pay option.
- Checkmark the Enable After Pay checkbox to activate this functionality.
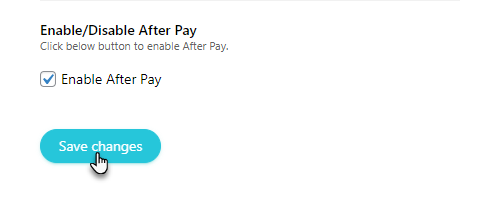
- Click on the Save Changes button.
WooCommerce Settings
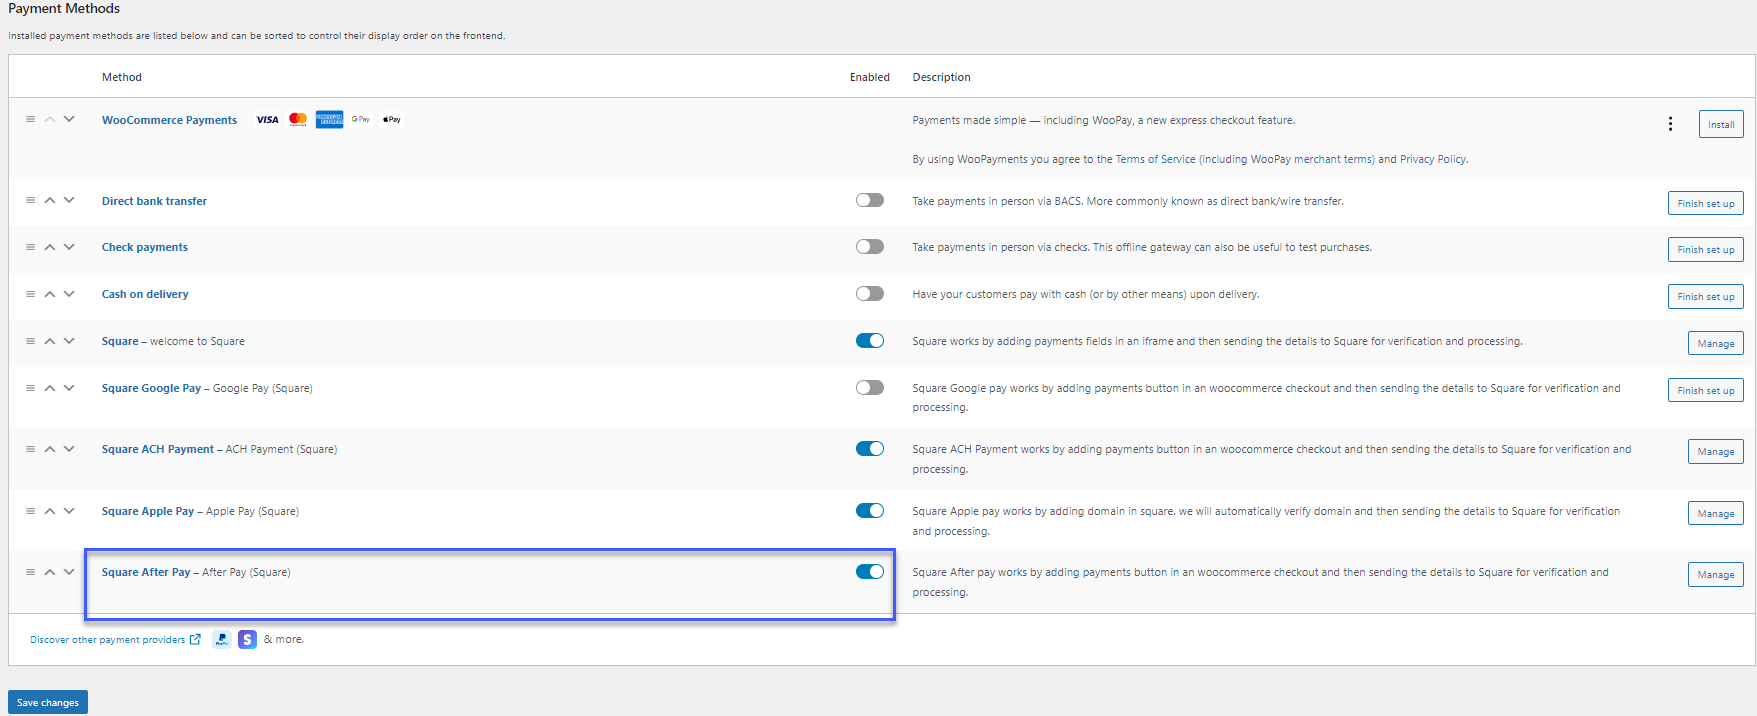
- Navigate to the WordPress Admin Dashboard → WooCommerce → Settings.
- Go to the Payments tab. All the Payment methods are present in this tab.
- Click on the Square After Pay toggle button to appear the payment button on the website or click on the Manage / Setup button (Present on the right side of every respective payment option).
- Now you’ll be on the Square After Pay settings page.
- Enter the Title.
- Enter the Description.
- You can also enable the Delay Capture and Logging option according to your requirement.
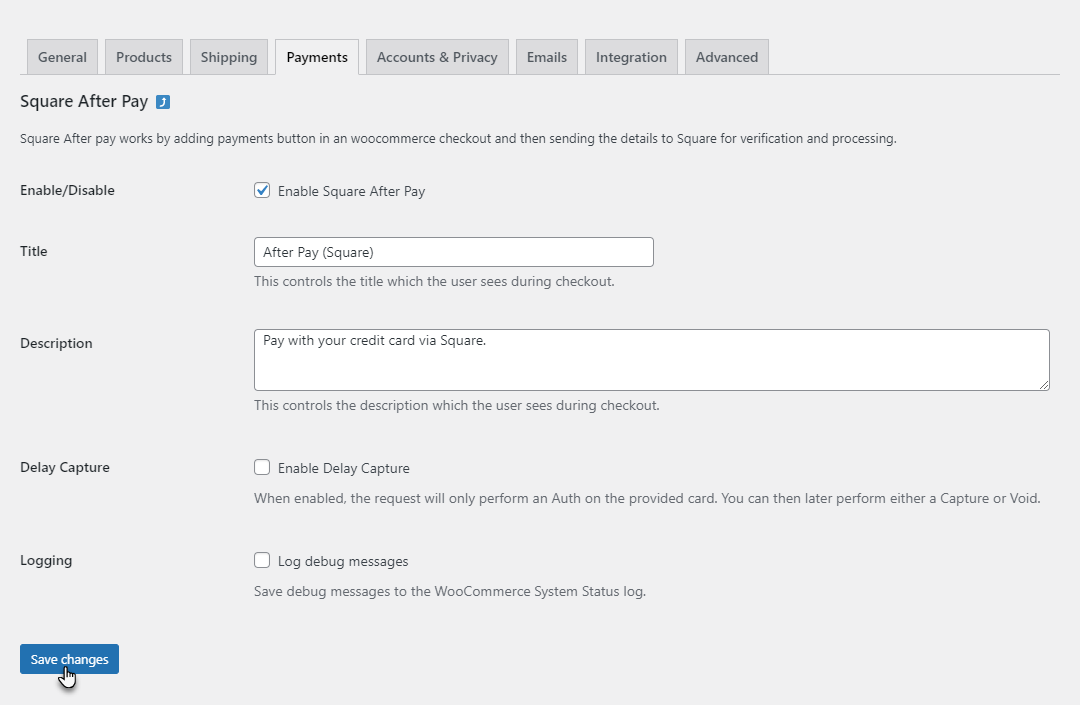
- Once done, click on the Save Changes button.
Front-End Impact
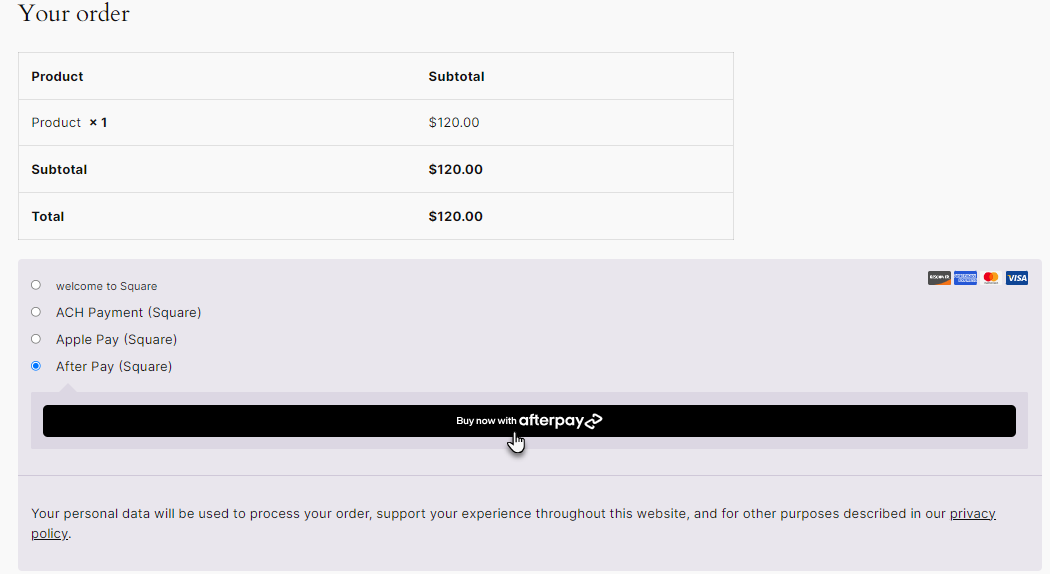
- Go to your Store
- Select an item and complete the process to move toward the Checkout page.
- Select the After Pay payment method.
- Click on the Buy now with afterpay button.
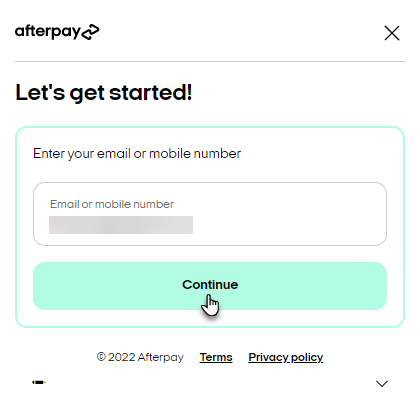
- Enter your email or mobile number.
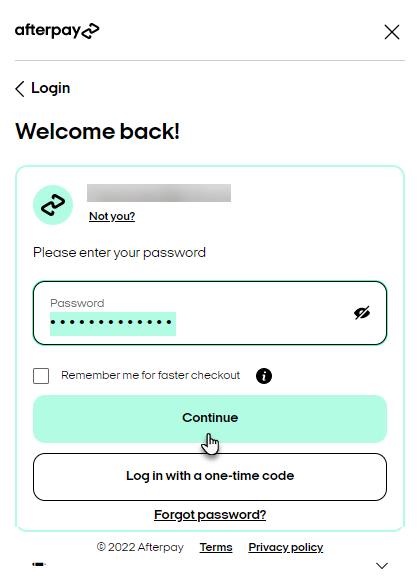
- Enter your password and then click on the Continue button.
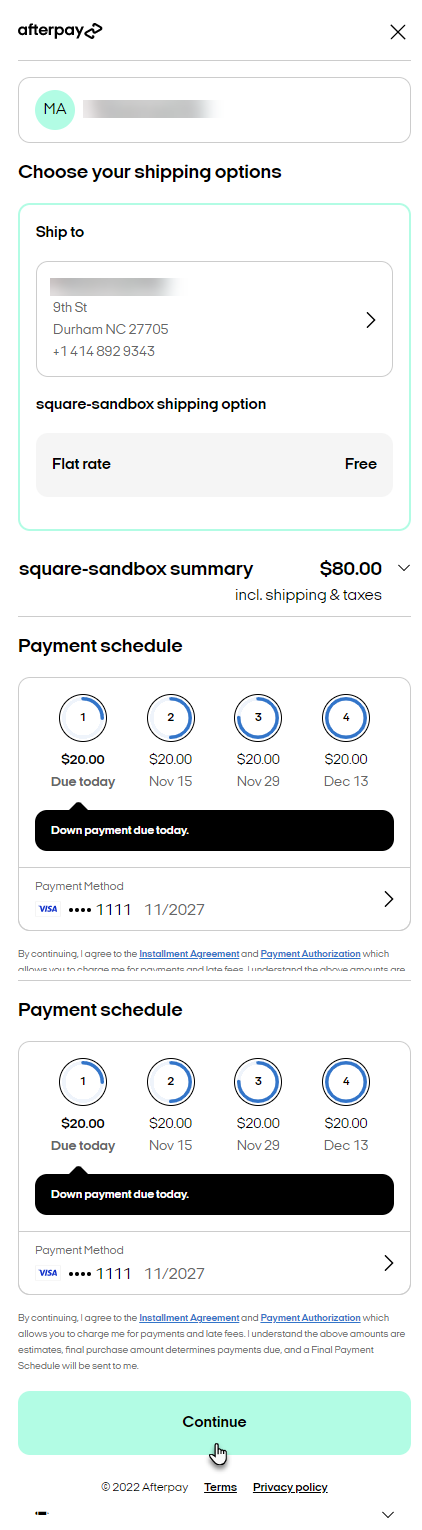
- Once logged in, click on the Continue button to proceed with the transaction.
- The transaction is in process, don’t close the screen.
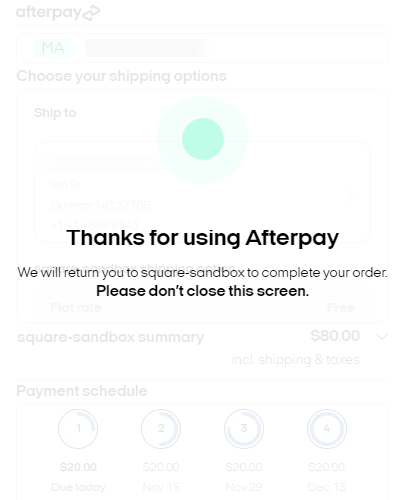
- The order is placed successfully.
- Navigate to the WordPress Admin Dashboard → WooCommerce → Orders.
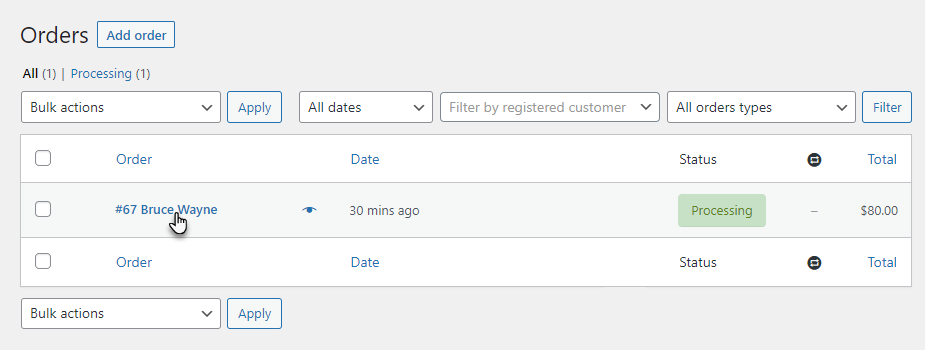
- Now you’re on the Orders page.
- Click on the order to view details.
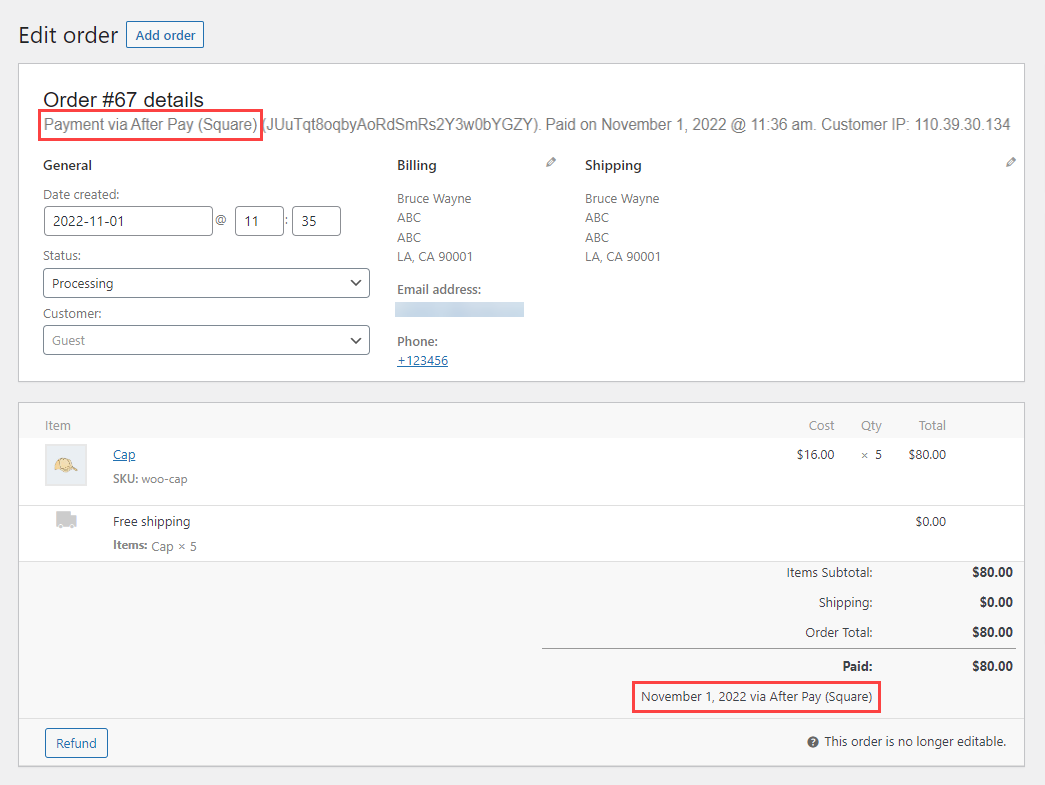
- Now you’re on the Edit order page.
- We can see that the Payment method is mentioned as After Pay.
8.CashApp Pay
Back-End Configuration
- On the Payment Settings page, navigate to the CashApp Pay option.
- Checkmark the Enable CashApp Pay checkbox to activate this functionality.
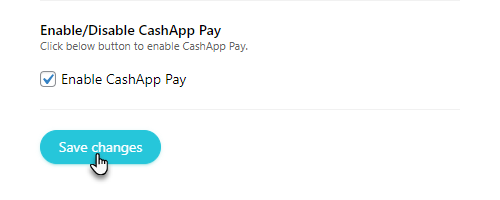
- Click on the Save Changes button.
WooCommerce Settings
- Navigate to the WordPress Admin Dashboard → WooCommerce → Settings.

- Go to the Payments tab. All the Payment methods are present in this tab.
- Click on the Square Cash App Pay toggle button to enable the Cash App button on checkout page or click on the Manage/ Setup button (Present on the right side of every respective payment option)

- Now you’ll be on the Square Cash App Pay settings page.
- Enter the Title.
- Enter the Description.
- You can also enable the Delay Capture and Logging option according to your requirement.
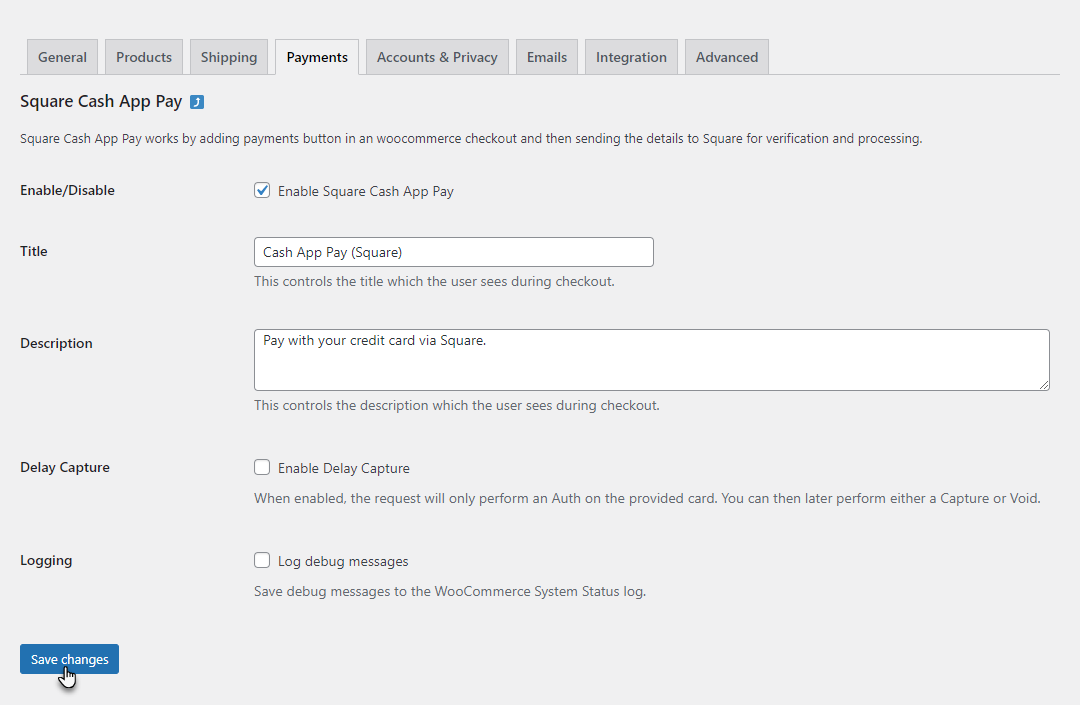
- Once done, click on the Save Changes button.
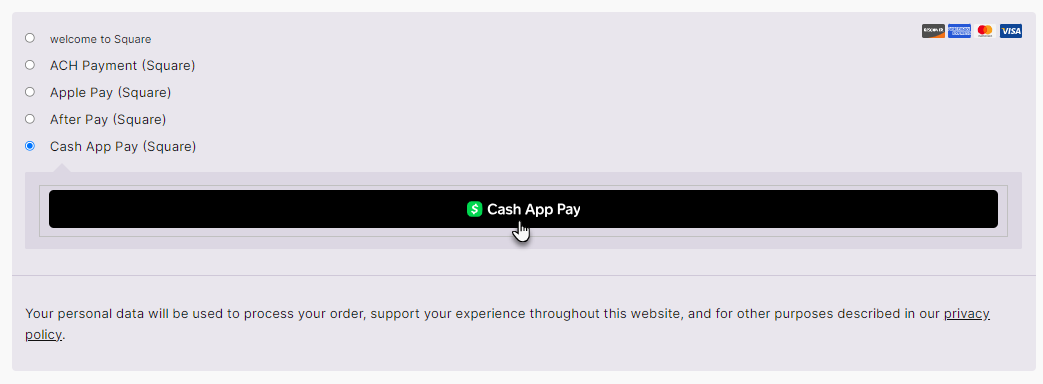
Front-End Impact
- Go to your Store
- Select an item and complete the process to move toward the Checkout page.
- Select the Cash App Pay payment method.
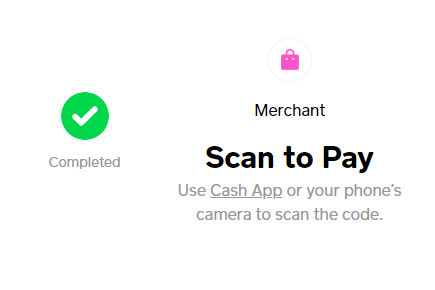
- Click on the Cash App Pay button.
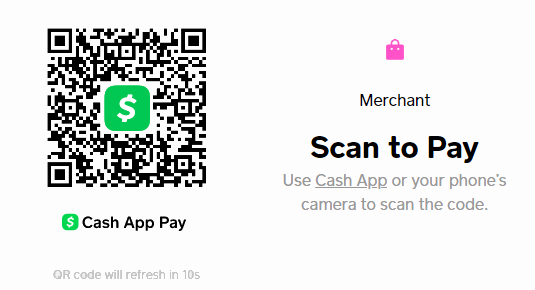
- Once you click the Cash App Pay button, a window will appear with the QR Code.
- Scan the QR Code with your phone.
- A link will appear, click that link, and you will be redirected to the transaction status.
- If the Square is connected with the Test Payment, it will ask for approval.
- Click on the Approve button.
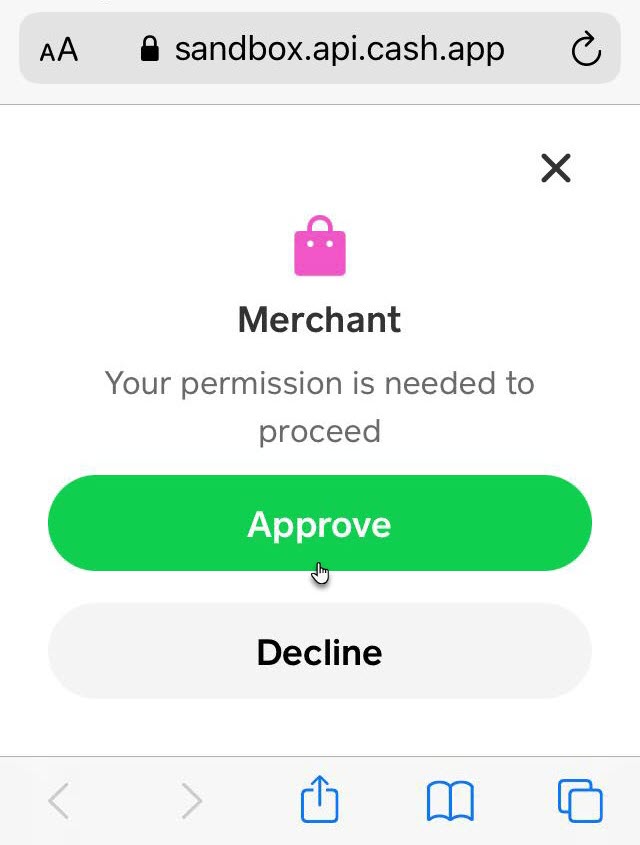
- Once approved, the transaction will proceed to the sandbox.
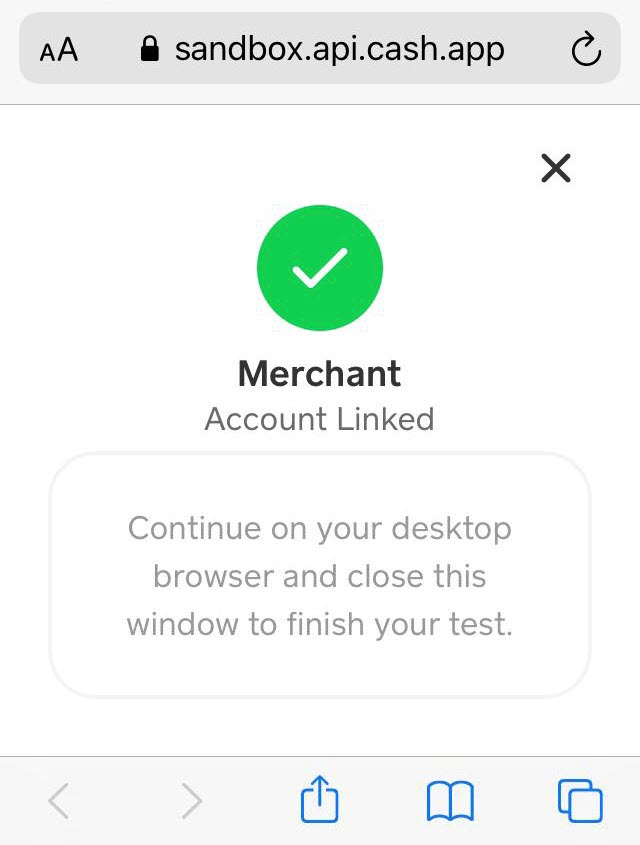
- The order will be completed.
- All the details of the order will appear.
9.Synchronization of Products
- Synchronisation of Products enables us to synchronise items between Square and WooCommerce.
- To activate this module, it will have to be enabled from the Plugin module tab.
- To activate the module, go to the API Square settings tab.
- Navigate to the plugin module tab.
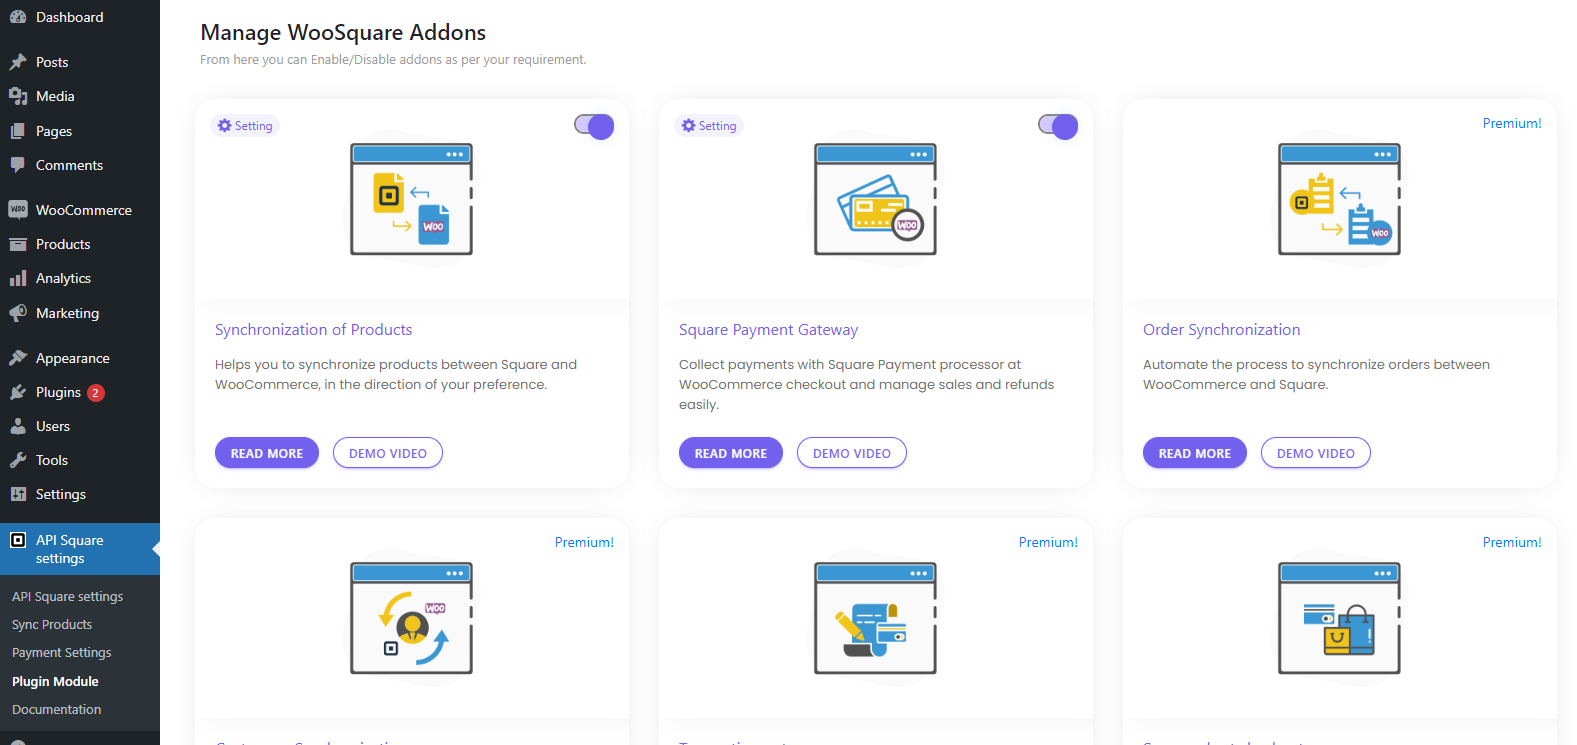
- Enable Synchronisation of Products module.
- After the module is enabled, a sub-tab of the Sync Products tab will be activated inside the API Square settings tab
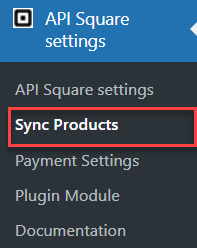
- This tab will have all the settings that will help to synchronise items between both the platforms.
- The settings are used for manual-synchronisation.
- There are a number of settings in this tab to address different functionalities as defined below.
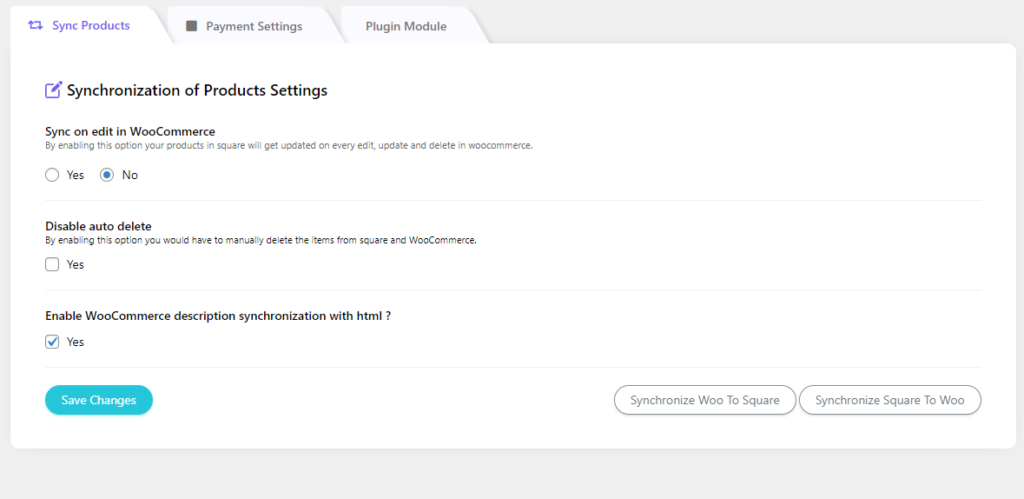
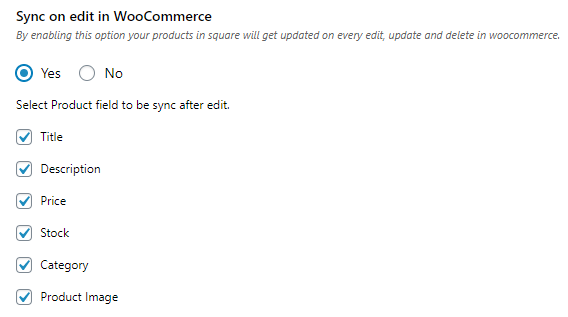
SYNCHRONIZE ON PRODUCT EDIT, UPDATE AND DELETE
- The plugin will edit, update, and delete the synchronized items if this option is selected.
- Editing, updating, and deleting can be done from WooCommerce to Square.
- Any item being edited, updated in WooCommerce will be reflected in Square.
DISABLE AUTO DELETE
- You can check this option if you don’t want the product to be deleted automatically on the other side. For example, if you delete a product on Woocommerce it won’t be deleted on Square.
DESCRIPTION SYNCHRONIZATION
- If selected, this option enables synchronizing product description between both platforms.
- Any changes made in the description of the product from one platform will automatically be tallied and will be visible on the other platform.

9.1.WooCommerce to Square Sync
Sync from woocommerce to square with global/custom attributes.
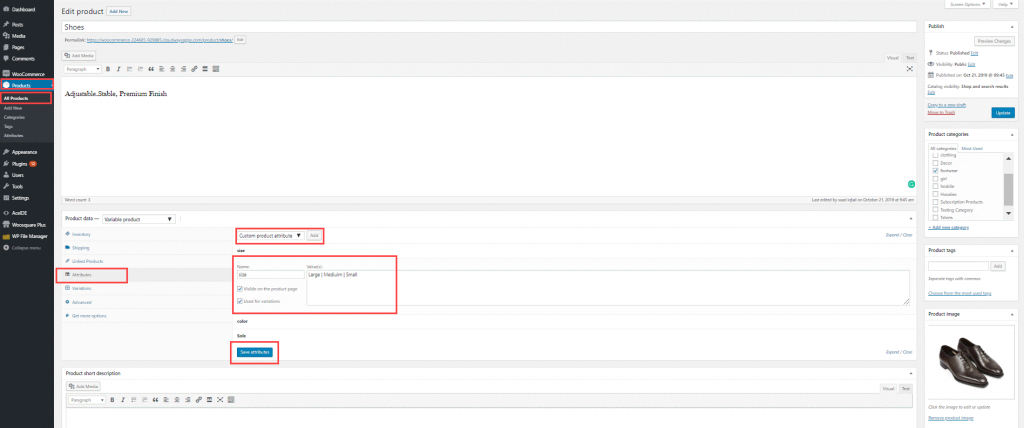
- To introduce custom attributes to a product, navigate to the Attributes tab and select the Custom Product Attribute from the drop-down menu, and click add.
- As the add button is clicked, a custom attribute field will be visible where the name of the attribute and its values can be defined.
- After defining the attribute name and its values checkmark use for variations and click the save attributes button.
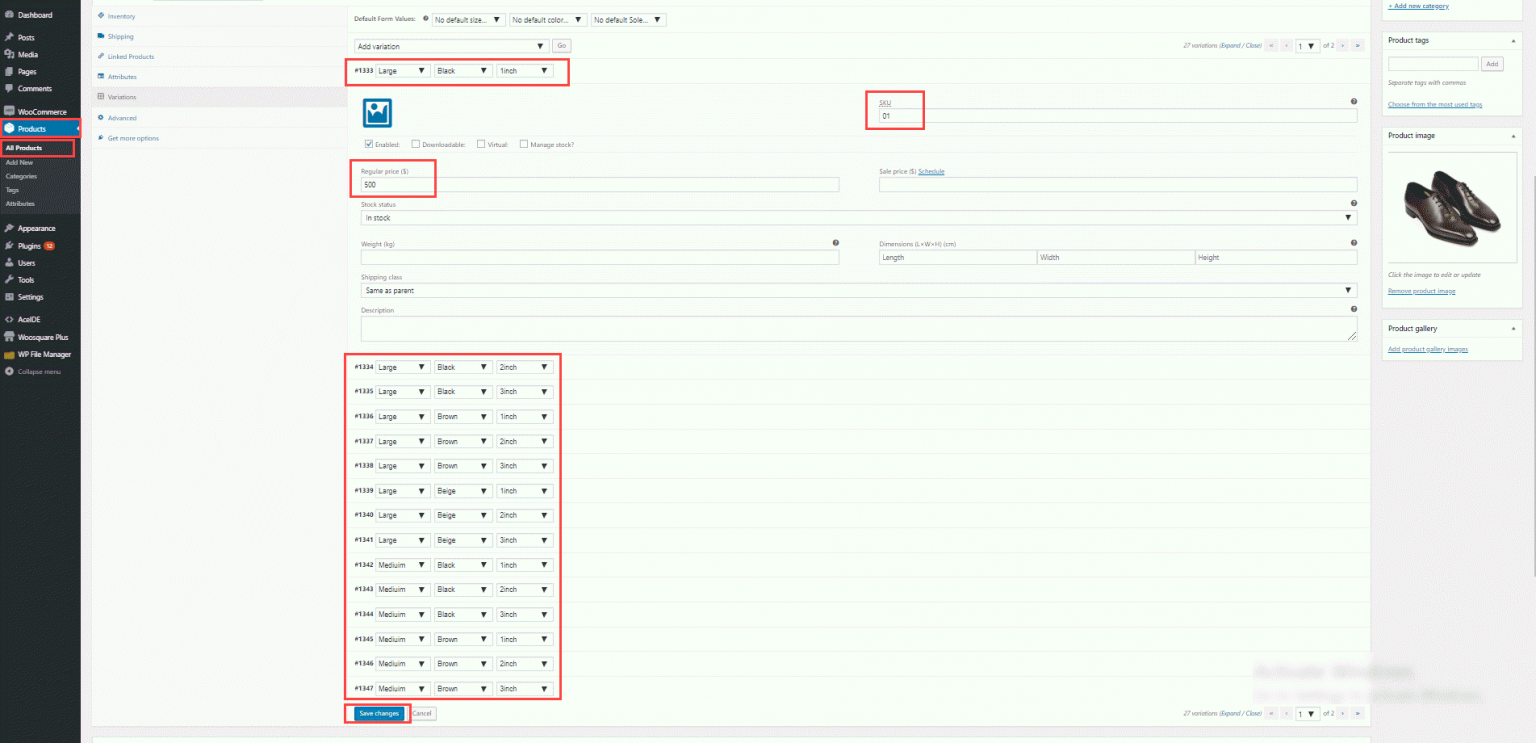
- After defining custom attributes, click on variations tabs and select create variations from all attributes from the drop-down list and click go.
- Define price and SKU for the respective variations and click save changes.
- For a product to be synchronized manually, the Sync Products tab has to be accessed.
- When the Sync Products tab opens there will be a button for Synchronize Woo to Square, Click that button.

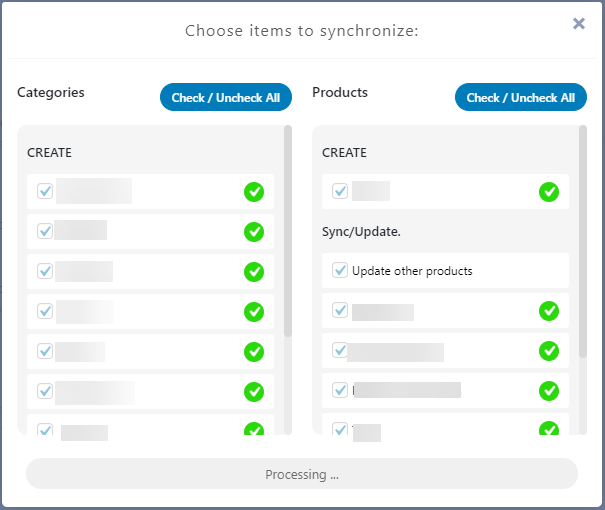
- Once the button is clicked it will display a popup box, which will have the settings for synchronization then you can select the categories and products that you want to sync through selecting them by the checkmark
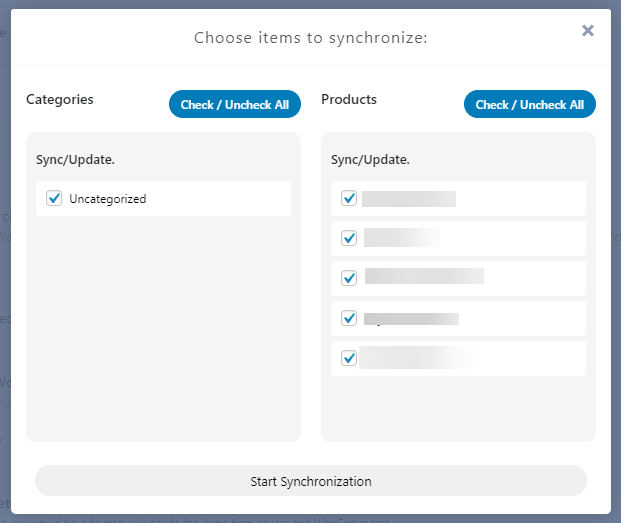
- Once you select, Click the start synchronize button to start the synchronization, the plugin will synchronize all selected categories and products one by one even detecting a new item, if a new item is found from WooCommerce Products, in this case for example: Shoes.
- When an already sync product is edited or something changes so the customer will check the box of Update other products

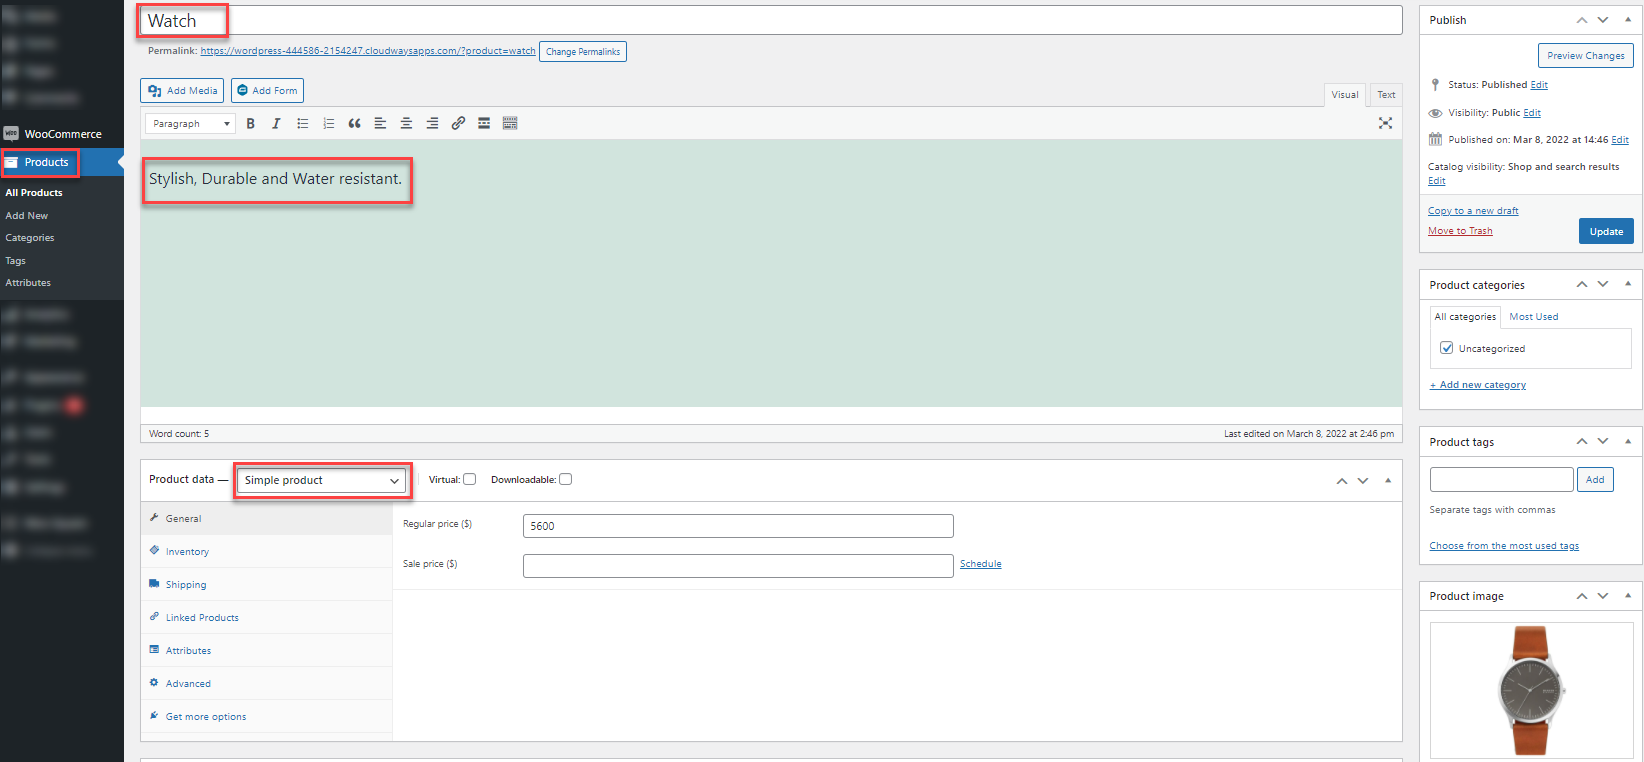
- When the synchronization is completed, product detail will be synced from WooCommerce to Square.
- The product will be visible in the item library or Square account.

- All the product details with variations created from custom attributes will be fetched and synchronized to Square from WooCommerce.
9.2.Square to WooCommerce Sync
Creating a Product in Square
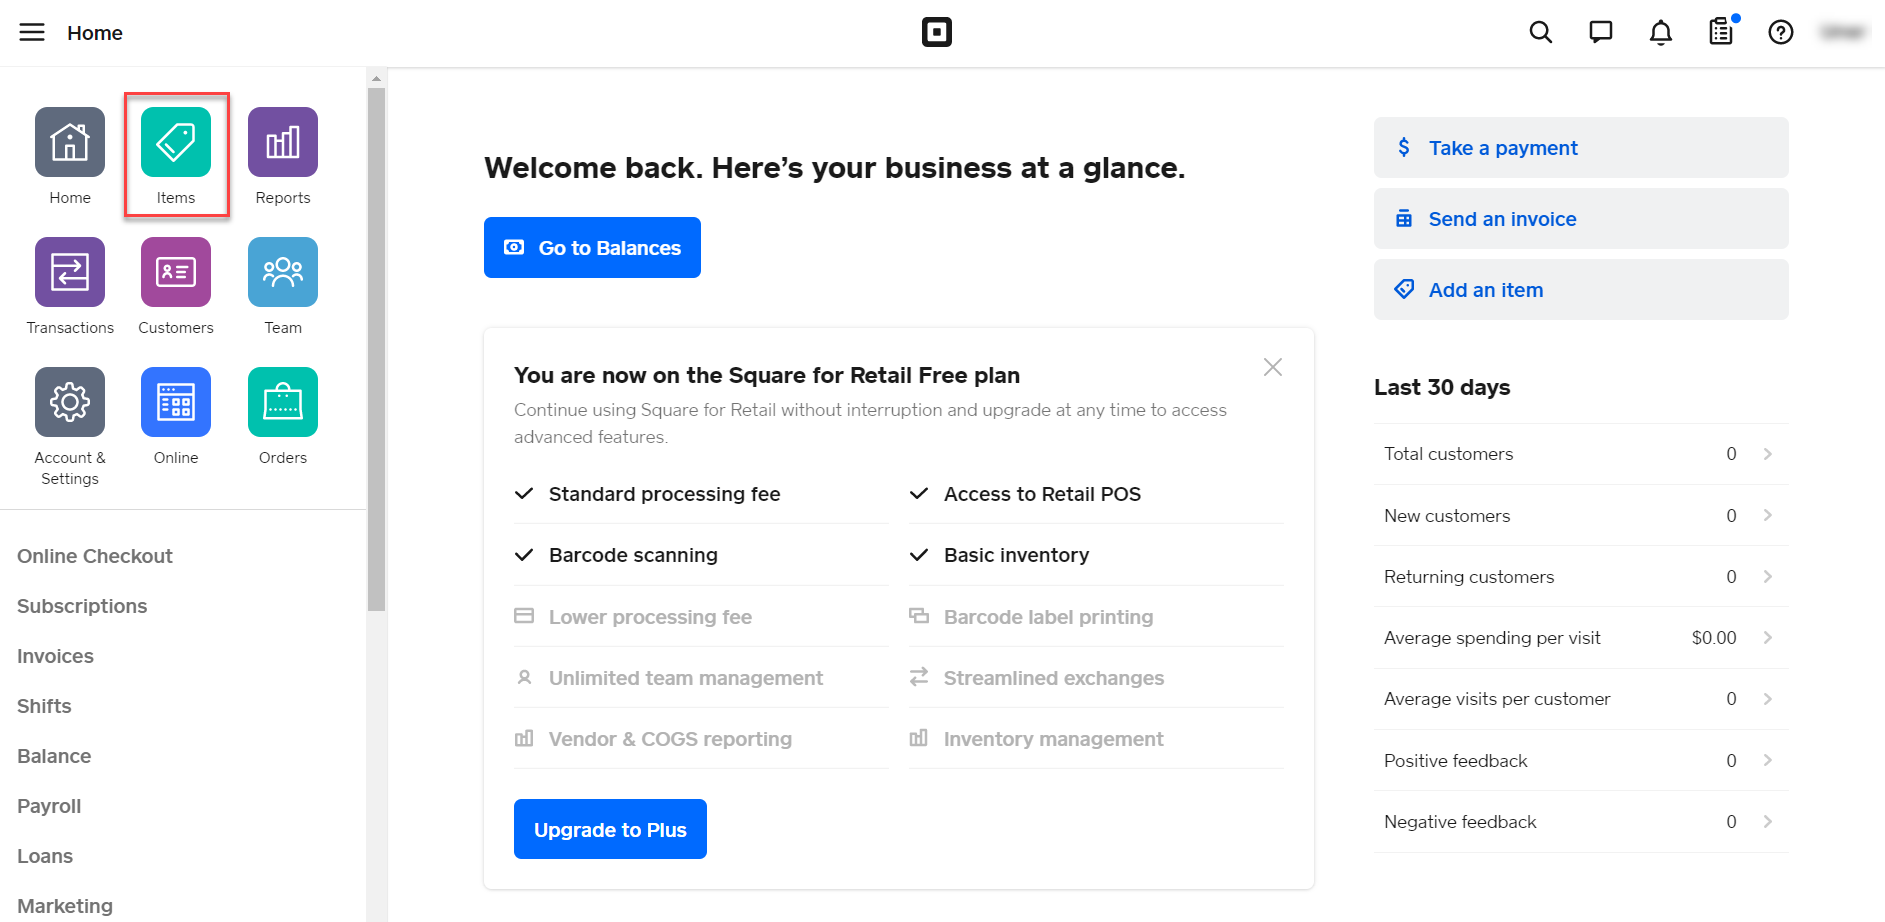
- Login to to Square Account.
- Navigate to seller dashboard.
- After the dashboard has loaded, an option of items will be visible from the side menu. Click this option to excess the Square item creation and customization page.
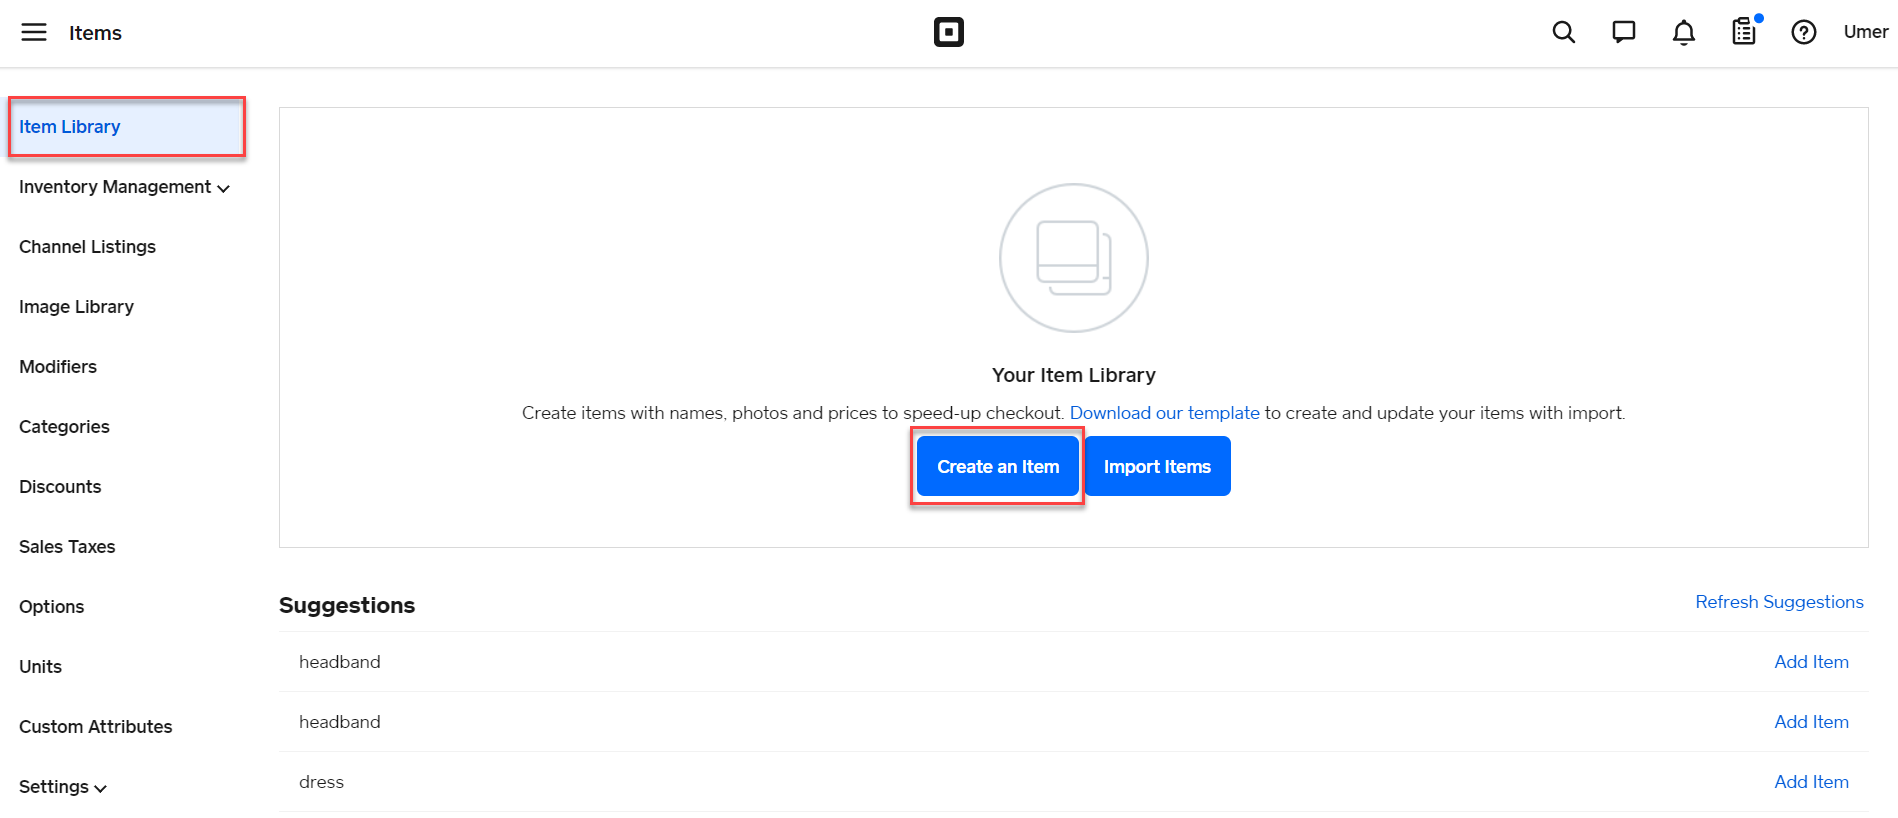
- After clicking Items, page will be redirected to Square item Library where items can be created or edited for Square store.
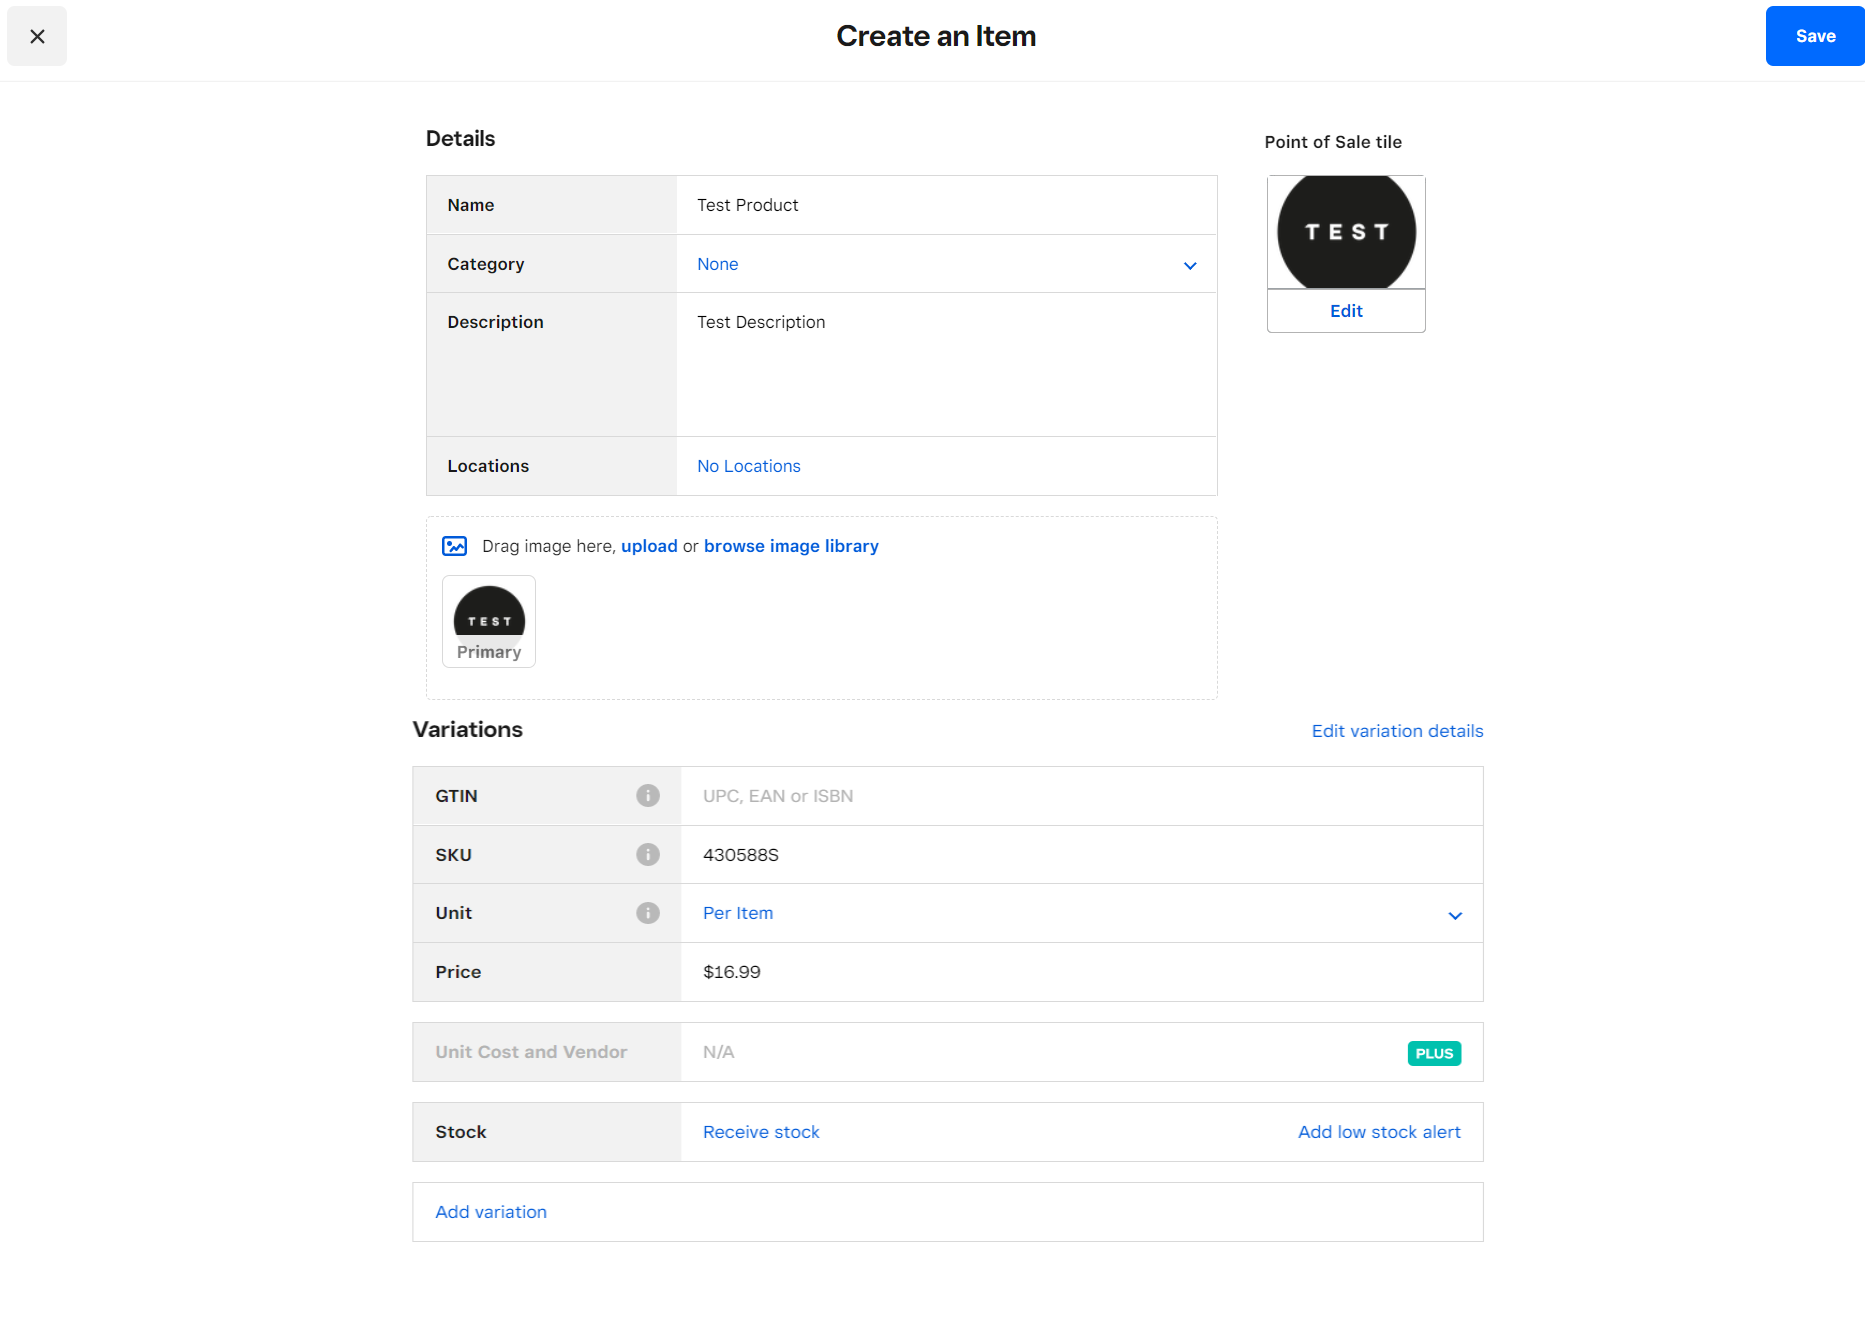
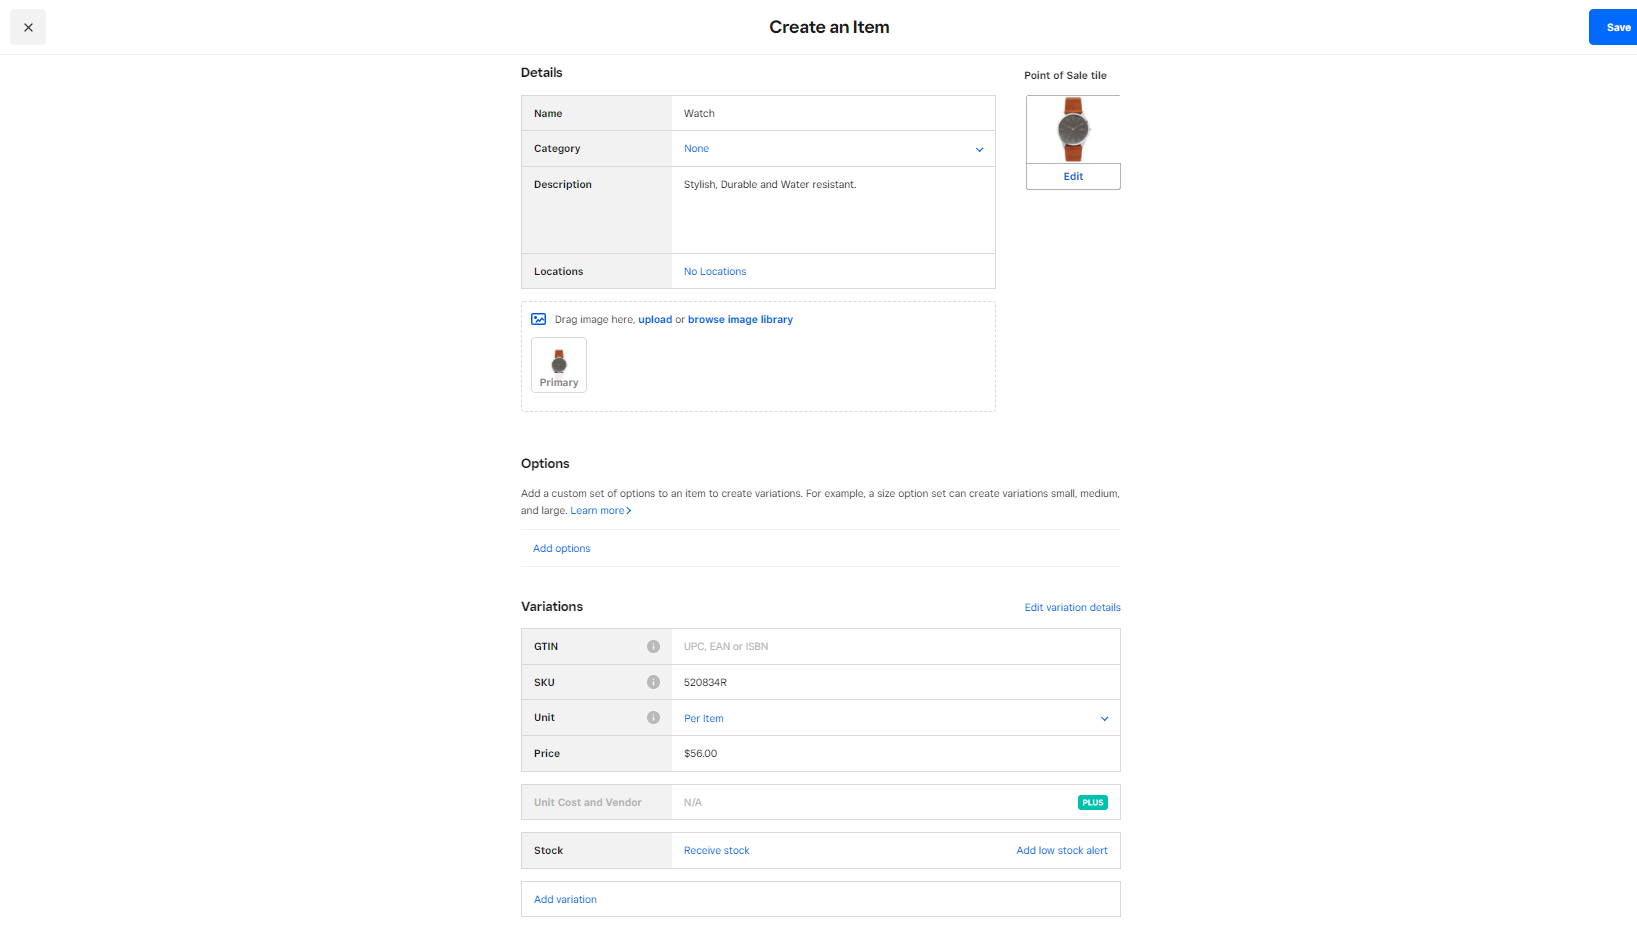
- To create item, click on create an item button.
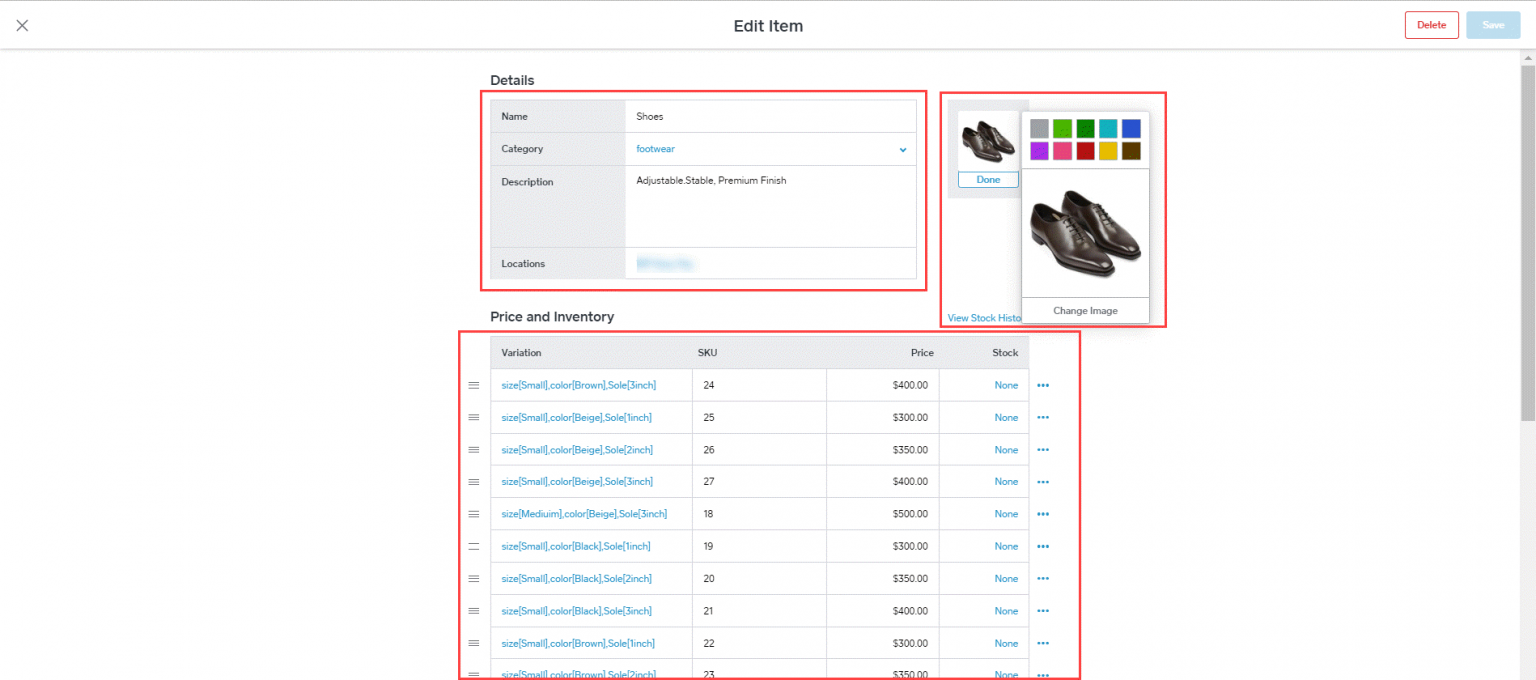
- After clicking on create an item button, page will be redirected where item details can be elaborate.
- Details like name, category, description, location, and image can be defined.
- Price and inventory details of the respective item can also be defined on this page, details can be set in Unit Type, Price, SKU, Stock, and Low Stock Alert.
- After you have entered the product details, click the save button.
- Variations can also be added to the product by clicking on Add variation. Custom Variation Attributes will be provided for every individual variation being created, to create multiple variations click create and add another button .click done button after the required or preferred variations have been created.
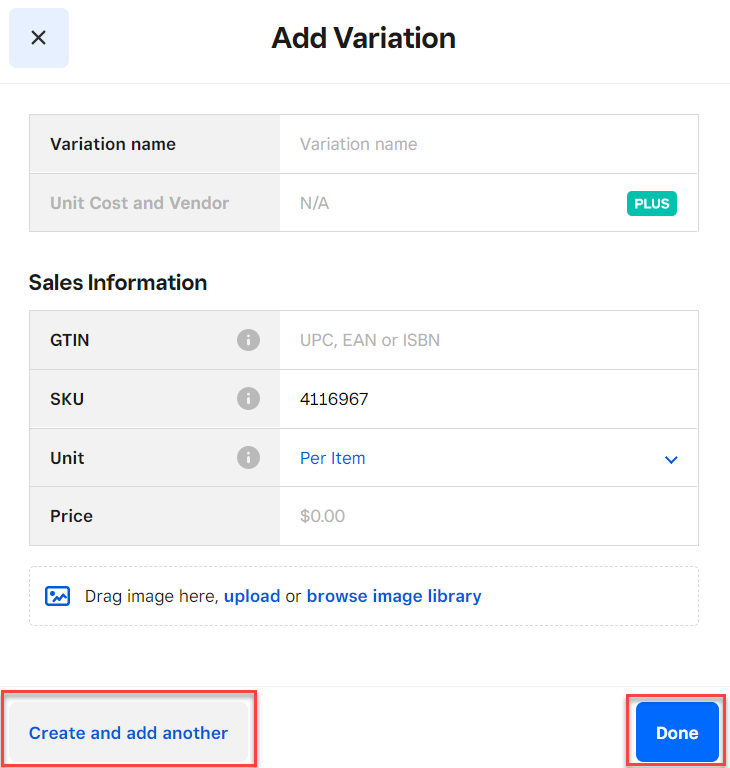
- After the variations have been created click the save button.
- Variations have to be created correctly. Example: color[blue], size[small].
- In the below example, size is the global attribute created in Woosquare Pro.
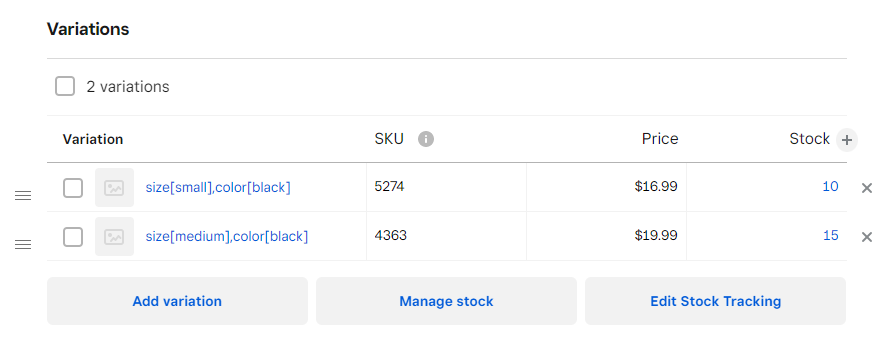
- Items will be created and listed in the item library page.

Manual synchronize with simple/variable product and global/custom attributes
- For the product to be synchronized, the Sync Products tab has to be accessed.
- When the Sync Products tab opens there will be a button for Synchronize Square to Woo, Click that button.
- As this button is clicked it will display a popup box, which will have the settings for synchronization then you can select the categories and products through selecting them by the checkmark.
- When an already sync product is edited or something changes so the customer will check the box of Update other products.
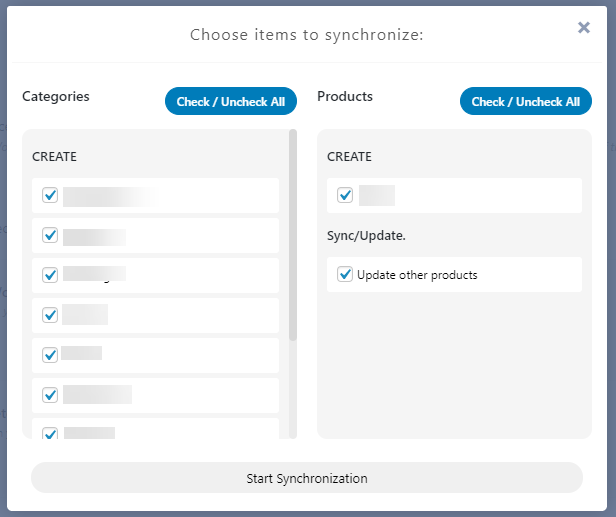
- Click the start synchronize button to start the synchronization. The plugin will synchronize all selected categories and products one by one, even detecting a new item in WooCommerce if a new item is found from Square inventory.
- When an already sync product is edited or something changes so the customer will check the box of Update other products.
- All the product detail is fetched from Square and being synced to WooCommerce in real-time.
- The product created and used for synchronization is a simple product i.e. without any variations, the product will automatically be synchronized as a Simple Product in WooCommerce.
10.Cartflows for Woosquare
- WooSquare also provides integration with Cartflows.
- CartFlows plugin makes a flow of steps that a user goes through your website.
- Cartflow links:
- Available Cartflows step types to choose from:
- Landing Page Step
- Checkout Step
- Upsell Step
- Downsell Step
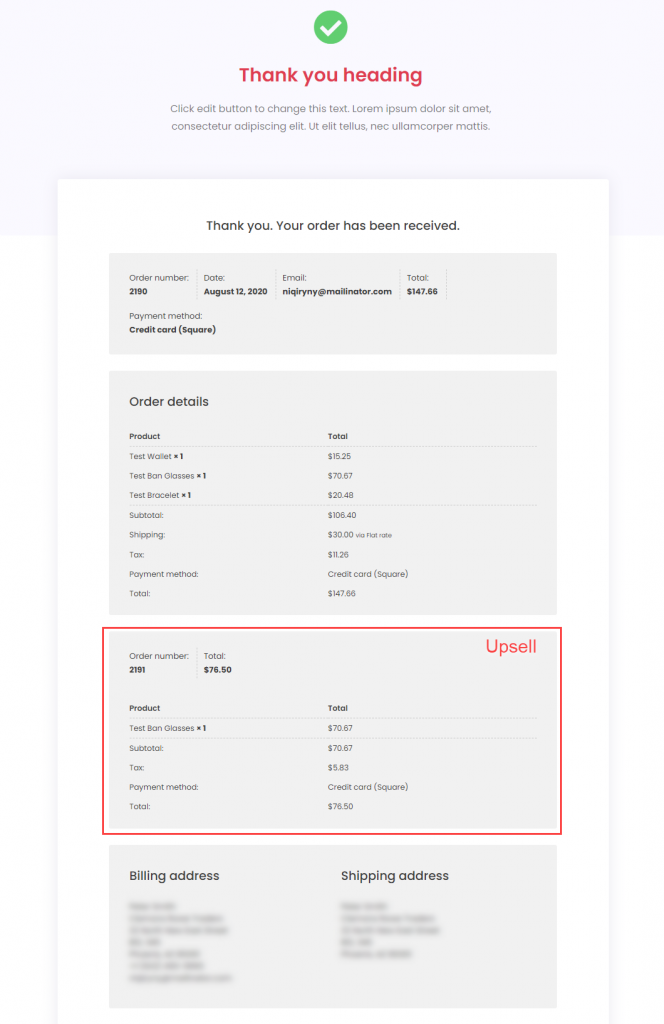
- Thank You Step
- A Cartflow Checkout.
- An Upsell Popup.

- A Downsell Popup.

- A Completed Order through Cartflow checkout with an upsell order.
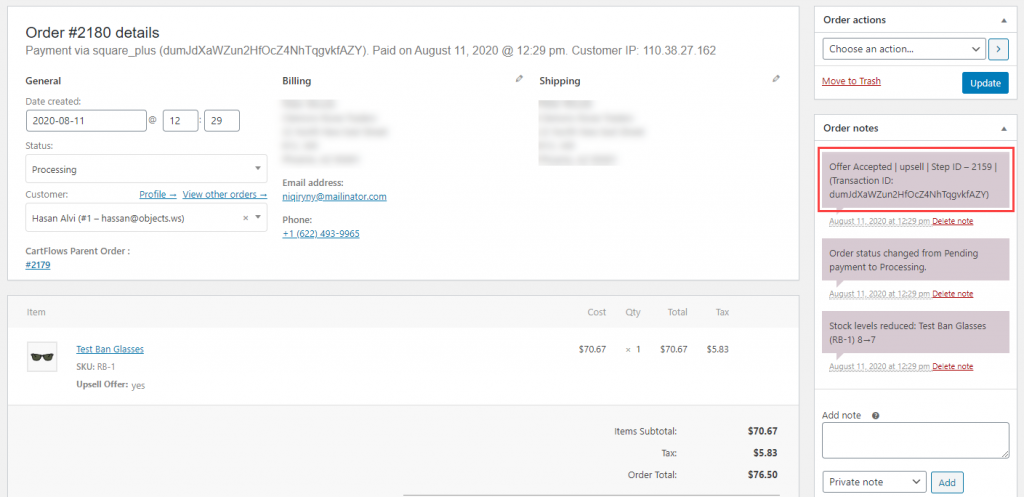
- A Cartflow Upsell order in Woocommerce orders.
- Order in Square.
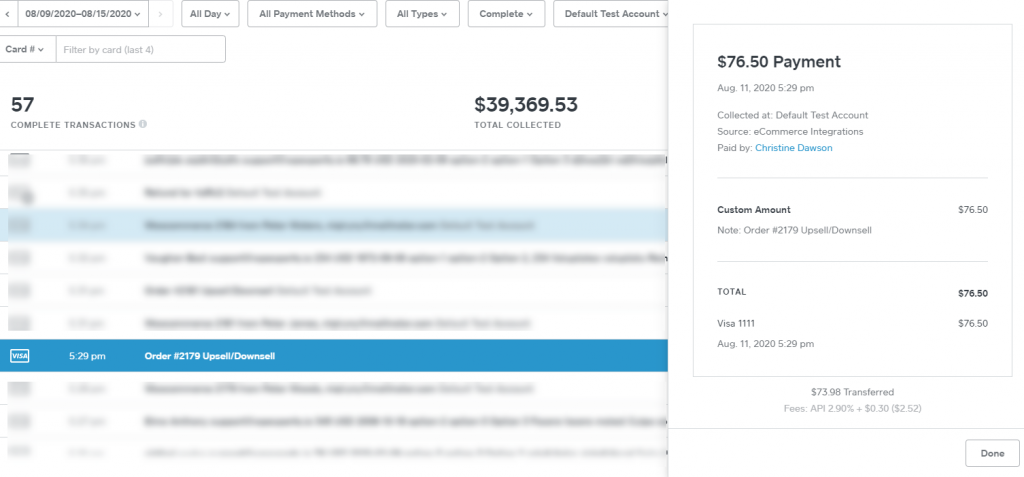
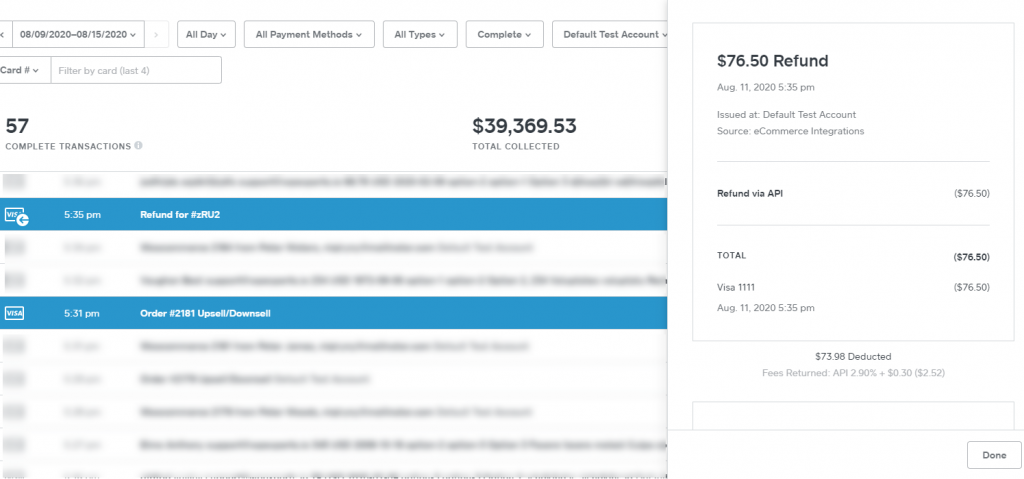
- Upsell/Downsell Refund in Square