1.Introduction
Plugin Purpose
Memberpress Square lets you add Square Payment gateway into your Memberpress memberships. Whether it is a one-time payment now easily collects payments for your membership site with Memberpress Square.
Square is an online payment service that makes collecting one-time payments easy. Accept Payments and Create subscriptions with MemberPress and Square.
Plugin Requirements
Features
- One-Time Square payment
- Recurring Square payments
- Connect Square Sandbox
- Connect Square Live
- View Transactions
- Google Pay (New Feature)
- Apple Pay (New Feature)
- Refund transactions (New Feature)
Installation Guide
- Download the plugin zip file.
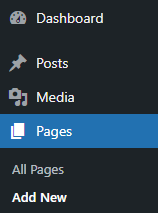
- Navigate to the WordPress Admin Dashboard > Plugins.
- Click on the Add New button in the top left corner.
- Click the Upload plugin button and upload the zip file of the plugin which you have downloaded earlier.
2.MemberPress Payment Gateway Configuration
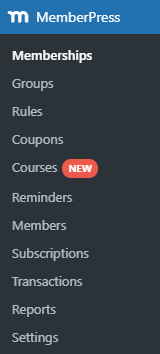
To get started Memberpress plugin is required.
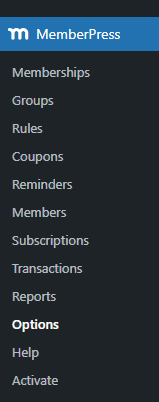
- Go to Admin Dashboard > Memberpress > Options.
- Go to the Payments tab.
- Click on the Add Payment Method icon.
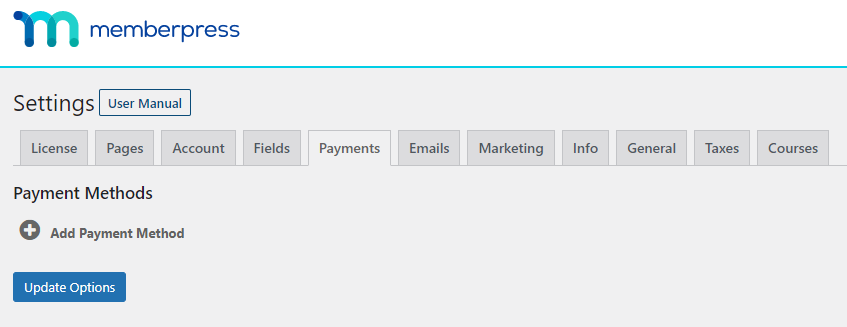
- A popup will appear.
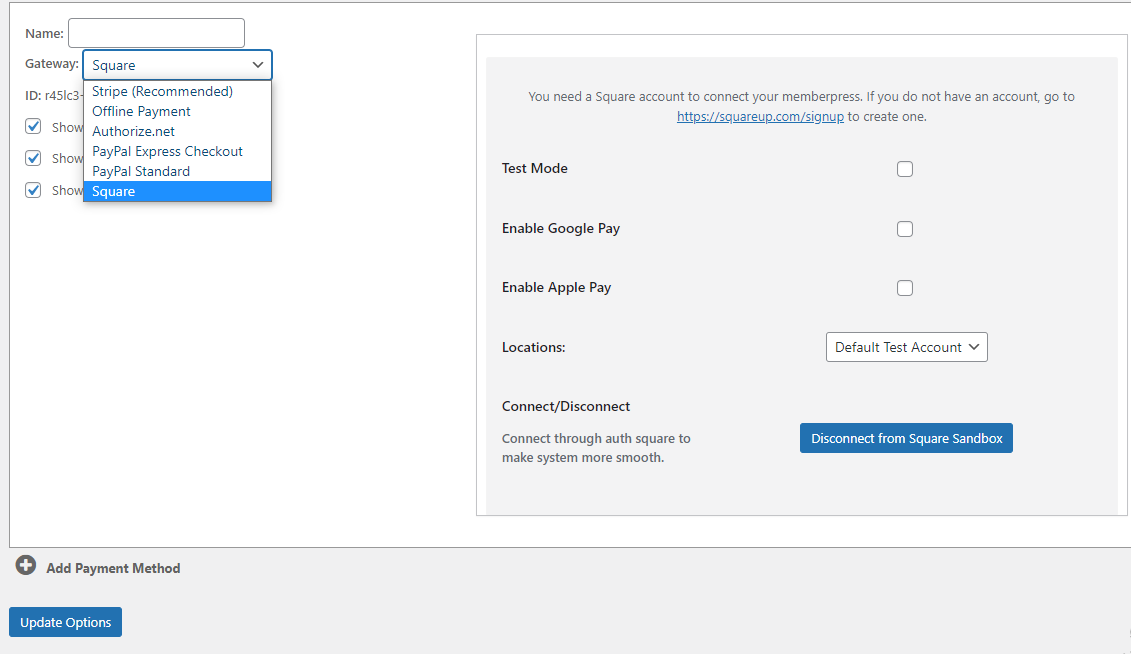
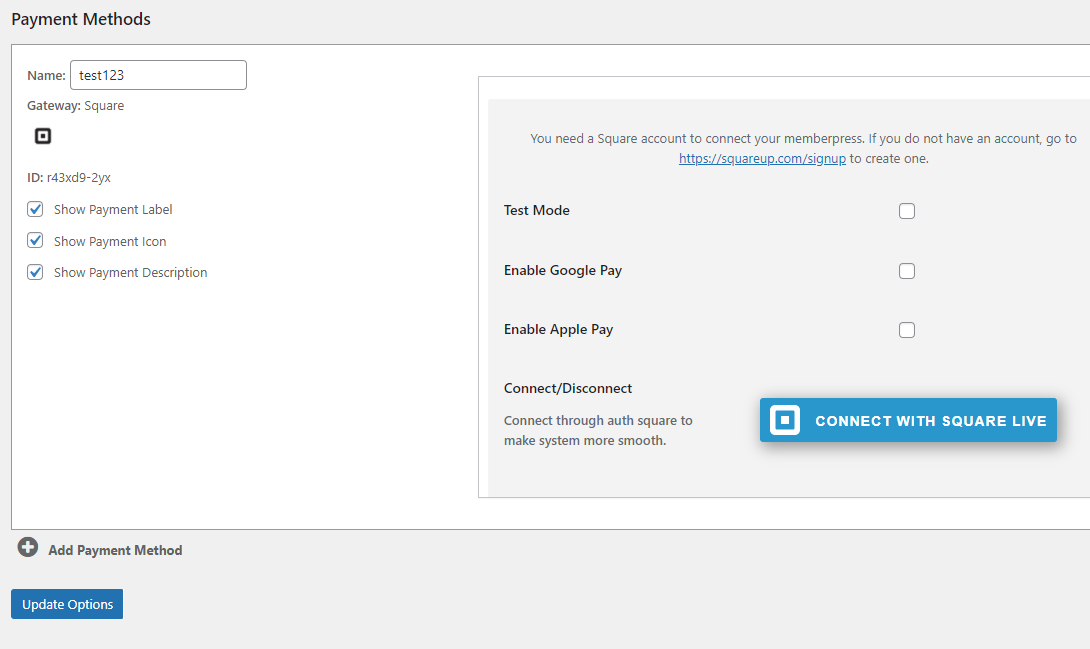
- Insert the name of the payment method.
- Select the Square in the gateway field.
- Connect your Square account and choose either Square Sandbox or Square Live.
Square Live
- Click Connect with Square Live.
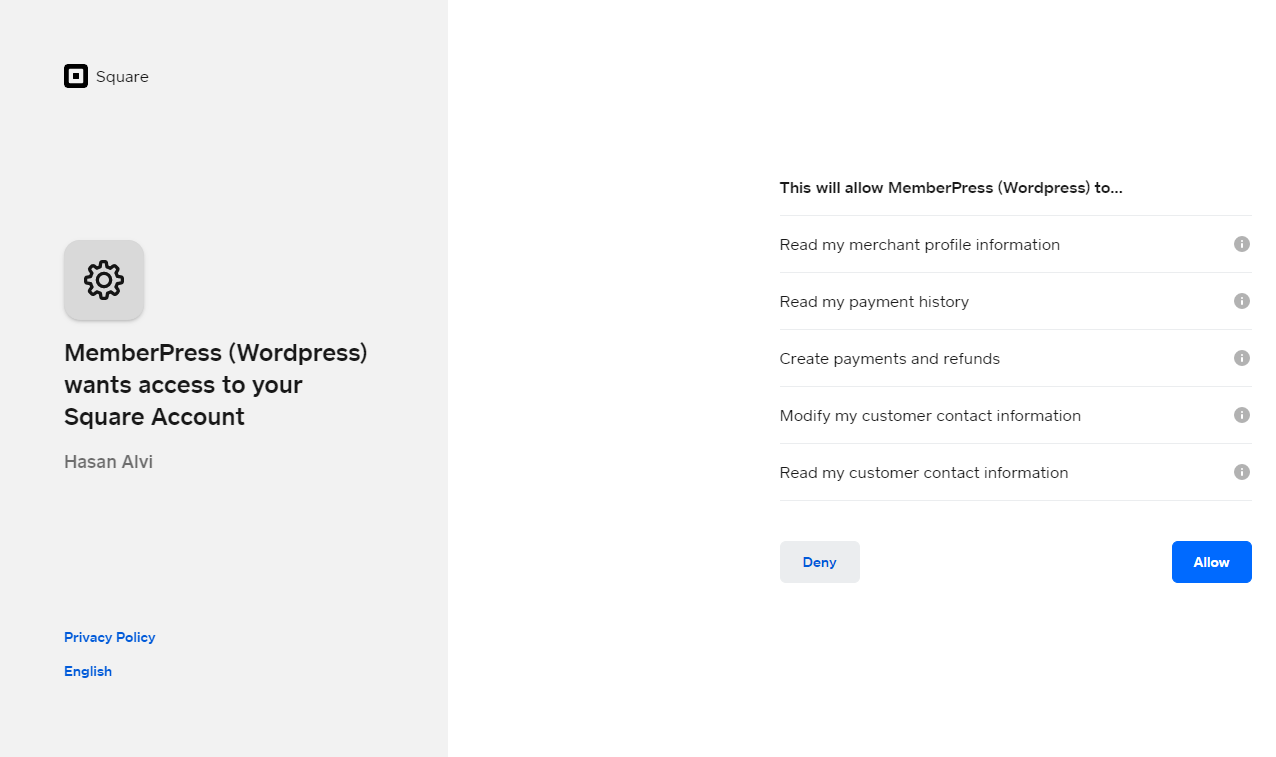
- You’ll be redirected to Authentication Page.
- Login into your Square Account.
- Click Allow.
- Click Update Options.
Square Sandbox
- You can also Enable the test mode for test transactions
- Click Update Options.
- Click Connect with Square Sandbox.
Note: For using Test Mode square sandbox test account must be opened on another tab(https://squareupsandbox.com/dashboard).
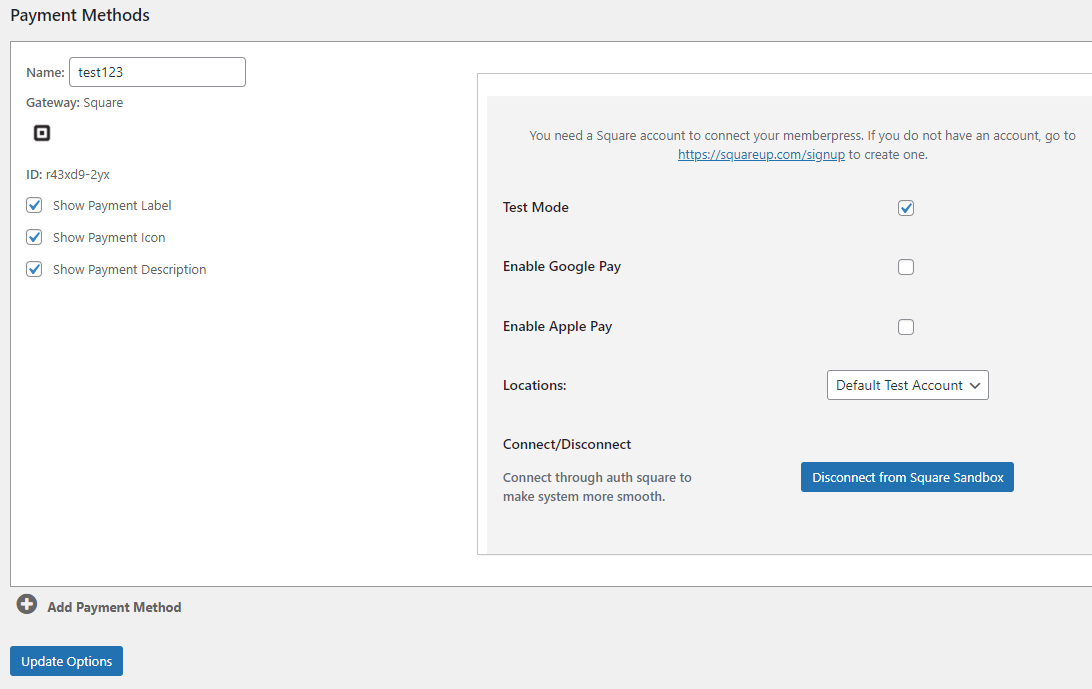
- Click Update Options.
3.Google Pay
- Go to Memberships ➜ Membership Options ➜ Registration Tab.
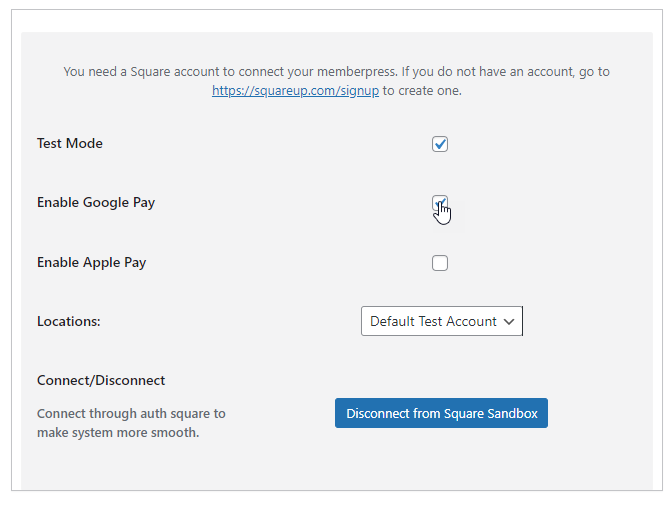
- Payments can also be made on Memberpress Square through Google Pay.
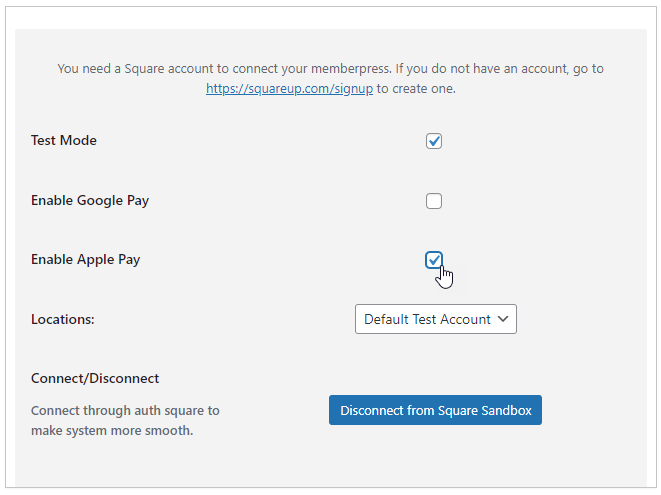
- Just go to the added Square payment method page.
- Enable Google Pay checkbox.
- Click Update Options.
Note: Recurring payments doesn’t work with Google Pay.
Front-End Impact
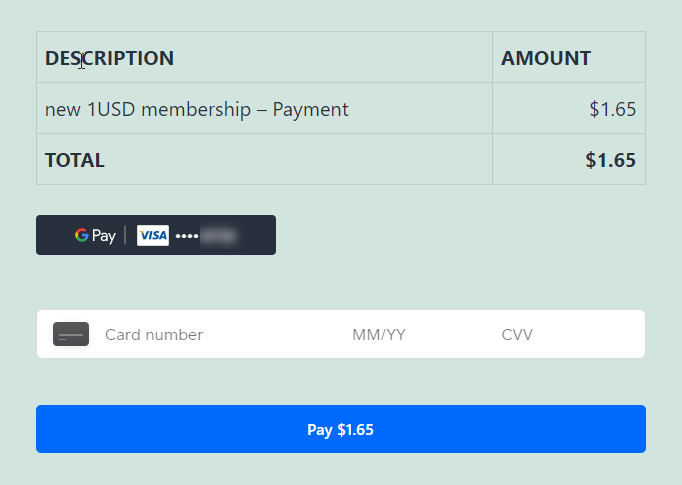
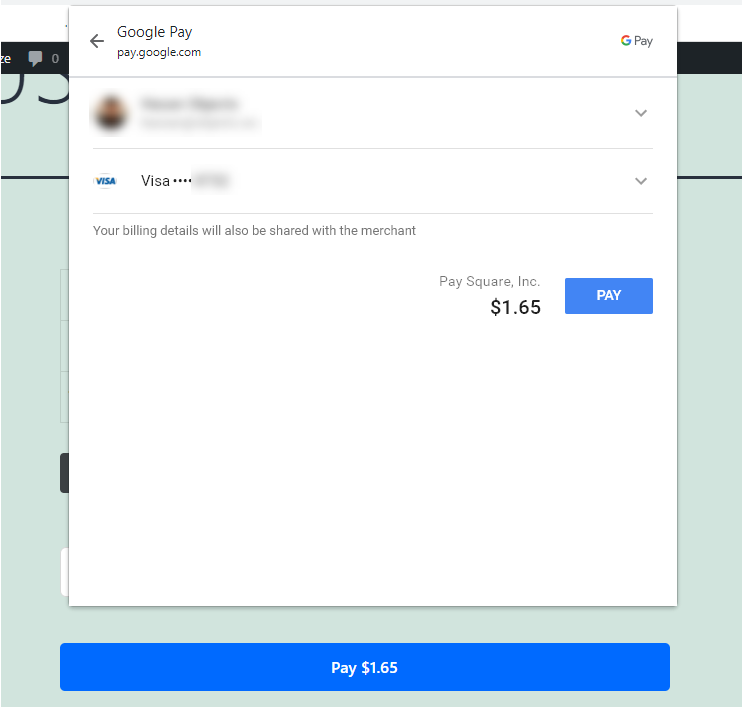
- Click the Google Pay button to make payment.
- Login to your Google account.
- Click Pay.
4.Apple Pay
- Payments can also be made on Memberpress Square through Apple Pay.
- Just go to the added Square payment method page.
- Enable Apple Pay checkbox.
- Click Update Options.
Note: Recurring payments doesn’t work with Apple Pay.
5.One Time Payment
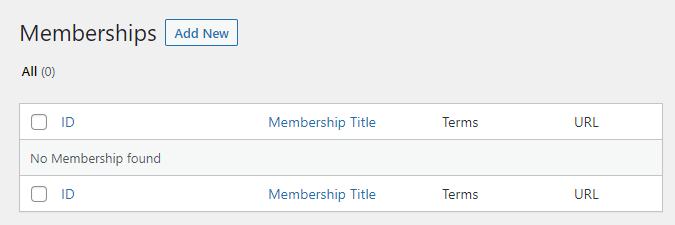
- Go to Admin Dashboard > MemberPress > Memberships.
- Click on the Add New button.
- Enter the Title of your membership.
- In the Membership Terms section,
- Enter the Price.
- Select billing type as One-Time.
- Select access according to your requirement.
- Once done, click on the Publish button.
- In the Membership Options section, there are 4 tabs,
- Registration
- Permissions
- Price Box
- Advanced

- Go to the Registration tab,
- Checkmark the Customize Payment Methods checkbox.
- A sub-option Active Payment Methods will appear now, checkmark the Square for Memberpress checkbox.
- Now click on the Update button to save your settings. (Once you’ve clicked the Publish button, the label changes to Update)
- Go to Admin Dashboard > Pages > Add New.
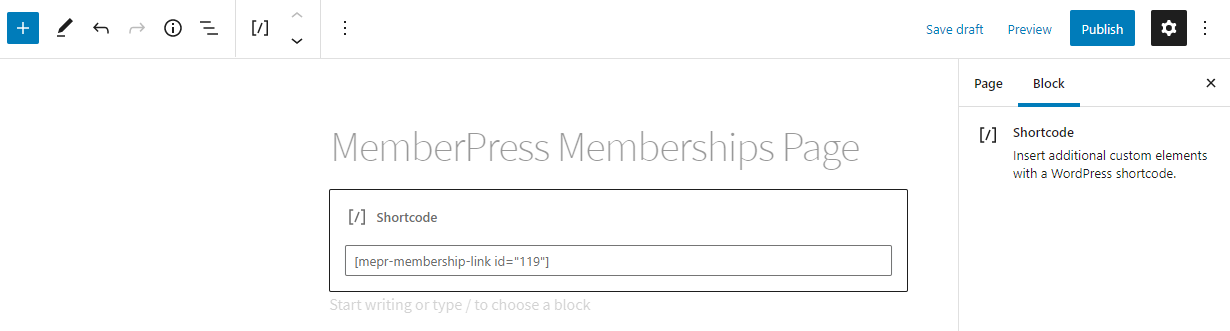
- Add the title of the page and then click on the Add Block (+ icon) and select Shortcode.
- Now enter the shortcode: [mepr-membership-link id=” ID of your Membership ”] to enable the membership on the front-end.
- You can find the ID of Membership by navigating to Admin Dashboard > Memberpress > Memberships.

In our case, the Membership we created has ID= 199 so our shortcode would be [mepr-membership-link id=” 119 ″].
- Click on the Publish button to save your changes
Front-End Impact
- Go to your site.
- Go to the page where you pasted your shortcode.
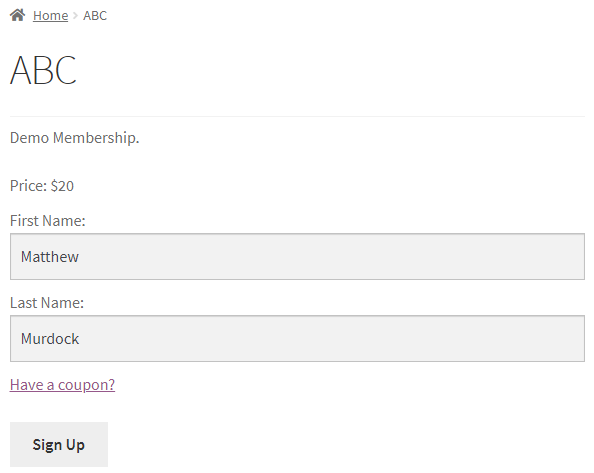
- The Title of that membership will be present on that page.
- Click on the Title to open the membership.
- Enter the required credentials.
- Click on the Sign Up button.
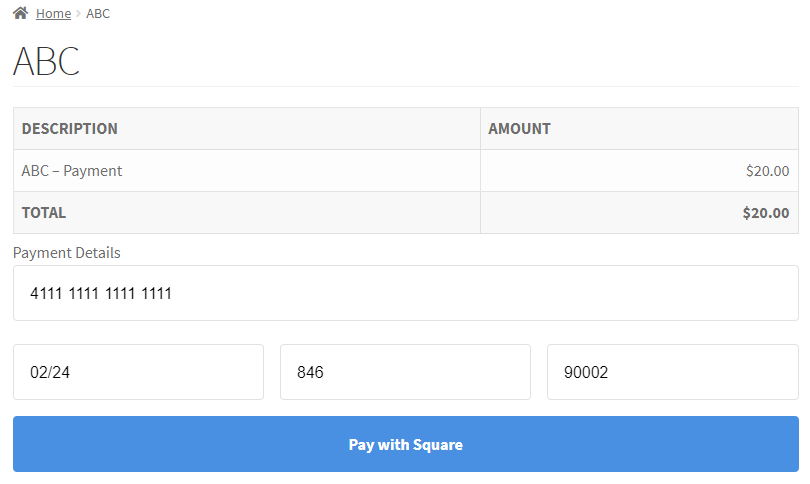
- Now you’ll be redirected towards the payment gateway.
- Enter the required card credentials.
- Click on the Pay with Square button.
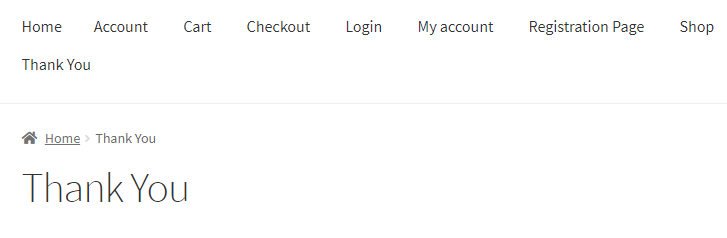
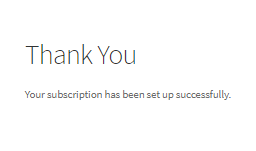
- Once the payment is successful you’ll be redirected towards the Thank You page.
6.Recurring Payment
Note: Recurring payments doesn’t work with Google Pay and Apple Pay.
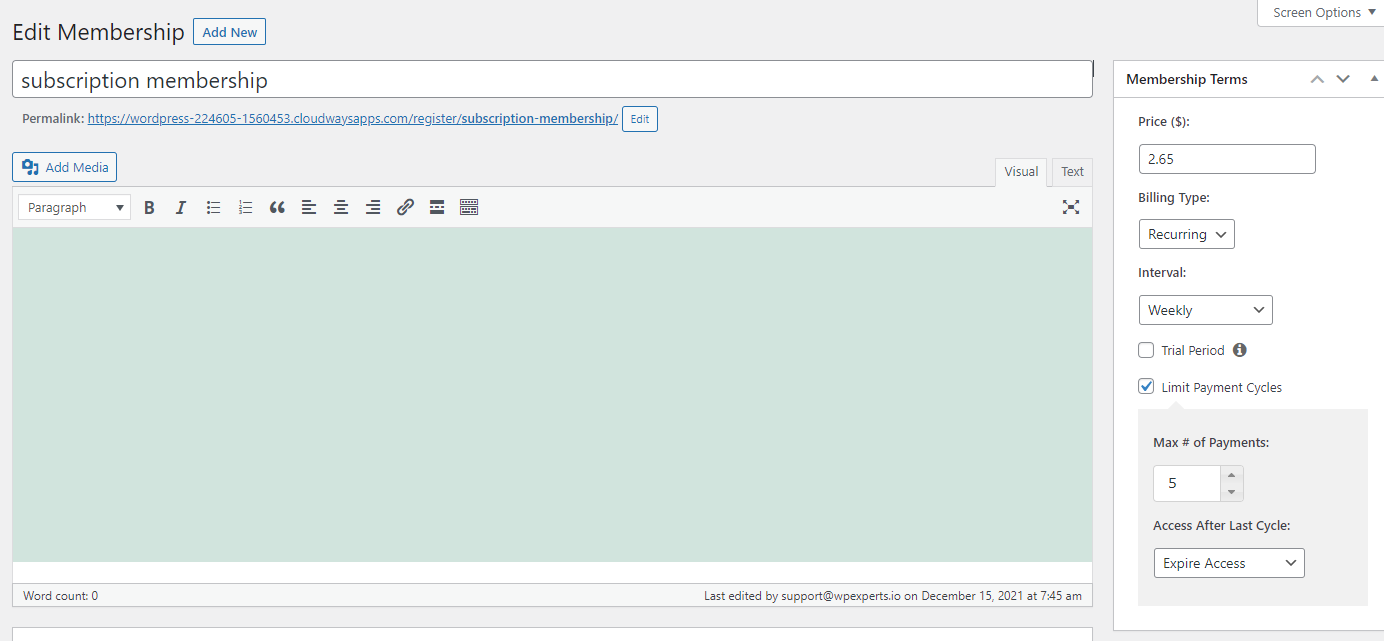
We have selected the Recurring as Billing type. At first, we have selected both Trial period and Limit Payment cycles as shown below in the first screenshot.
Second, we have selected the Trial period only as shown below in the second screenshot and last we have selected Limit Payment Cycles only as shown below in the third screenshot.
Trial Period
- Go to Dashboard Admin Dashboard > MemberPress > Membership
- Add new membership and set the Billing Type as Recurring.
- Checkmark the Trail Period type and publish/update it.
4. Once done, click on the permalink is created which is mentioned below the Membership title. Click on the link.
5. Fill the form according to your credentials and click on Square Sandbox and signup.
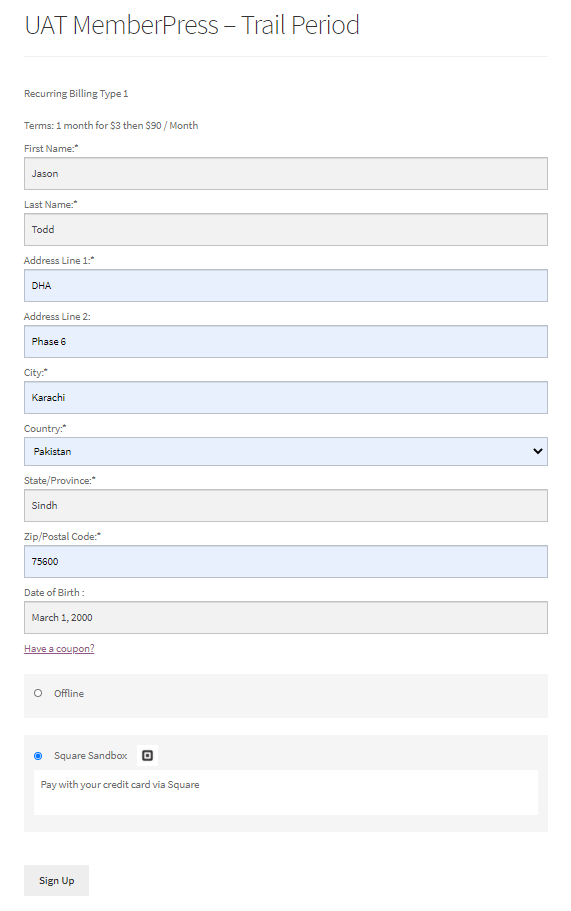
6. Now fill in your card credentials and click on Pay with Square.
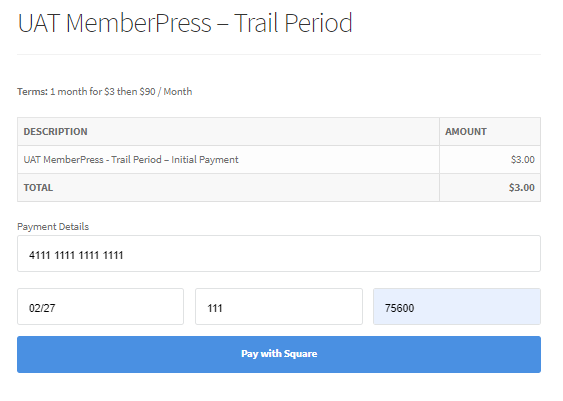
7. Once the transaction is successful, a Thank you message will appear.

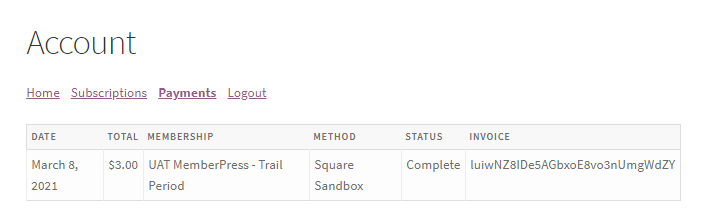
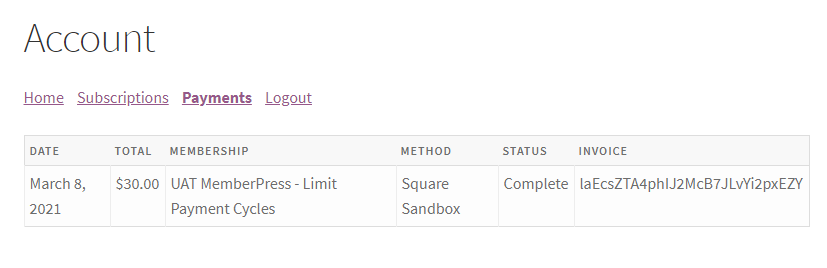
8. You can view your payment logs on the Account page > Payments.
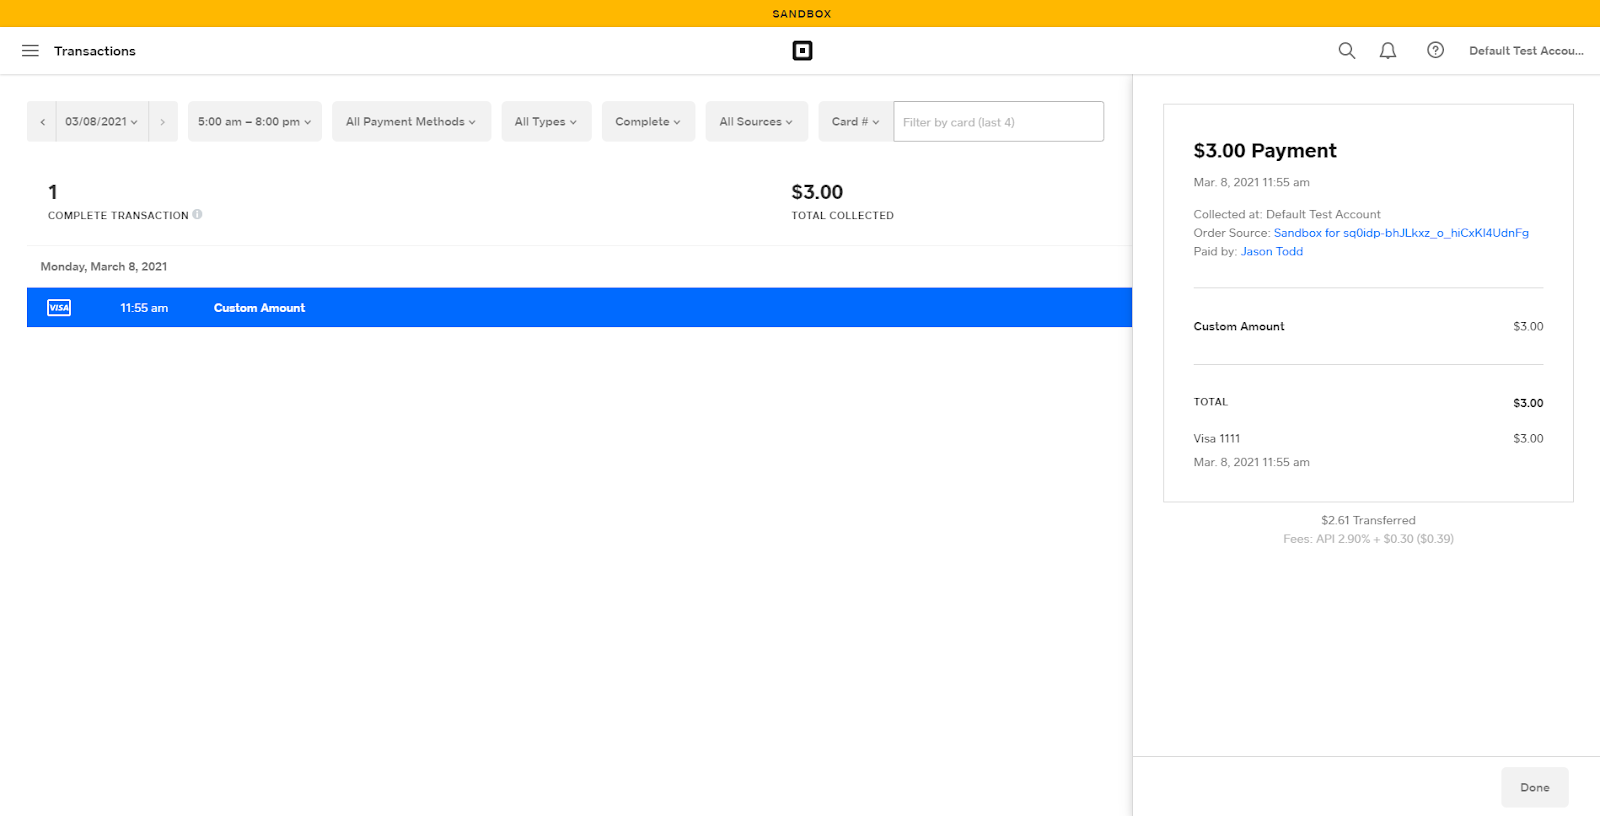
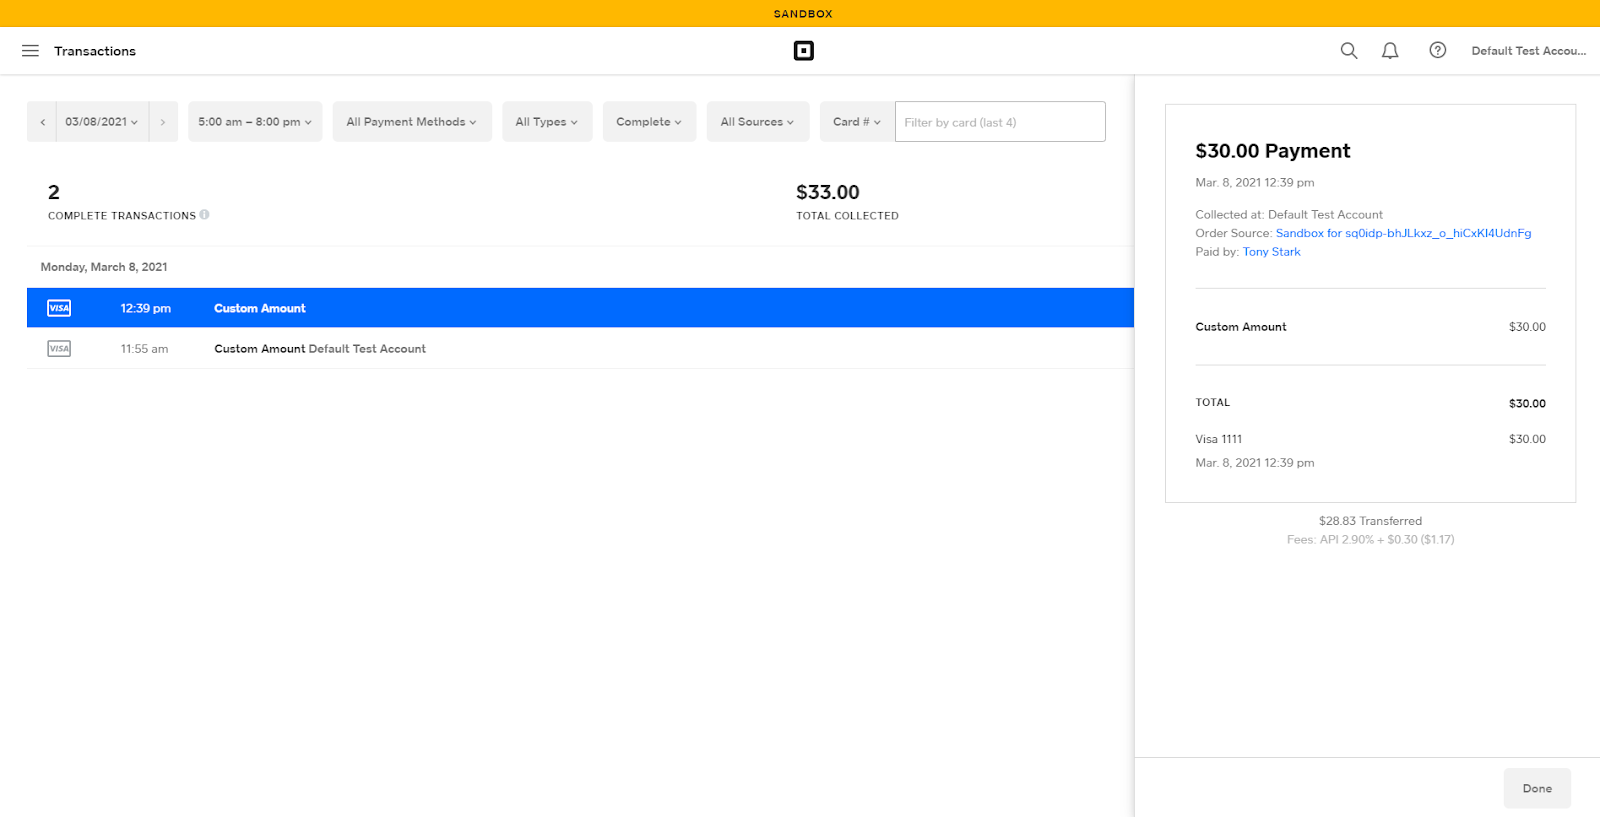
9. Now go to your Square Sandbox account and view your transaction log.
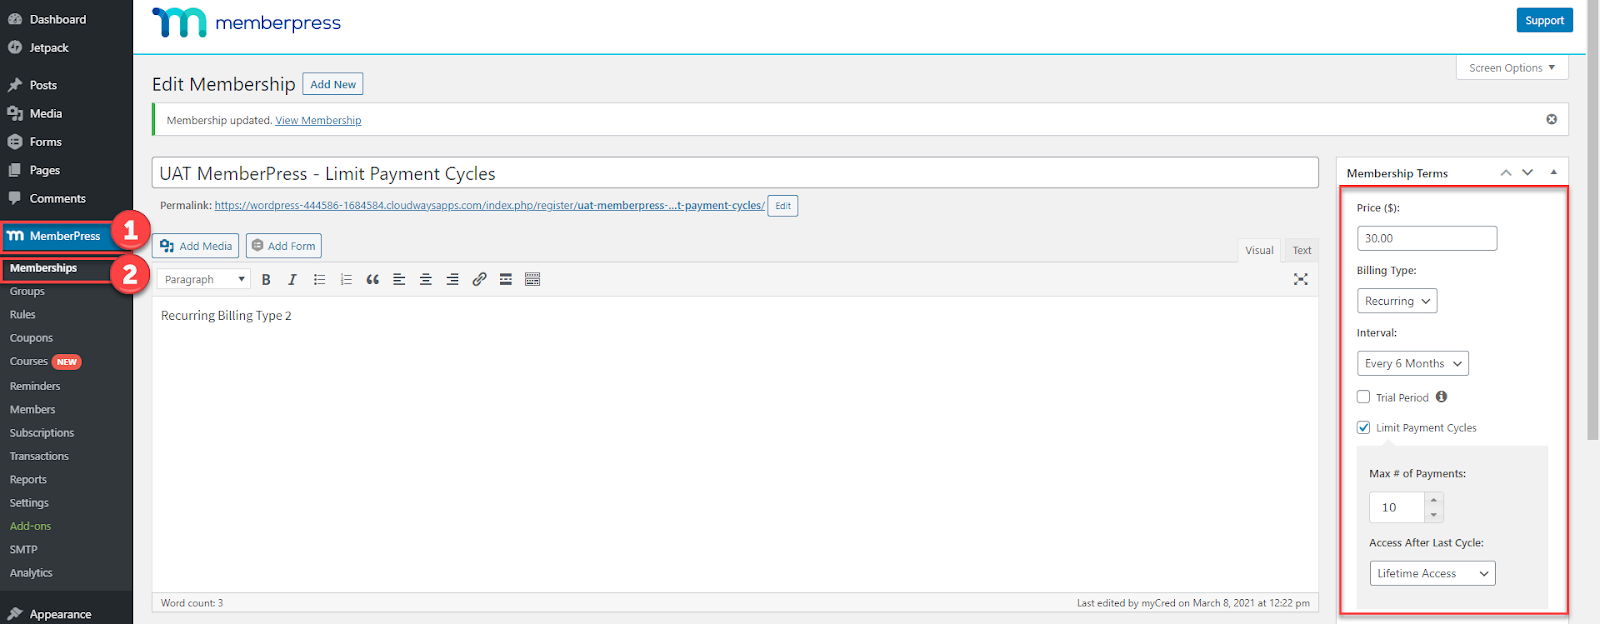
Limit Payment Cycle
1. Go to Dashboard Admin Dashboard > MemberPress > Membership
2. Add new membership and set the Billing Type as Recurring.
3. Checkmark the Limit Payment Cycle type and publish/update it.
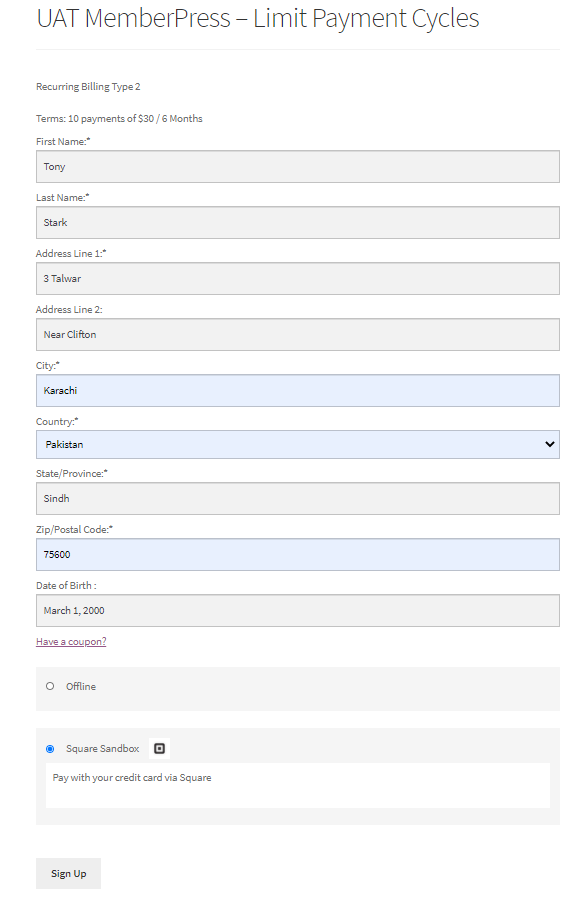
4. Once done, click on the permalink is created which is mentioned below the Membership title. Click on the link.
5. Fill the form according to your credentials and click on Square Sandbox and signup.
6. Now fill in your card credentials and click on Pay with Square.
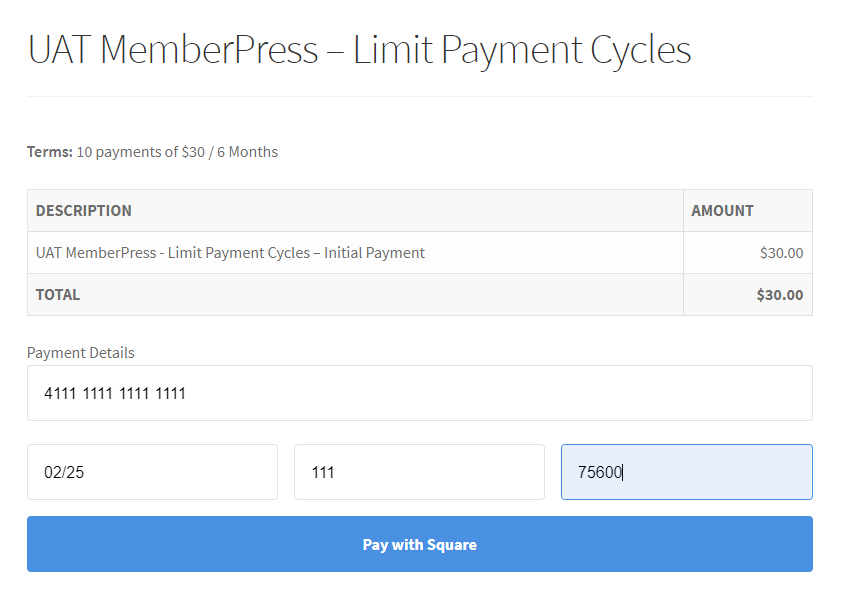
7. Once the transaction is successful, a Thank you message will appear.
8. You can view your payment logs on the Account page > Payments.
9. Now go to your Square Sandbox account and view your transaction log.
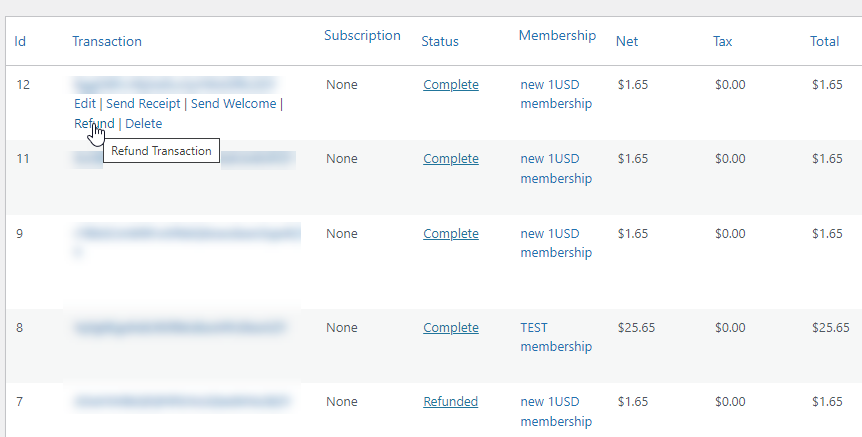
7.Transactions
- Go to Admin Dashboard > MemberPress > Transactions.
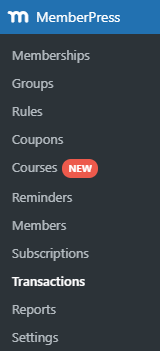
- All the transactions are present here along with all the details.

- Transactions can also be refunded through Square.
- Just click the refund option on the transaction you want to refund.
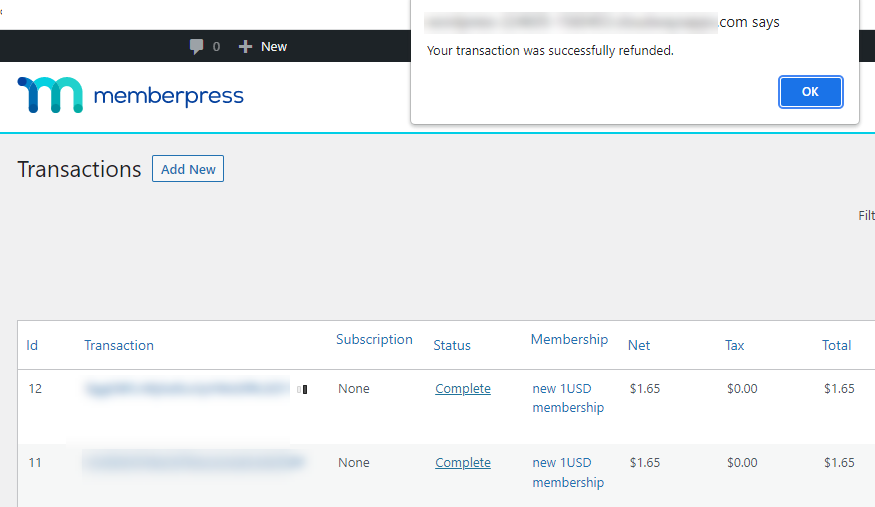
- Popup after refund.
8.Square Account
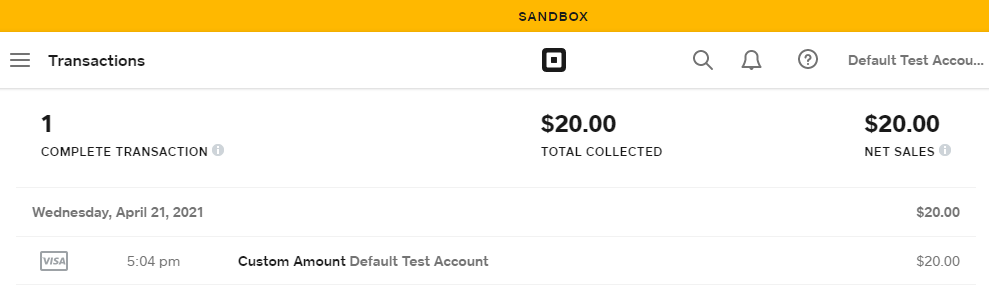
- Go to your Square account (We are using Square Sandbox).
- Select the Sandbox Test Accounts.
- Go to Transactions.

- The successful transactions are present here.