
1.Introduction
WorldPay payment gateway that integrates with Gravity Forms that allows users to use normal payment. And refund option.
Plugin Features:
- Integrated with Gravity Forms
- Use a Worldpay Payment Gateway for Gravity Form
- Admin has an option to refund
2.Plugin Setup
A. Installation Guide:
- Signup or Login with your existing “Gravity Forms” account.
- Download the plugin zip file from gravityform.com/my-account page.
- Navigate to WordPress Admin Dashboard > Plugins
- Click on the“Add New” button in the top left corner.
- Click the “Upload” plugin button and upload the zip file of the plugin which you have downloaded earlier.
- Once the plugin has been successfully installed then click the “Activate” button.
B. Prerequisites:
3.Plugin Description
A. Worldpay Gateway Settings:
1. You must have a Worldpay account.
2. Login to your Worldpay account.
3. Then go to Settings > API keys
4. In the API keys section, find the following details:
I. Service Keyii. Client Key
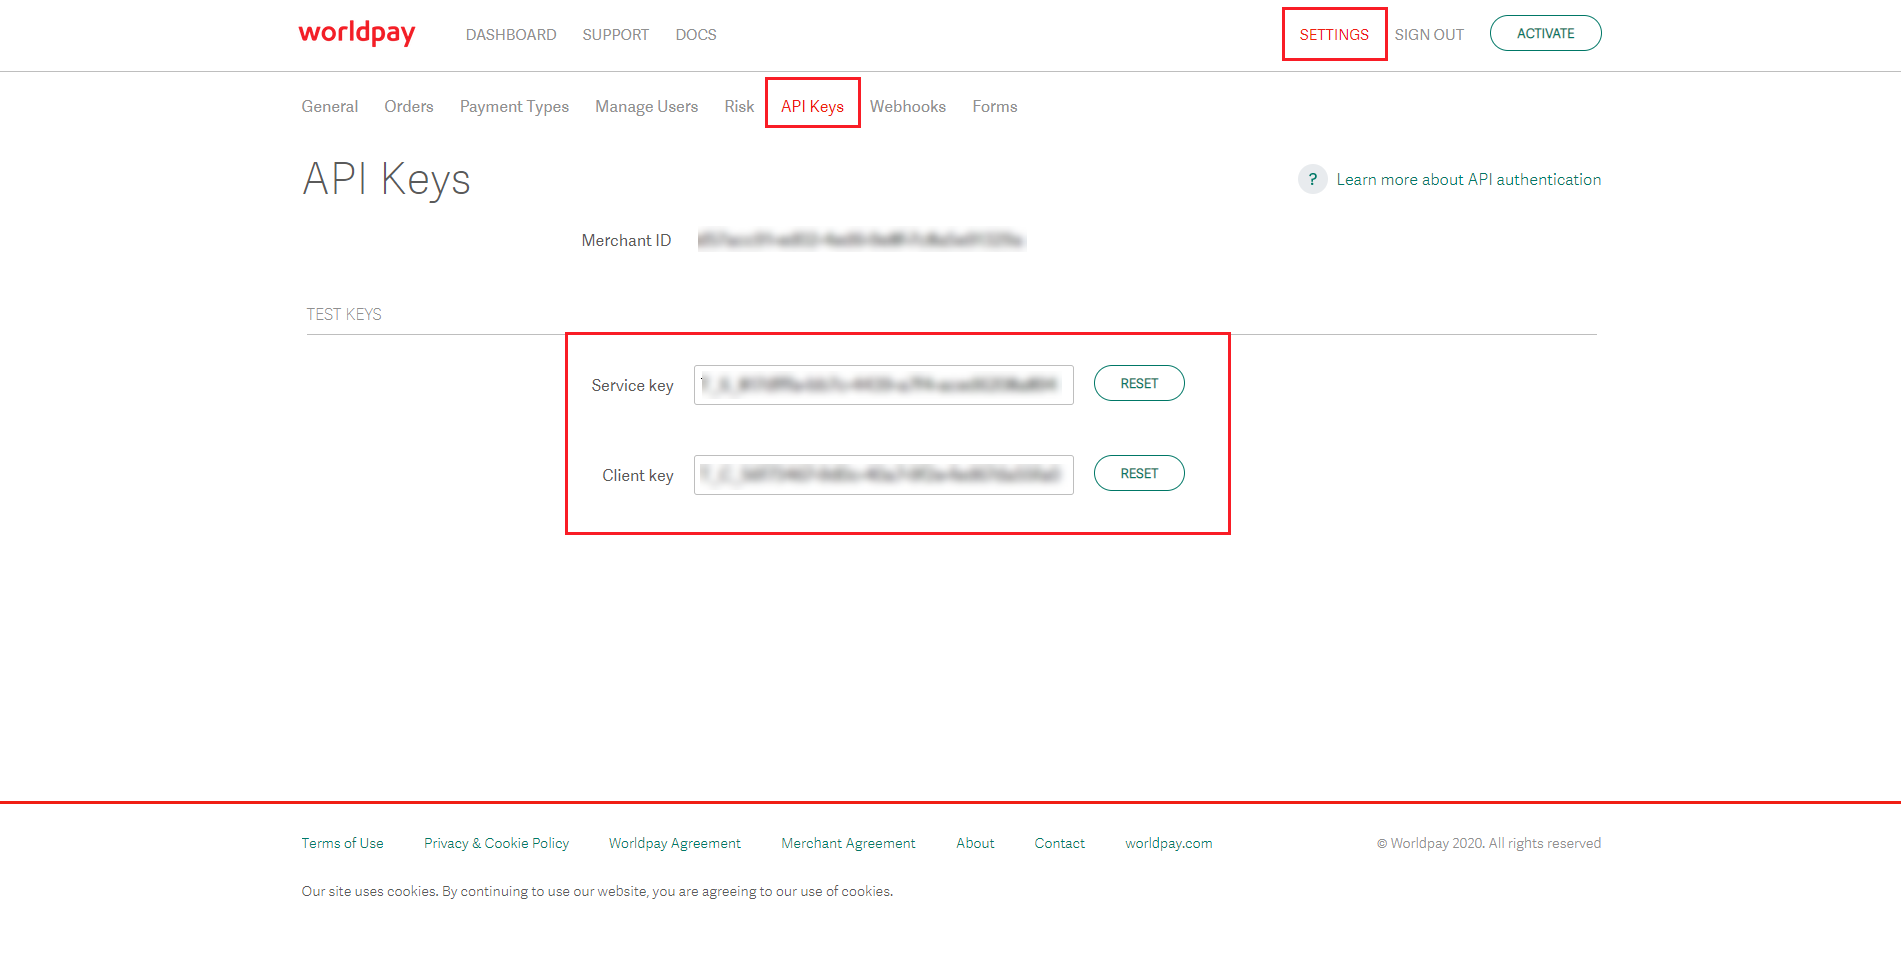
e. Using these API keys, connect your Worldpay account with Gravity Forms.
B. Gravity Forms Settings:
- Worldpay Credentials Settings:
-
-
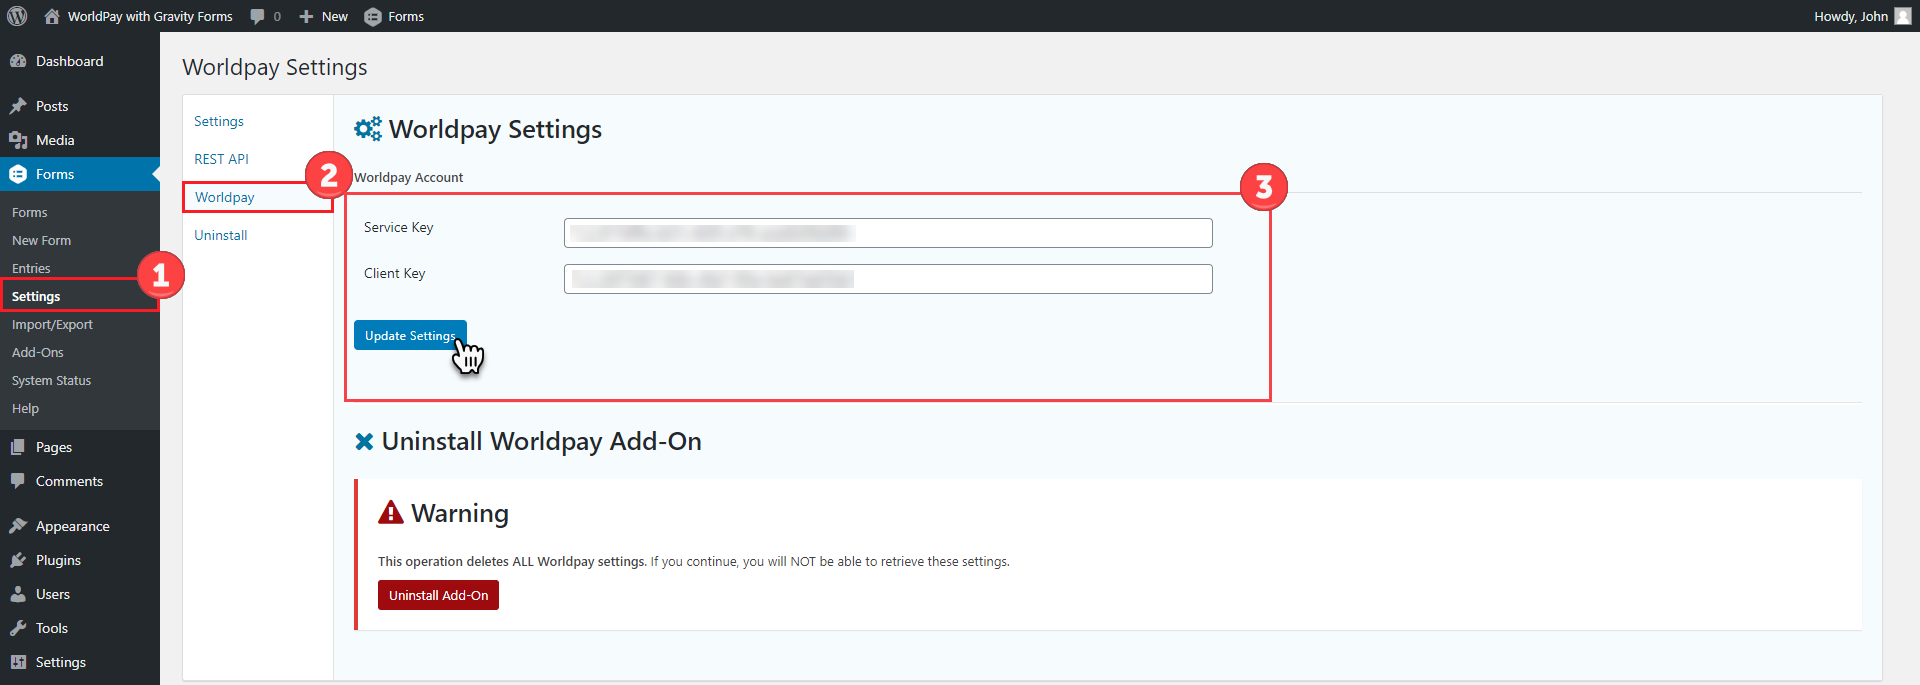
- Copy the Service and Client Key from your Worldpay account > Settings > API Keys section.
- After that go to the main Settings of Gravity Forms and click on Worldpay tab
- Enter the Service & Client key into their respective fields.
- Click on the “Update Settings” button.
-
- Create a New Form:
-
-
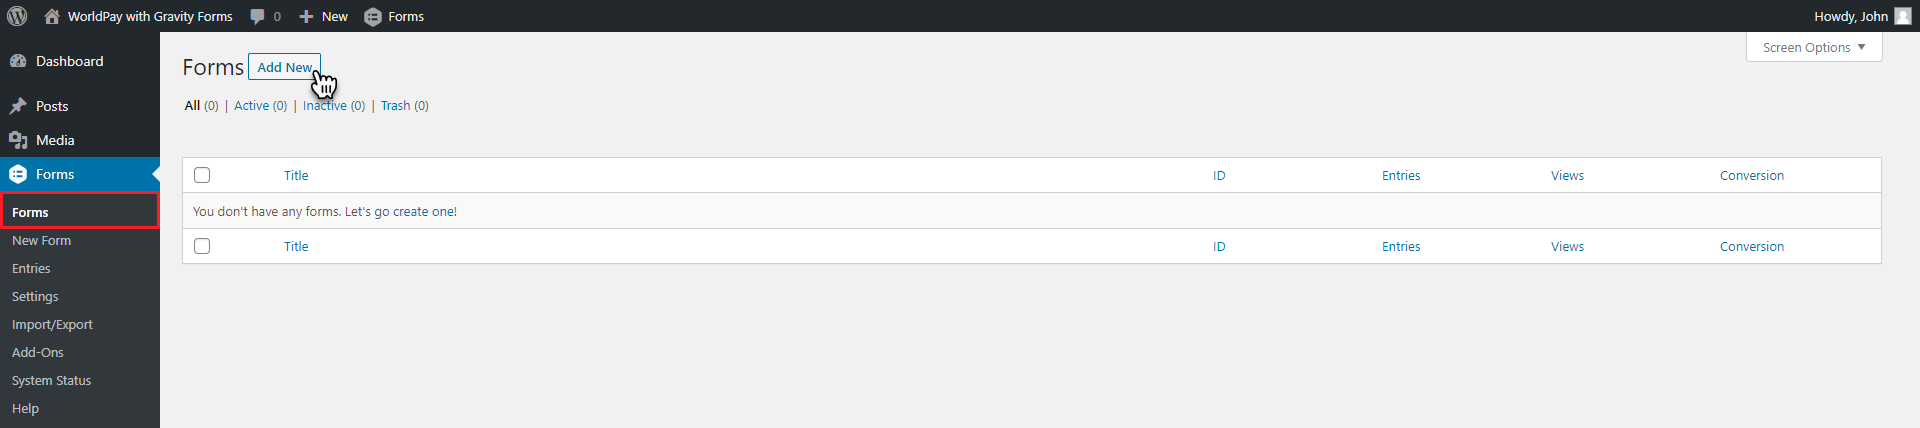
- Go to the Gravity “Forms” menu.
- Click the “Add New” button that is appearing on the top left corner.
-
-
-
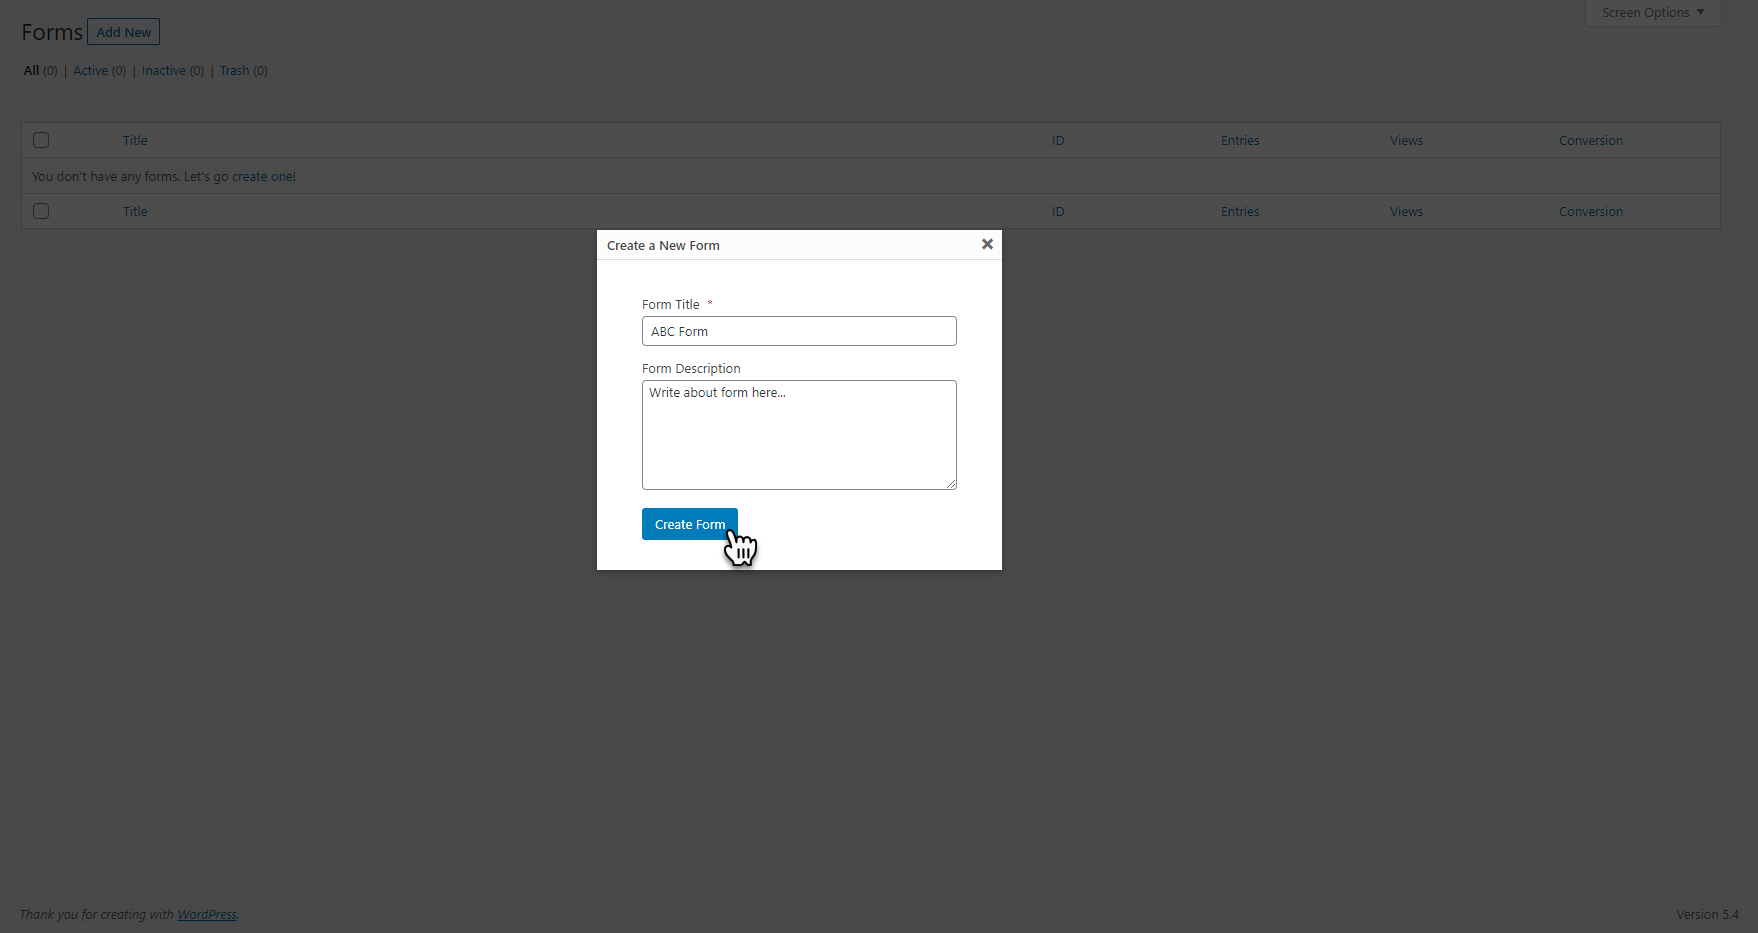
- When you click on the “Add New” button, you’ll see a box that is asking for the Title and Description of the new form.
- Enter your form Title and Description.
- Click the “Create Form” button.
-
-
-
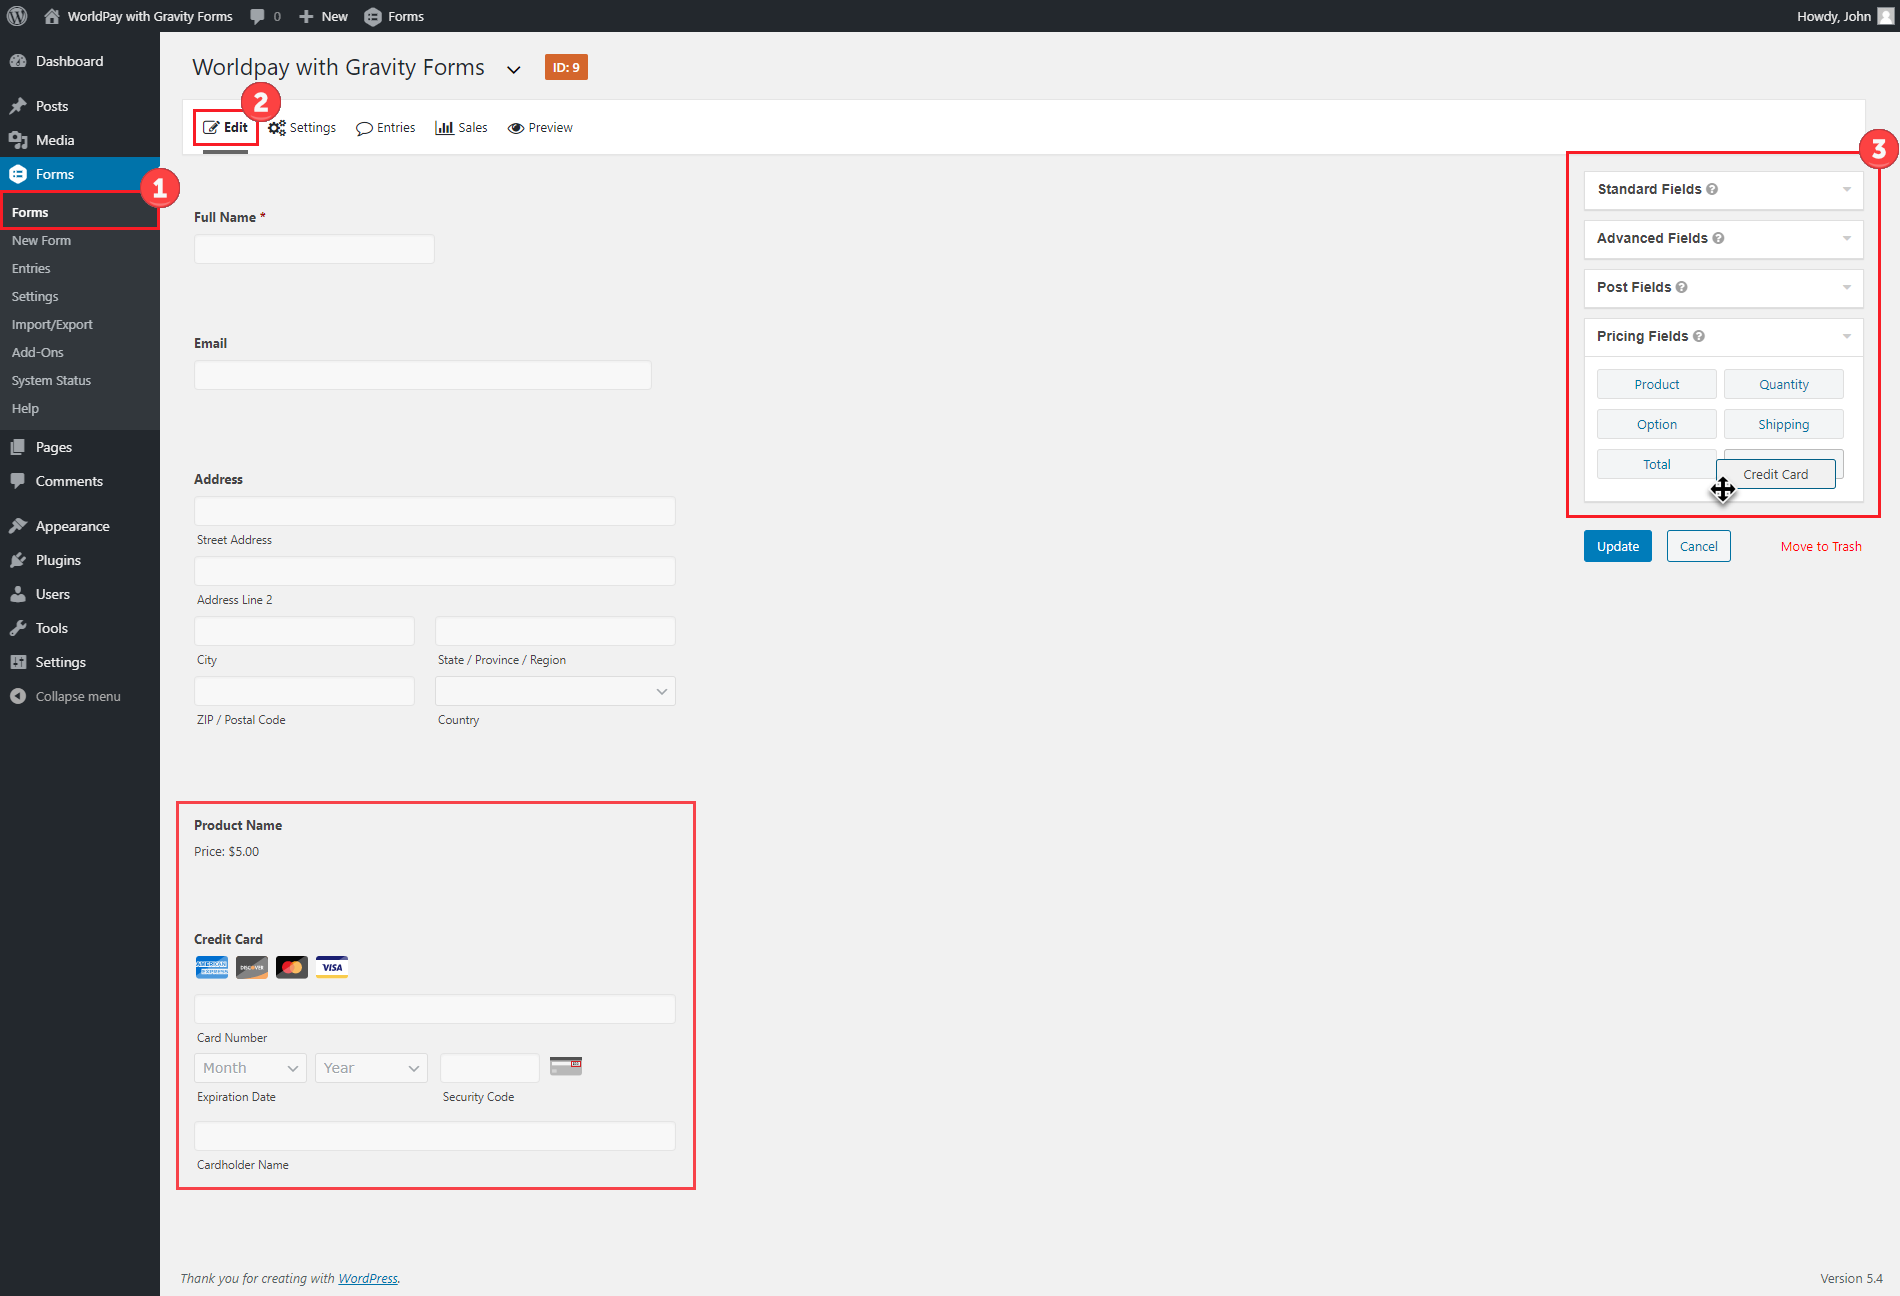
- You can add the following fields to your form:
- Standard Fields
- Advanced Fields
- Post Fields
- Pricing Fields
- The form field toolbox consists of an accordion interface.
- Select the form field that you would like to add to your form.
- To add a field to your form simply click on the form field you would like to add and it will be added to the bottom of your form.
- To reorder fields on your form, drag and drop them to arrange them in the desired order.
- You must have to add the both fields “Products” and “Credit Card” into your form for Worldpay payment.
- Click the “Update” button to save your new form settings.
- You can add the following fields to your form:
-
- Create a Worldpay Feeds:
-
-
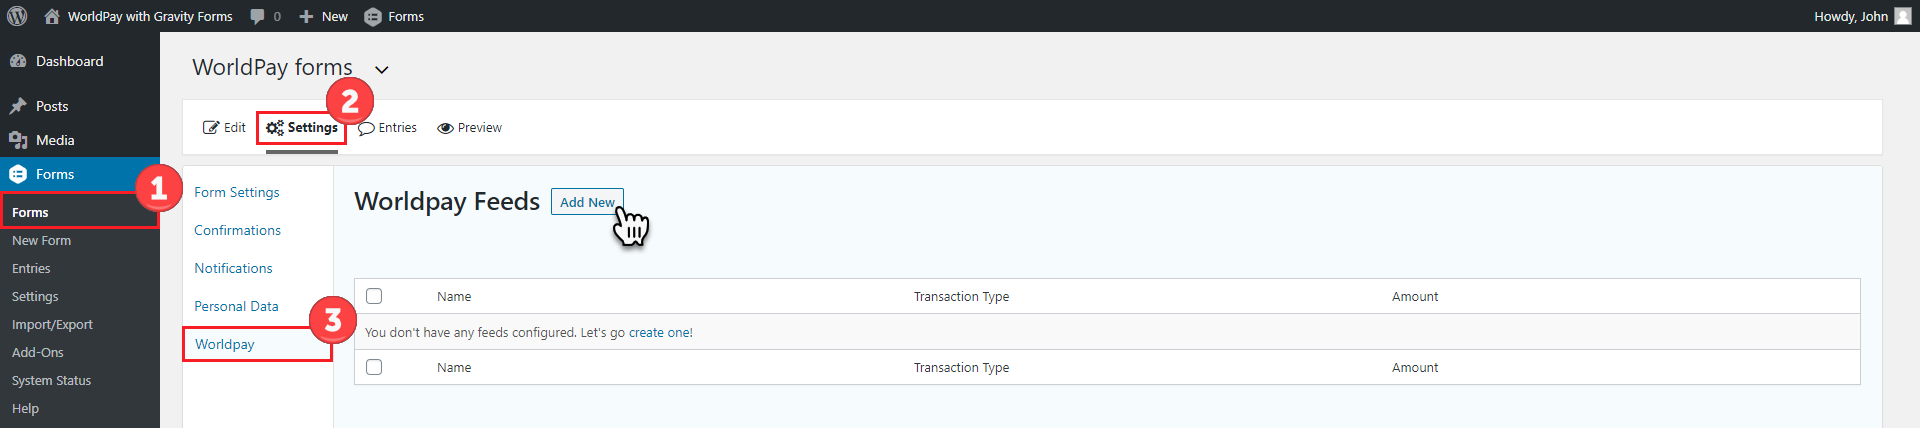
- Click the“Edit” link on your form.
-
-
-
- Add new feed by clicking on the “Add New” button.
-
-
-
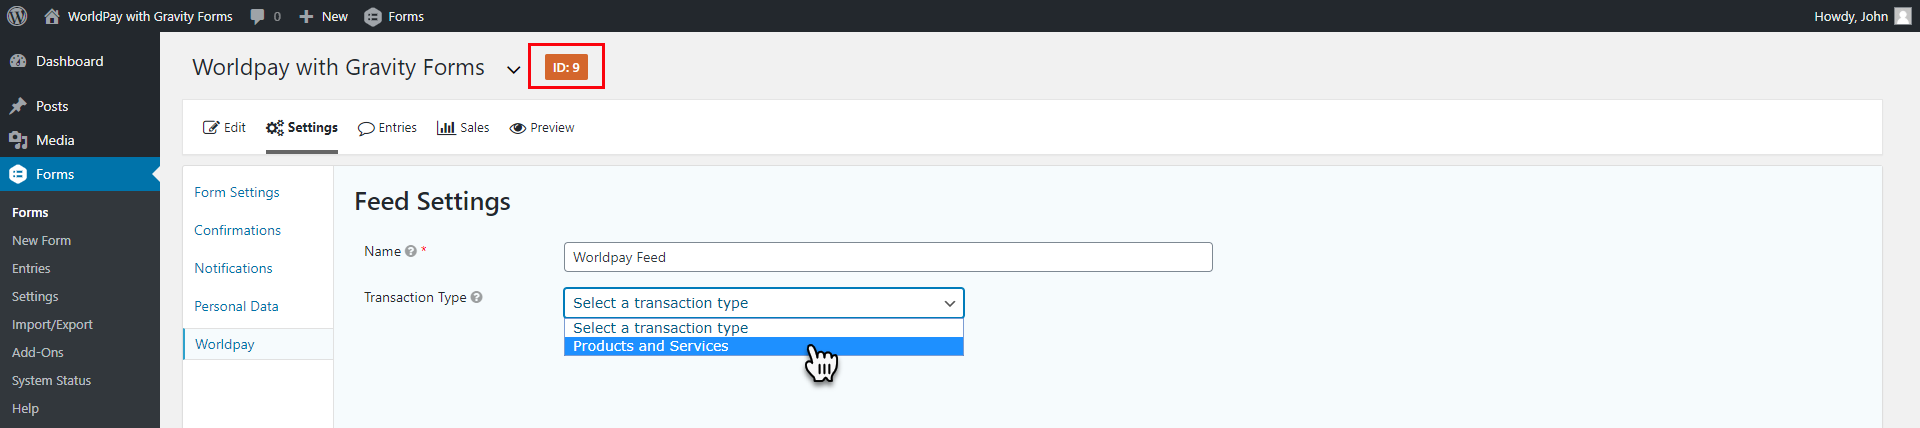
- Give your feed a unique name.
- From the drop-down menu of transaction type, select the “Product and Services” option.
-
-
-
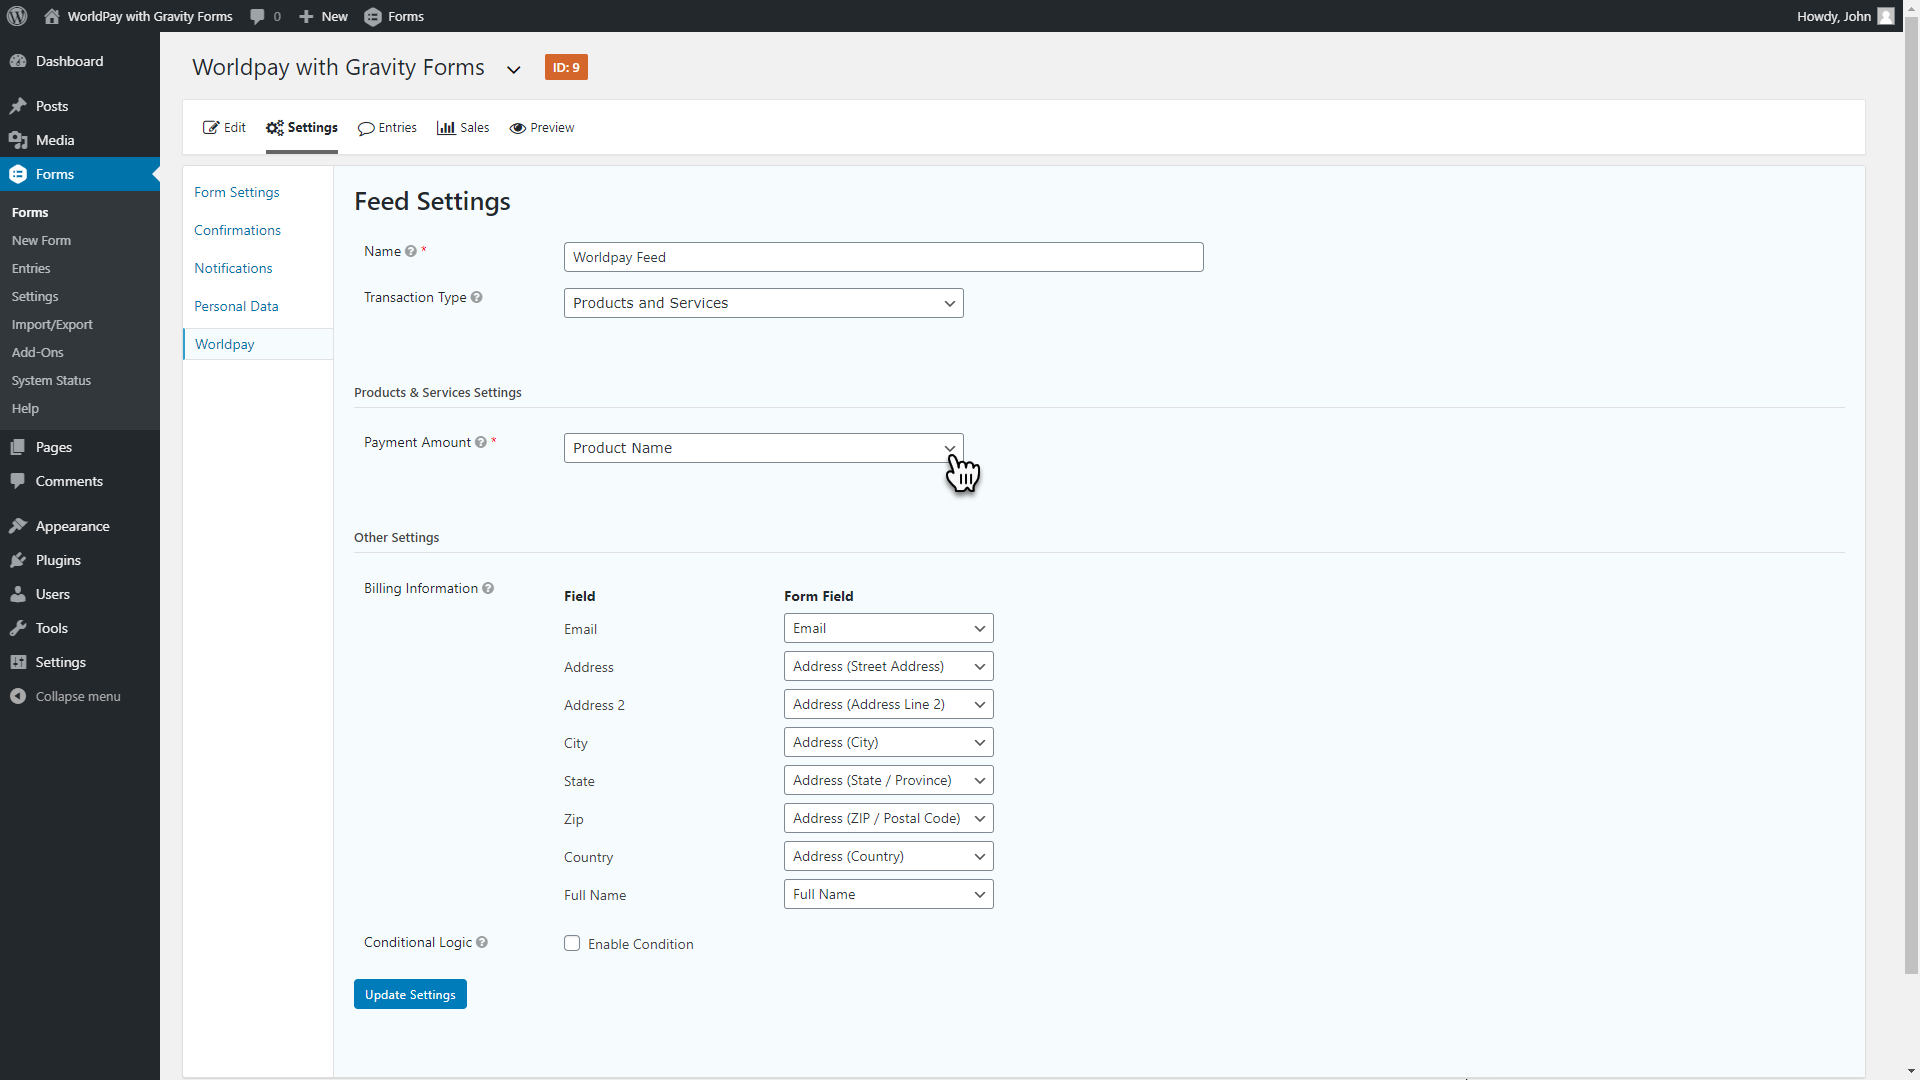
- Determine the Payment Amount option.
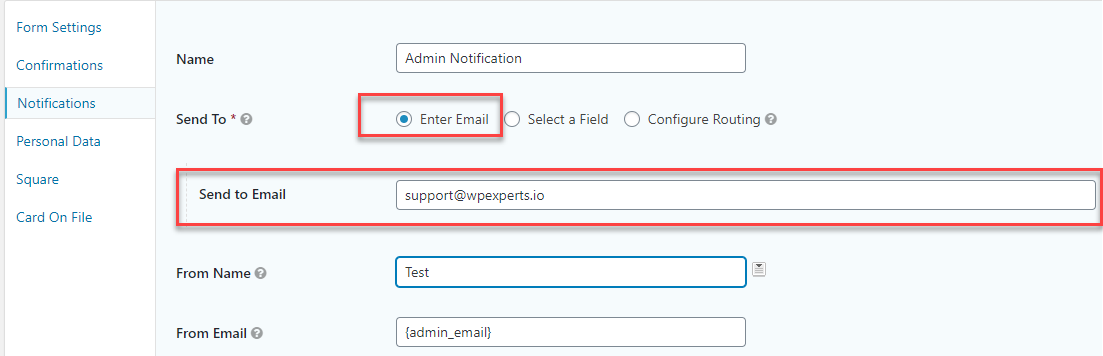
- Map your Form Fields, in the section of “Billing Information”.
-
- How to Find the Form ID:
-
-
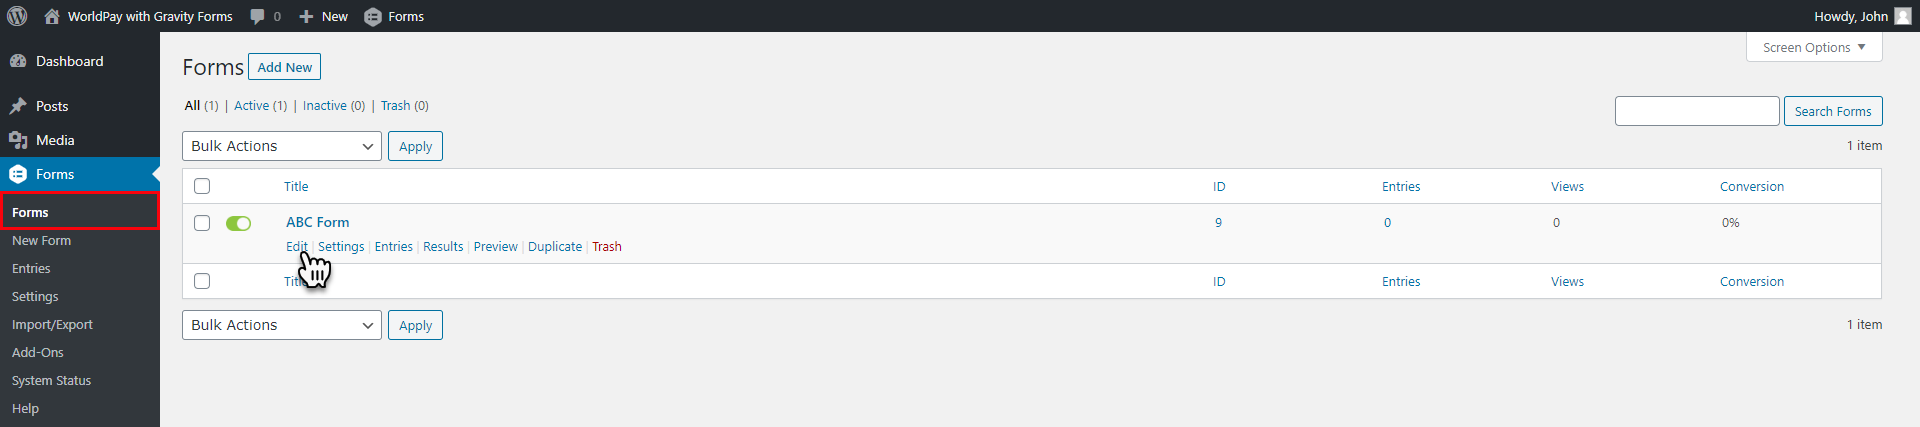
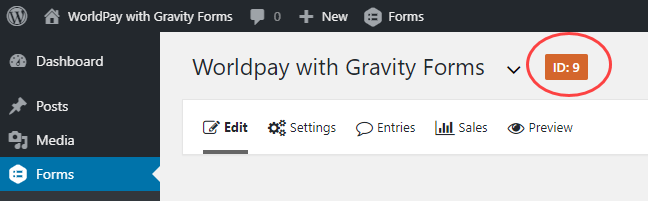
- Navigate to the Dashboard and click on the Forms and
- Find the form you need the ID for, and click on it.
- The form ID is listed to the right of the form name. (e.g: ID: 9)
-
- Gravity Form Shortcode:
-
-
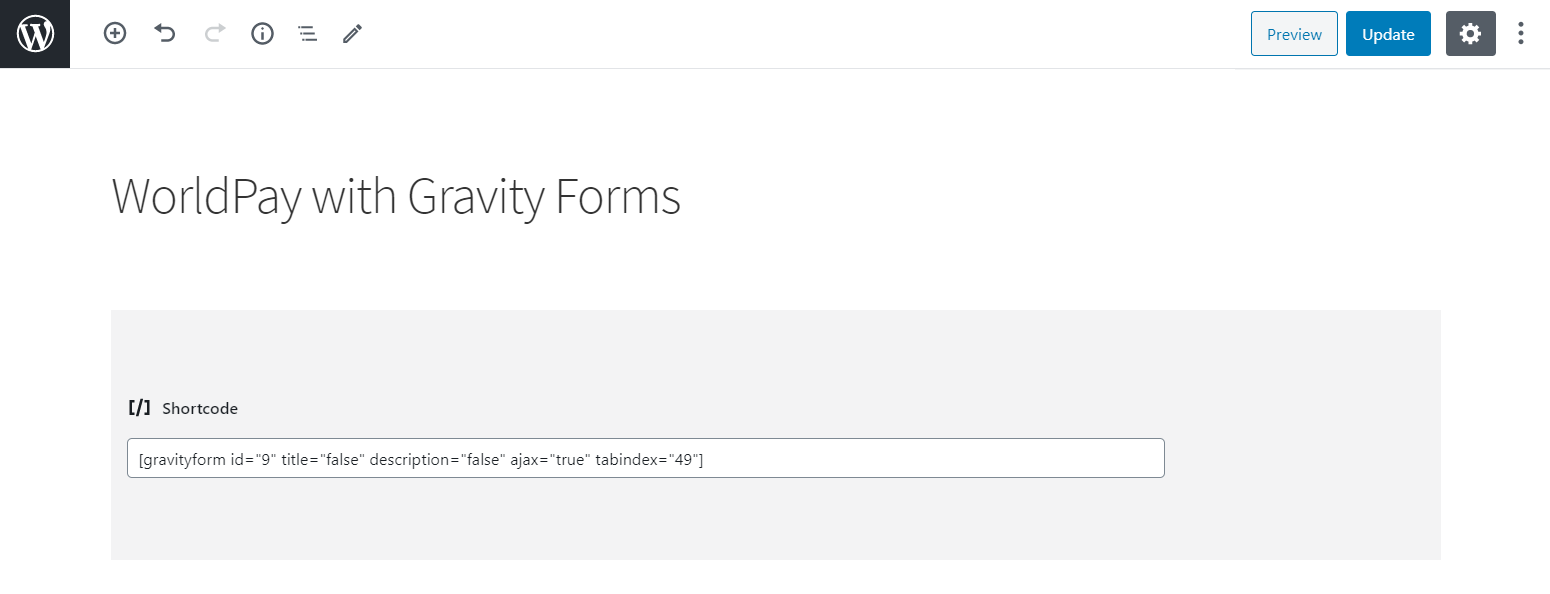
- Create a Post/Page to add a shortcode.
- Use this shortcode to display the form in the frontend.
-
-
- Form Fronted View:
-
-
 Thank you message will appear after successful payment.
-
 Thank you message will appear after successful payment.
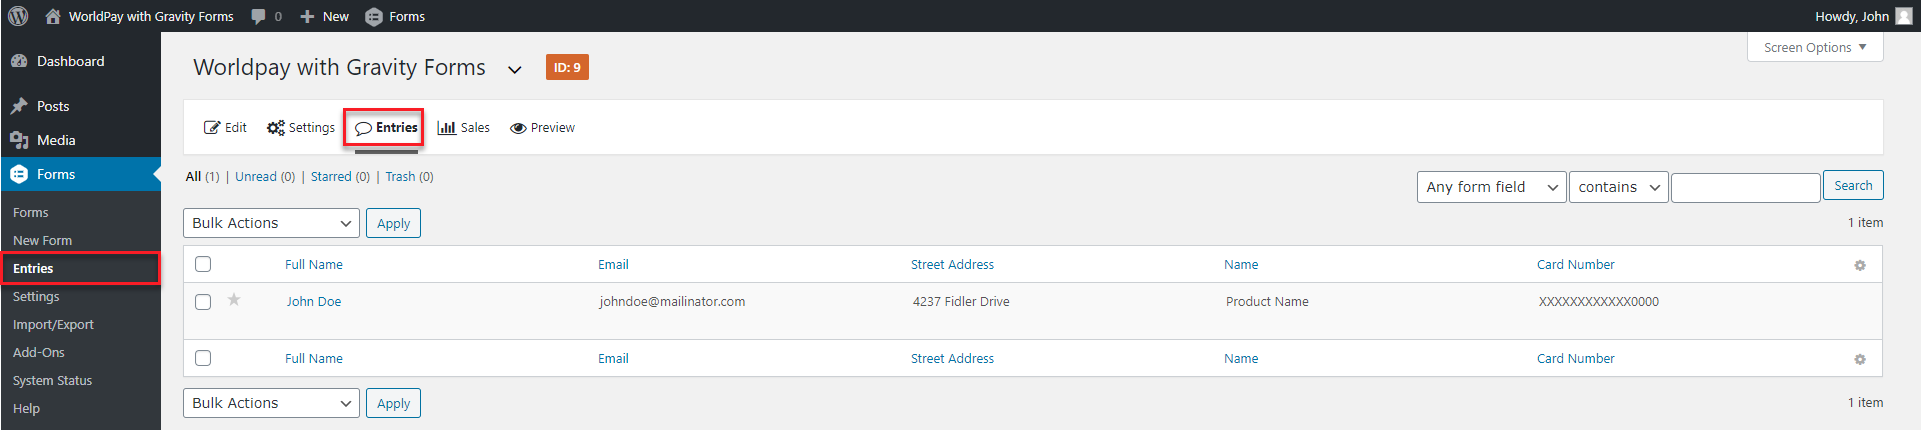
- Form Entries:
-
-
- You can view all form submitted generated entries.
-
-
-
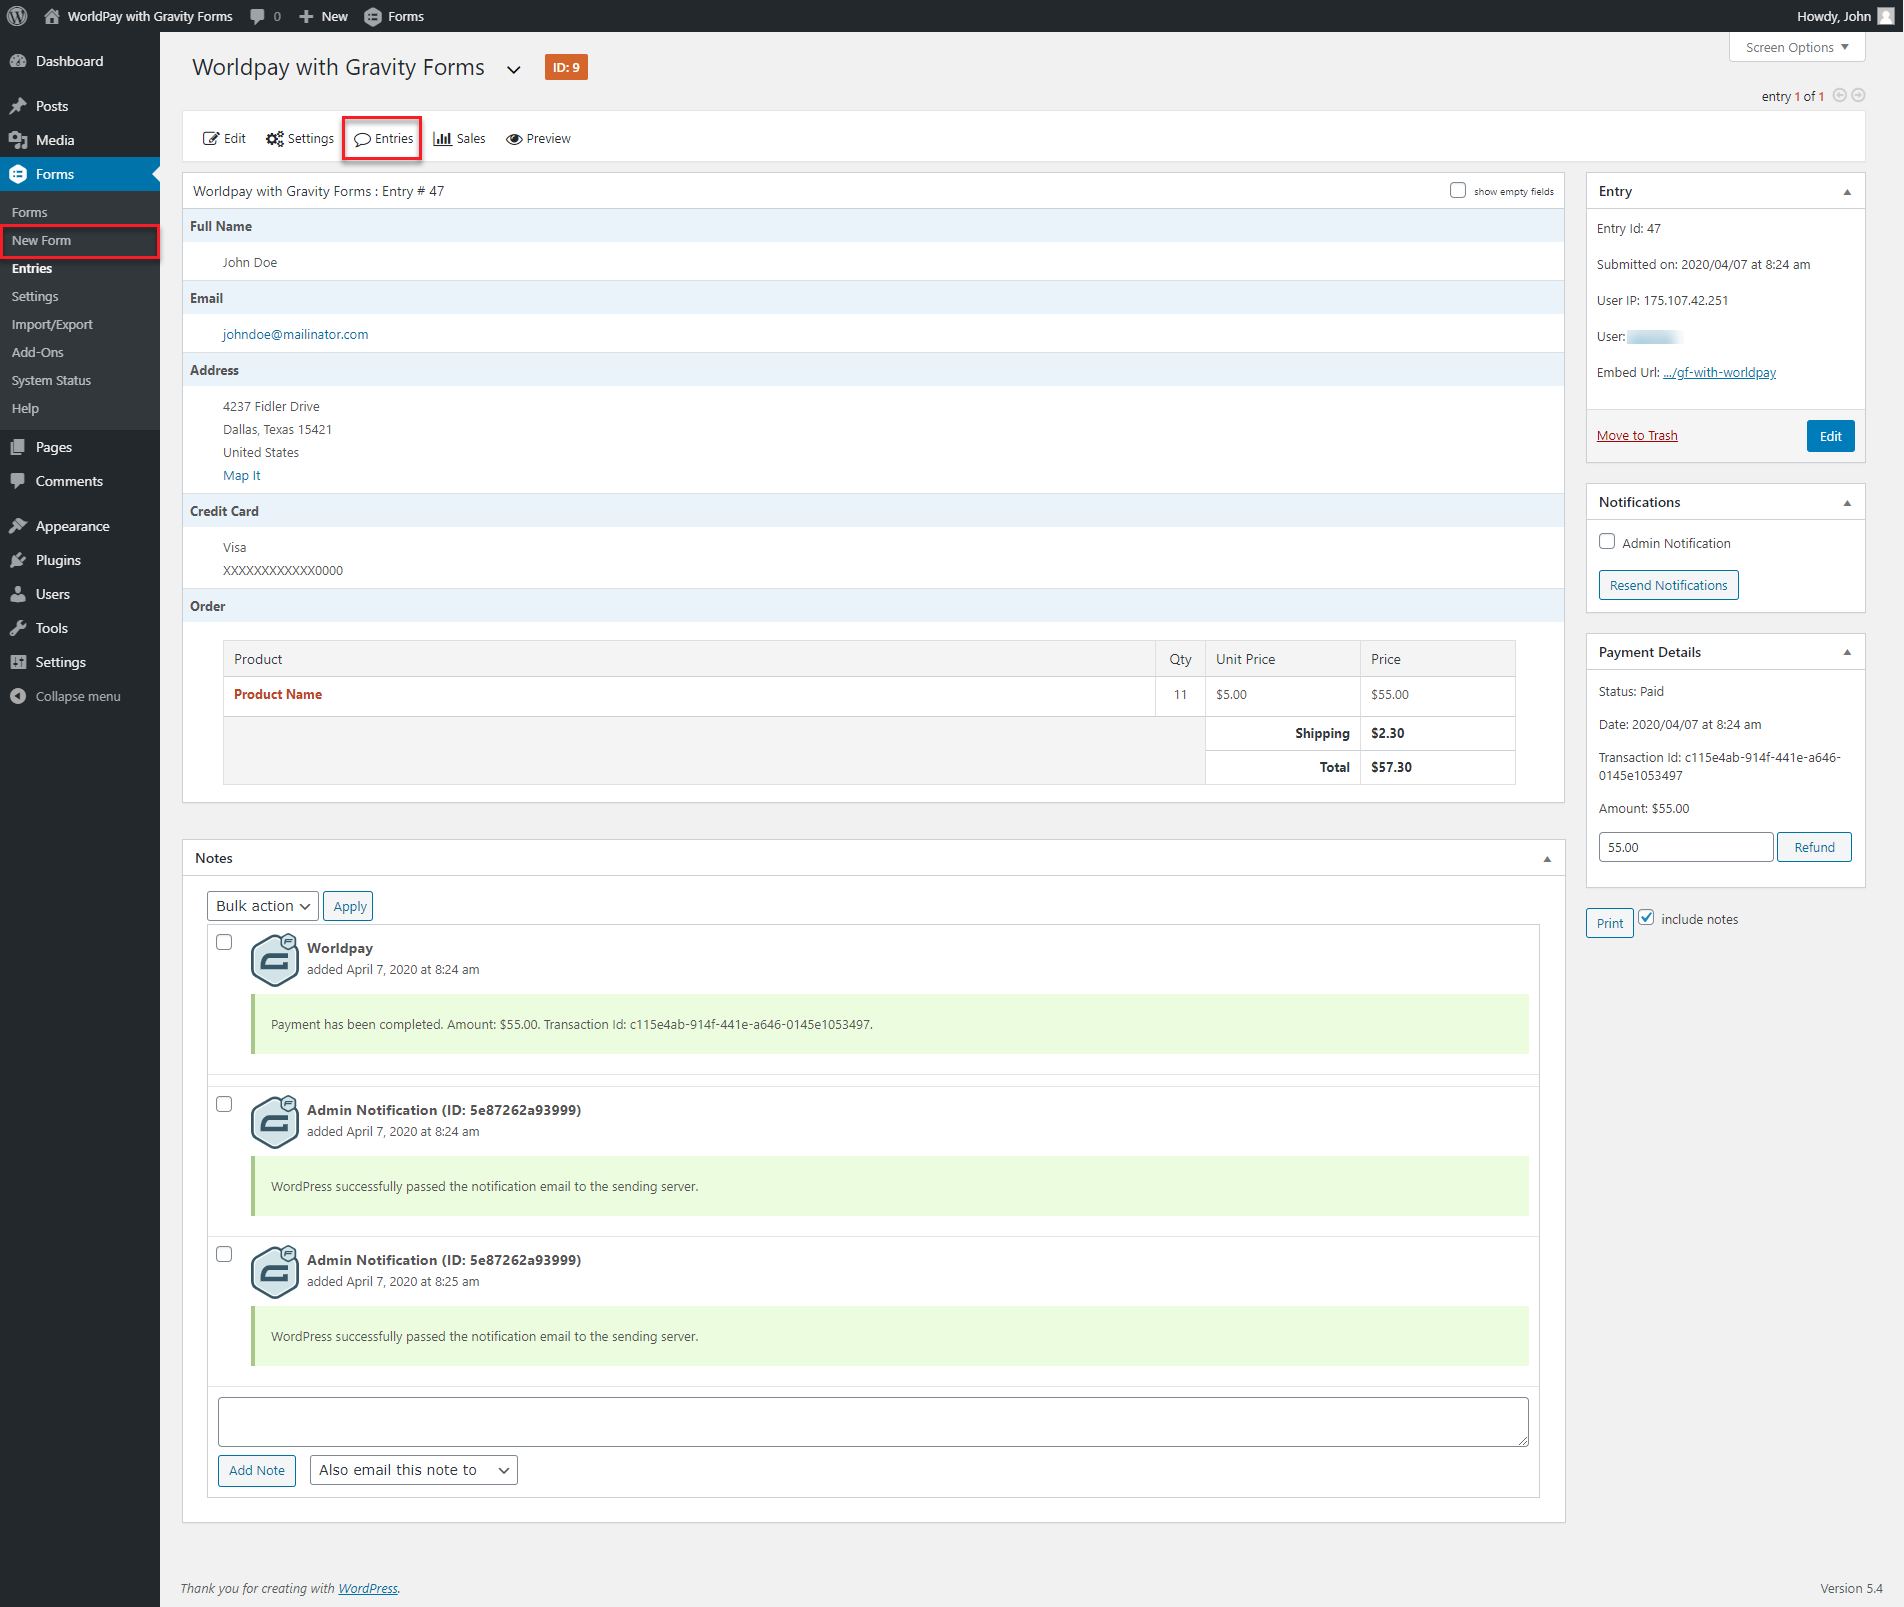
- The Entry page allows the admin to view the complete information of the entry.
- In this page, admin are able to see the following details:
- User Details
- Notes
- Entry
- Notifications
- Payment Details
- You can find the order on WorldPay via Transaction ID which is appearing on the “Payment Details” metabox.
-
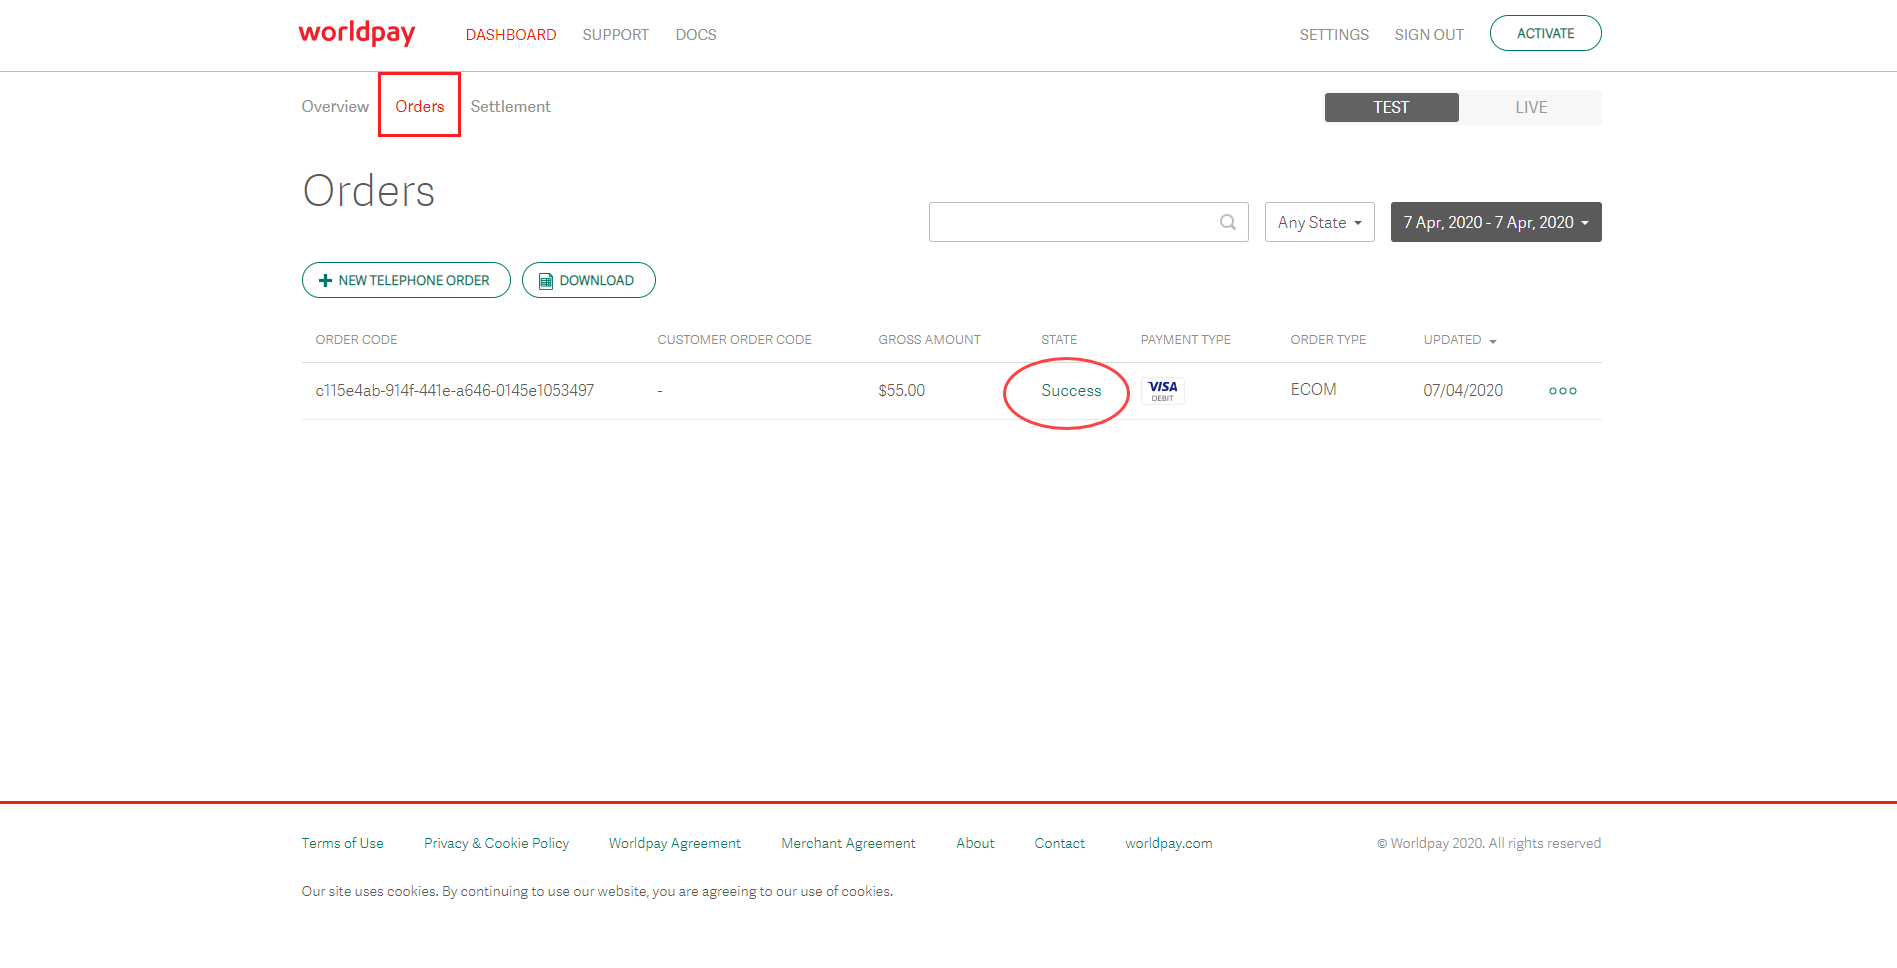
- Order Transactions:
-
-
- View your order details on Worldpay under “Orders” tab.
-
- Refund Option:
-
-
- You have an option to “Refund” customers.
-

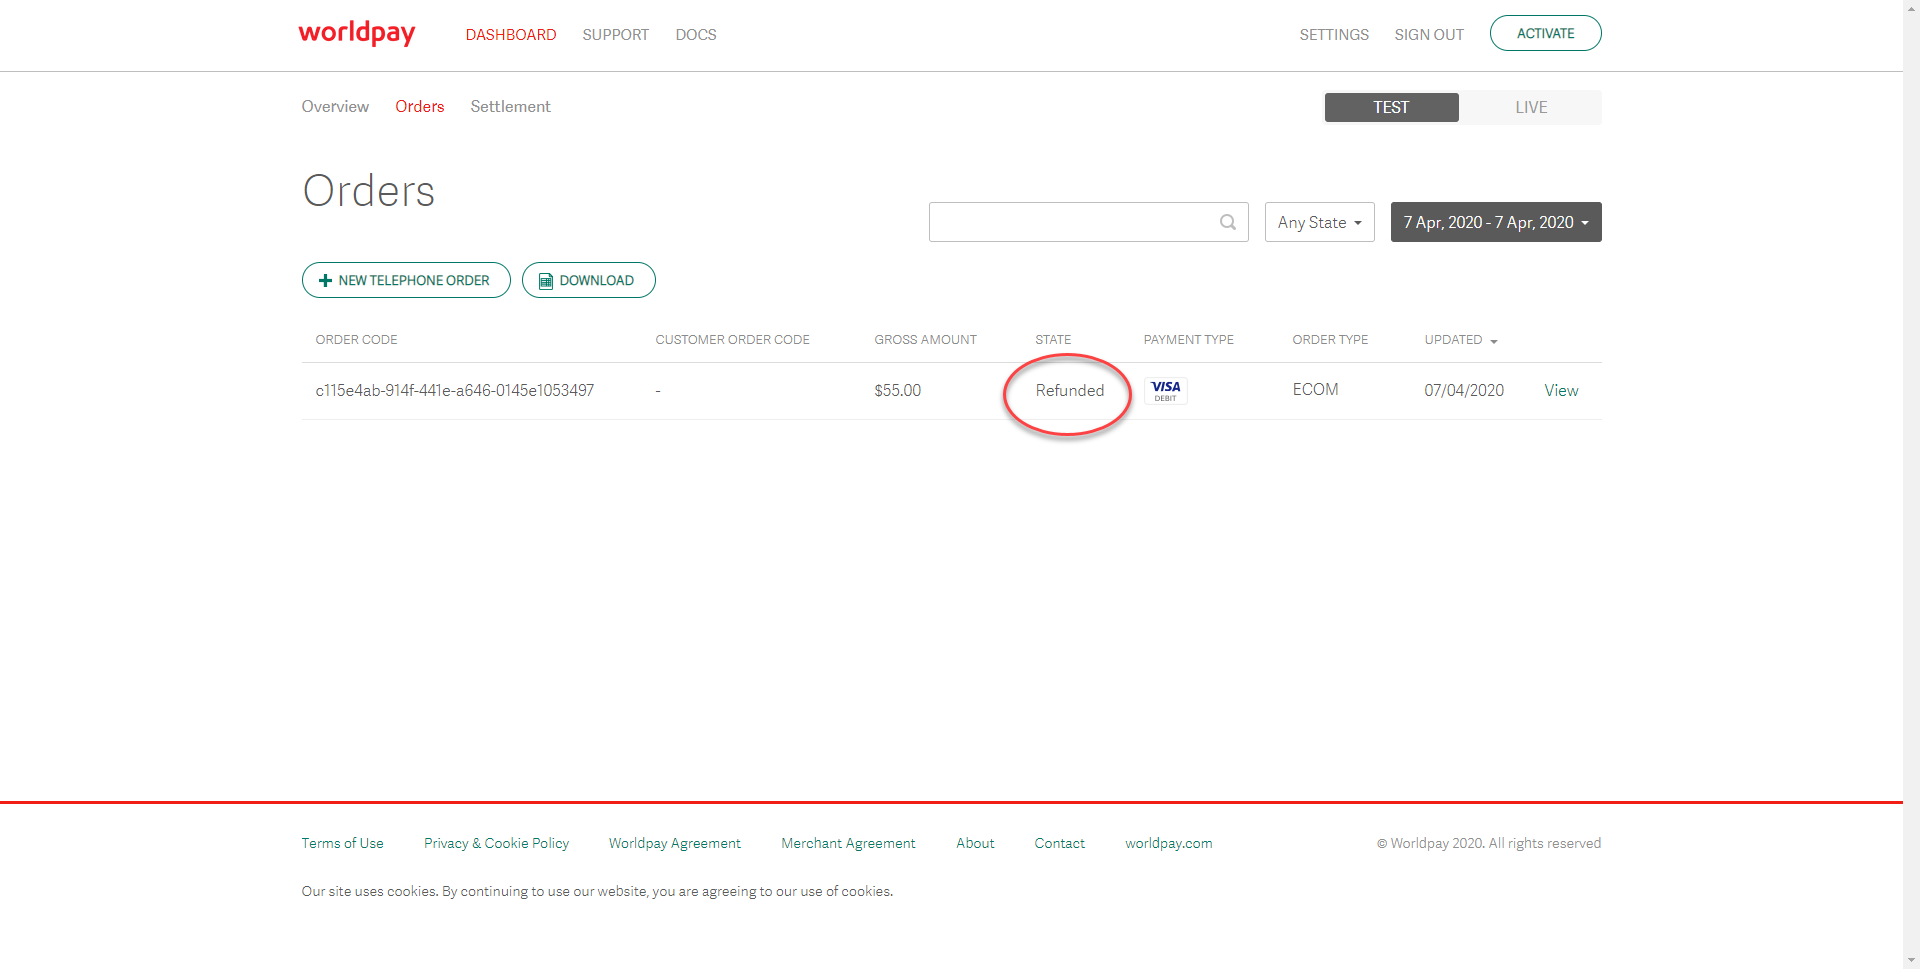
- Order Refunded:
-
-
- When you refund the order the status order will be changed from “Success” to “Refunded”.
-
Help Guide Powered by Documentor

