Do you want to sync inventory between your Square and WooCommerce stores but don’t know how to do so? Keep reading because we have the perfect solution for you!
WooCommerce is an excellent e-commerce solution, but it wasn’t initially designed to sync seamlessly with physical stores. This gap can lead to problems for your staff and frustration for customers. That’s where the WC Shop Sync plugin can help.
In this guide, we’ll explain why you should enable WooCommerce inventory sync and show you how to sync square inventory with Woocommerce using the WC Shop Sync plugin.
By utilizing the WC Shop Sync plugin, your Square POS system will automatically update your WooCommerce inventory in real-time. This means there will be no more discrepancies between your online and in-person channels.
Ready to automate your inventory management? Let’s get started!
Why synchronize inventory between WooCommerce and your Square POS?
Inventory synchronization between your WooCommerce online store and your physical Square POS helps maintain accurate inventory levels, ultimately leading to better customer experiences.
Following are some of the top reasons why WooCommerce Square synchronization is so important:
Customer Satisfaction and Revenue Impact:
For instance, let’s say you sell all 20 items in your physical store, but one of those items is also purchased online. Without Synchronization, you risk disappointing the online customer with an out-of-stock message. This not only affects customer satisfaction but also revenue potential.
Timely Deliveries and Customer Expectations:
Research shows that 34% of businesses have shipped late due to selling products not in stock. With 65% of consumers willing to pay more for faster deliveries, inventory delays can directly impact customer loyalty and revenue.
Online and In-Person Sales Alignment:
Consider a customer browsing your website and then visiting your store for a purchase. Synchronization ensures they find the item in stock, eliminating the need to check availability manually. This seamless experience boosts customer satisfaction.
Manual Inventory Tracking Challenges:
Manual inventory tracking leads to inaccuracies, stock-outs, and increased carrying costs. It’s time-consuming and prone to errors, affecting operational efficiency.
Remember that with Square integration with WooCommerce, you can seamlessly sync inventory between WooCommerce and Square, integrate Square payments, and enhance customer experiences, which will enable you to grow your business exponentially.
3 Easy Steps to Sync Inventory between Square and WooCommerce Store
To sync Square inventory with WooCommerce using the WC Shop Sync plugin, follow the step-by-step instructions below:
Important Note: Before you proceed with the WooCommerce Square integration, it’s essential to know that the Square POS app is free to download in several countries on the Apple App Store and Google Play Store. Unfortunately, the Square app supports card payments exclusively in specific regions, including the United States, the United Kingdom, Australia, Japan, Canada, the Republic of Ireland, France, and Spain.
Prerequisites for WooCommerce Square integration
Before you set up Square integration with WooCommerce, make sure you meet these requirements.
- WooCommerce Installed and Configured
- Square Account – If you don’t have one, click here to check out the signup process for a Square account.
- At least 2 GB of RAM, a dual-core processor, 40GB of storage, 2 TB of bandwidth, and an Active SSL certificate are all required.
With these prerequisites in place, you’re ready to sync Square inventory with WooCommerce.
Step #1: Install and Activate the WC Shop Syn Plugin
1. Get the Premium Version:
To access all features of the WC Shop Sync plugin, get the premium version by clicking here.
2. Install and Activate the Plugin:
Once you buy the premium version, follow the steps below to install and activate the plugin.
- Log in to your WordPress admin panel.
- Go to Plugins → Add New Plugin → Upload Plugin.
- Upload the “woosquare-plus.zip” file.
- Click “Install Now,” then “Activate Plugin.”
- Enter the license key received in the welcome email.
When you activate the plugin, you’ll see the following screen:
Step #2: Connect Square POS with Your WooCommerce Store
Now, you need to integrate Square POS with your Woocommerce store to sync the WooCommerce inventory.
You can do it by following these steps:
1. Click “Connect with Square”:
- After activation, click on “Connect with Square.”
2. Login Your Square Account:
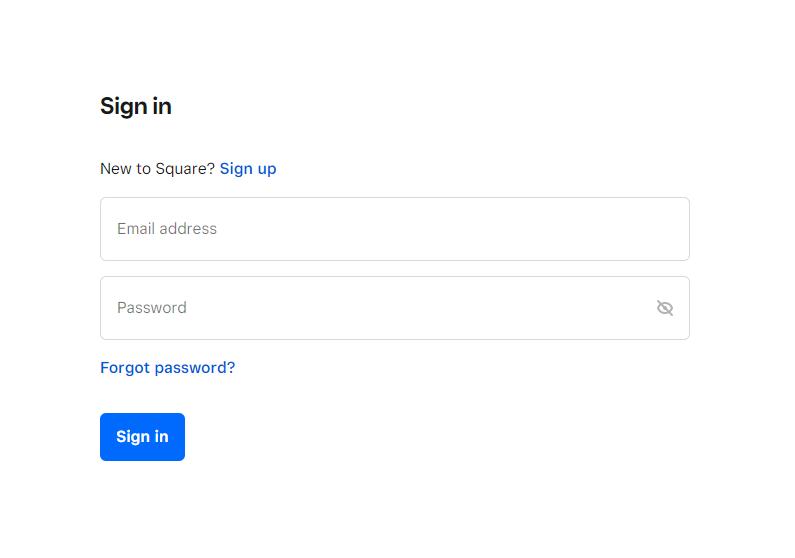
- If you are not logged in, you’ll be redirected to the Square login page.
- Enter your Square account credentials and sign in.
3. Authorize Permissions:
- Once logged in, allow authorized permissions for the plugin to retrieve data from Square.
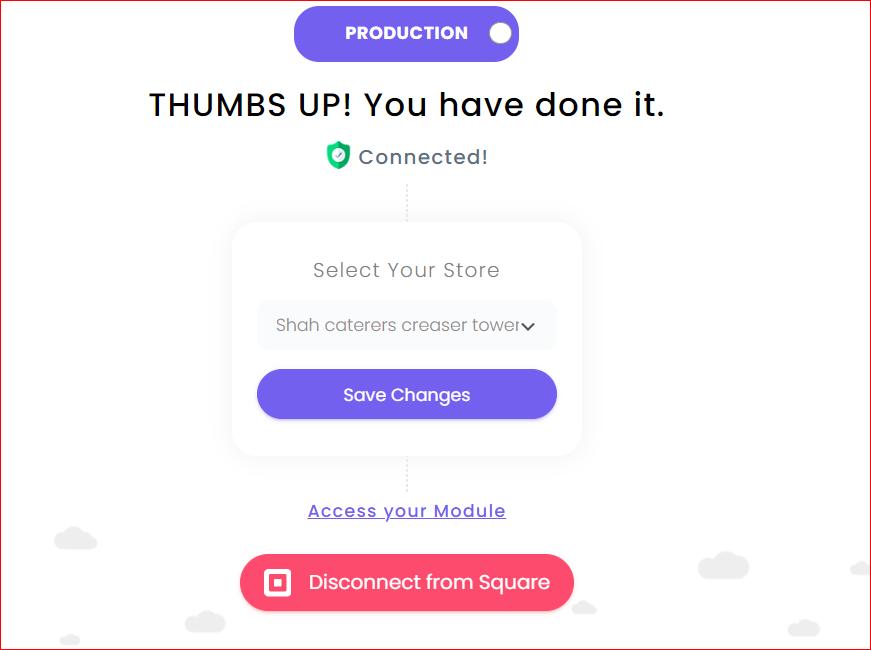
- Click “THAT’S MY SITE – REDIRECT ME” to return to your website.
Step #3: Enable and Configure the Product Synchronization Module
Upon successful Square integration with WooCommerce, follow the steps below to sync Square WooCommerce inventory by enabling the Product Synchronization Module.
1. Access Your Module:
- After successfully connecting your Square account, click “Access Your Module” to further configure settings.
2. Configure the Module:
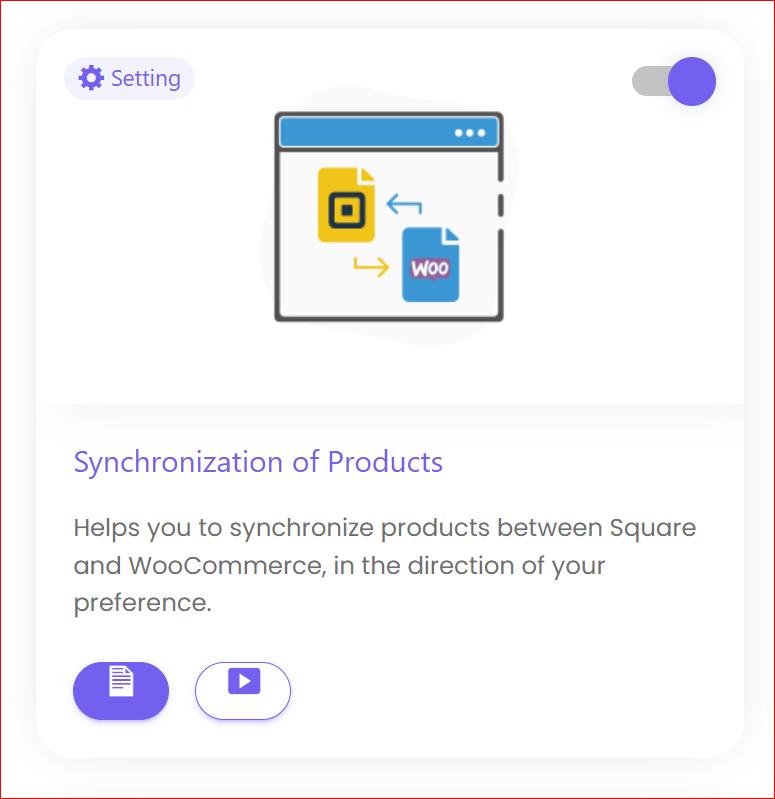
- Activate the Product Synchronization Module using the toggle button in WC Shop Sync settings.
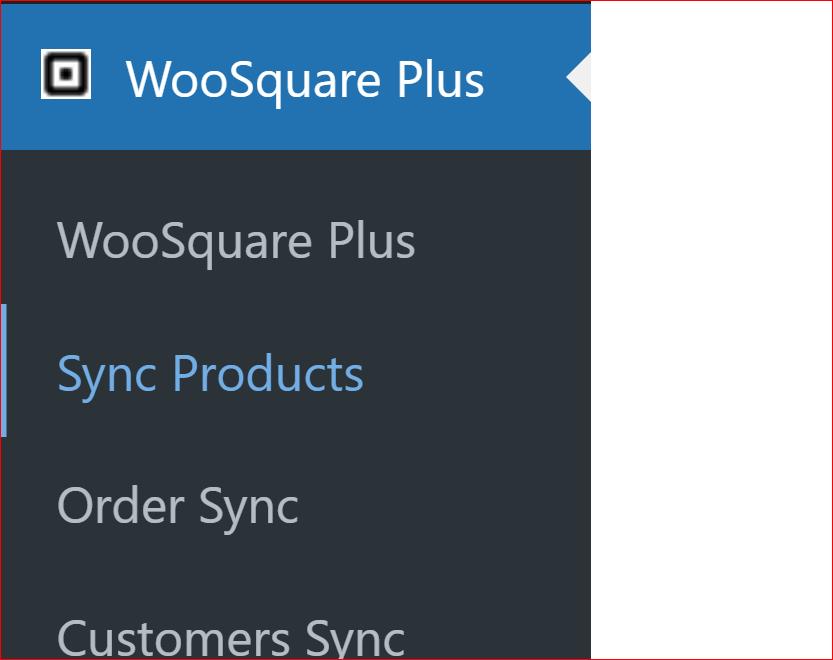
- After activating it, go to the “Sync Products” from the left-hand side menu and configure it accordingly.
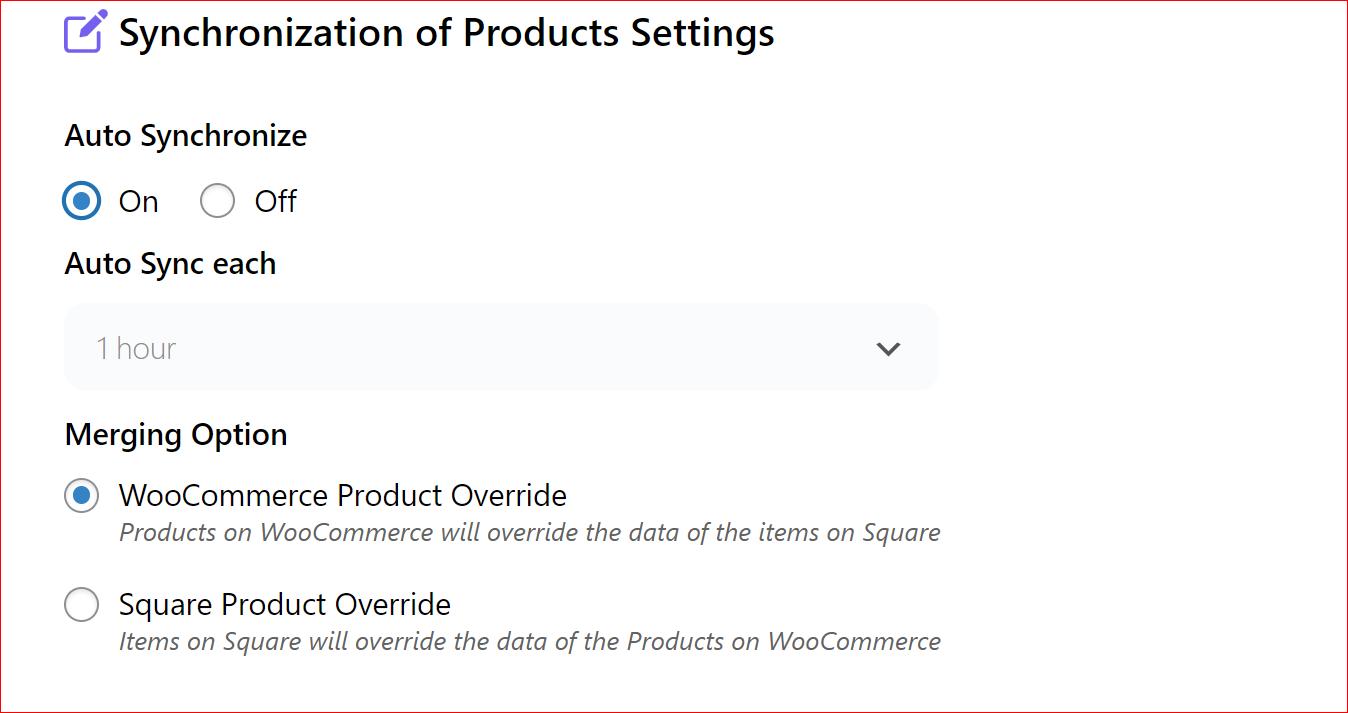
- Enable auto-sync by selecting “On” the radio button and selecting a frequency from the drop-down menu.
- In the drop-down, select the sync frequency you prefer.
- Select your preferred merging option.
3. Save Changes:
- Save changes to sync your products between Square POS and WooCommerce seamlessly.
Now repeat the same steps to sync square inventory across all your WooCommerce stores.
NOTE: You can also manually sync inventory between Square and WooCommerce via the “Synchronize Woo To Square ” and “Synchronize Square To Woo,” as shown in the screenshot above.
Concluding Thoughts
Using the WC Shop Sync plugin to sync inventory between your Square and WooCommerce stores is highly beneficial for your eCommerce stores. With WooCommerce Square integration, you can automatically sync Square inventory with WooCommerce and vice versa.
Additionally, with the WC Shop Sync plugin, you can easily sync orders, payments, square modifiers, etc.
Finally, please feel free to reach out to us through our support channel if you need any assistance regarding Square integration with WooCommerce. We would love to help you!
Frequently Asked Questions
- How do I export my Square inventory?
To export your Square inventory, log in to your Square account. Navigate to the “Items & Orders” section. Click on “Export” to download a CSV file of your Square inventory.
- How do I track inventory in WooCommerce?
Go to the Products under WooCommerce from the sidebar of the WordPress dashboard. Click the “edit” option for the particular product and then scroll down and select the “Inventory” option under the product data section. Finally, checkmark the “Stock management” option and click “update.”
- Does Square keep up with inventory?
Yes, Square automatically updates inventory in real-time as sales are made, ensuring accurate stock counts.
- How do I add inventory to my Square store?
Log in to your Square account and go to the “Items” section. Click on “Add Item” to add new products, including details like item type, name, price, quantity, and images.

